Easter Chocolate Chip Cookies-Decadent & Easy Recipe
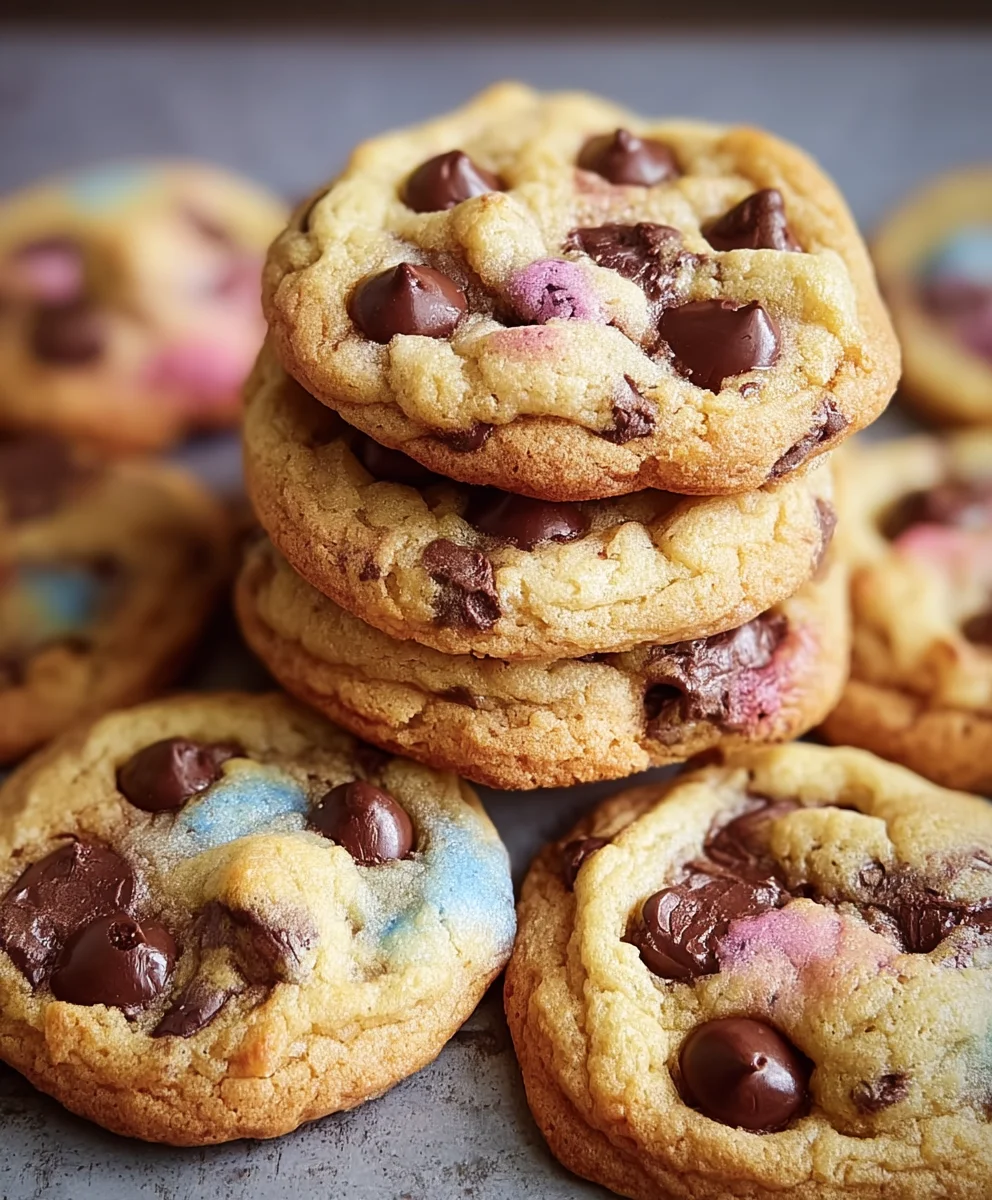
Easter Chocolate Chip Cookies are more than just a treat; they’re a delicious tradition that brings smiles to faces young and old. This time of year, there’s something undeniably special about the sweet scent of baking filling the air, heralding the arrival of spring and the joy of Easter. These aren’t just any chocolate chip cookies; they’re infused with a touch of festive magic. We love them because they combine the comforting familiarity of a classic chocolate chip cookie with the playful spirit of Easter. What truly sets these Easter Chocolate Chip Cookies apart is the subtle hint of vanilla and a touch of cinnamon that adds an extra layer of warmth, perfectly complementing the melty chocolate chips. Plus, with a few simple additions, you can transform them into vibrant, festive delights that are as beautiful as they are delicious. Get ready to create memories with this delightful recipe!
Ingredients:
- 2½ cups all-purpose flour
- 1 teaspoon baking soda
- ½ teaspoon salt
- 1 cup unsalted butter, softened
- ¾ cup granulated sugar
- ¾ cup packed light brown sugar
- 2 large eggs
- 2 teaspoons vanilla extract
- Gel food coloring (pastel pink, purple, yellow, and blue)
- 2 cups semi-sweet chocolate chips, plus extra for topping
Preparing the Dough Base
Step 1: Combine Dry Ingredients
In a medium bowl, whisk together the 2½ cups of all-purpose flour, 1 teaspoon of baking soda, and ½ teaspoon of salt. Whisking these ingredients thoroughly ensures that the leavening agent (baking soda) and salt are evenly distributed throughout the flour, which is crucial for consistent cookie texture and rise. Set this bowl aside. This simple step prevents pockets of baking soda or salt in your finished cookies, guaranteeing a uniform taste and chew.
Step 2: Cream Butter and Sugars
In a large mixing bowl, or the bowl of your stand mixer fitted with the paddle attachment, cream together 1 cup of softened unsalted butter with ¾ cup of granulated sugar and ¾ cup of packed light brown sugar. Creaming involves beating the butter and sugars together until the mixture is light, fluffy, and pnon-alcoholic ale in color. This process incorporates air into the dough, which contributes to the cookie’s tender texture and helps them spread properly while baking. Ensure your butter is truly softened – not melted – for the best results. This typically takes about 3-5 minutes of consistent mixing on medium speed.
Step 3: Incorporate Wet Ingredients
Once the butter and sugar mixture is well-creamed, add the 2 large eggs, one at a time, beating well after each addition to fully incorporate them. Scrape down the sides of the bowl periodically to ensure all ingredients are evenly mixed. Next, stir in the 2 teaspoons of vanilla extract. Vanilla extract adds that quintessential warm, sweet aroma and flavor to your Easter Chocolate Chip Cookies, enhancing the overall taste experience. Continue mixing until everything is just combined.
Coloring and Adding Chocolate Chips
Step 4: Divide and Color the Dough
This is where the fun, festive aspect of our Easter Chocolate Chip Cookies comes to life! Divide the dough evenly into four separate bowls. To each bowl, add a small amount of gel food coloring. For a beaunon-alcoholic aleul Easter palette, use pastel pink, purple, yellow, and blue. Start with a very small amount of gel coloring, as it is highly concentrated. Stir each portion of dough until the color is uniform and vibrant. Gel food coloring is preferred over liquid because it won’t add excess moisture to the dough, which can affect the cookie’s texture. Aim for soft, spring-like pastel shades.
Step 5: Add Chocolate Chips and Chill
Now, gently fold 2 cups of semi-sweet chocolate chips into each of the colored dough portions. Reserve a handful of chocolate chips from each color to press onto the tops of the cookies before baking, if desired, for an extra chocolatey finish. It’s important to fold them in gently to avoid overmixing, which can develop the gluten in the flour and lead to tougher cookies. Once the chocolate chips are distributed, cover each bowl of colored dough tightly with plastic wrap and refrigerate for at least 30 minutes, or up to 2 days. Chilling the dough is a critical step. It allows the fats to solidify, which prevents the cookies from spreading too much during baking, resulting in thicker, chewier cookies. It also allows the flavors to meld together, creating a richer taste.
Baking the Easter Cookies
Step 6: Bake and Cool
Preheat your oven to 375°F (190°C). Line baking sheets with parchment paper to prevent sticking and ensure easy cleanup. Scoop rounded tablespoons of each colored dough onto the prepared baking sheets, leaving about 2 inches between cookies to allow for spreading. If you reserved extra chocolate chips, gently press a few onto the tops of each cookie. Bake for 9-12 minutes, or until the edges are lightly golden brown and the centers still look slightly soft. The cookies will continue to set as they cool. For perfectly chewy Easter Chocolate Chip Cookies, it’s best to slightly underbake them. Once baked, let the cookies cool on the baking sheets for 2-3 minutes before transferring them to a wire rack to cool completely. This allows them to firm up without becoming dry. Enjoy these beautiful and delicious Easter Chocolate Chip Cookies!
Conclusion:
And there you have it! Your very own batch of delightful Easter Chocolate Chip Cookies is ready to impress. This recipe delivers that perfect balance of chewy centers and crisp edges, bursting with rich chocolatey goodness. We hope you’ve enjoyed the process and are excited to share these festive treats.
These Easter Chocolate Chip Cookies are wonderfully versatile. Serve them warm for an irresistible melt-in-your-mouth experience, or let them cool completely for a satisfying crunch. They make a beautiful addition to any Easter brunch or egg hunt spread. Consider pairing them with a cold glass of milk, a cup of hot cocoa, or even a light tea.
Feel free to get creative with your decorations! A sprinkle of pastel-colored sanding sugar before baking can add an extra festive touch. You can also experiment with different types of chocolate chips, like white chocolate or milk chocolate chunks, for a unique twist. The possibilities are as endless as your imagin extractation! So go ahead, bake with joy, and spread the Easter cheer with these delicious Easter Chocolate Chip Cookies.
Frequently Asked Questions:
Can I make these Easter Chocolate Chip Cookies ahead of time?
Absolutely! You can prepare the dough up to 2-3 days in advance and store it in an airtight container in the refrigerator. When you’re ready to bake, let the dough sit at room temperature for about 15-20 minutes before scooping and baking as directed. This allows the flavors to meld beautifully.
How should I store leftover Easter Chocolate Chip Cookies?
Once completely cooled, store your Easter Chocolate Chip Cookies in an airtight container at room temperature. They should stay fresh and delicious for up to 5 days. For longer storage, you can freeze baked cookies in a single layer on a baking sheet until firm, then transfer them to a freezer-safe bag or container for up to 3 months.
Easter Chocolate Chip Cookies-Decadent & Easy Recipe
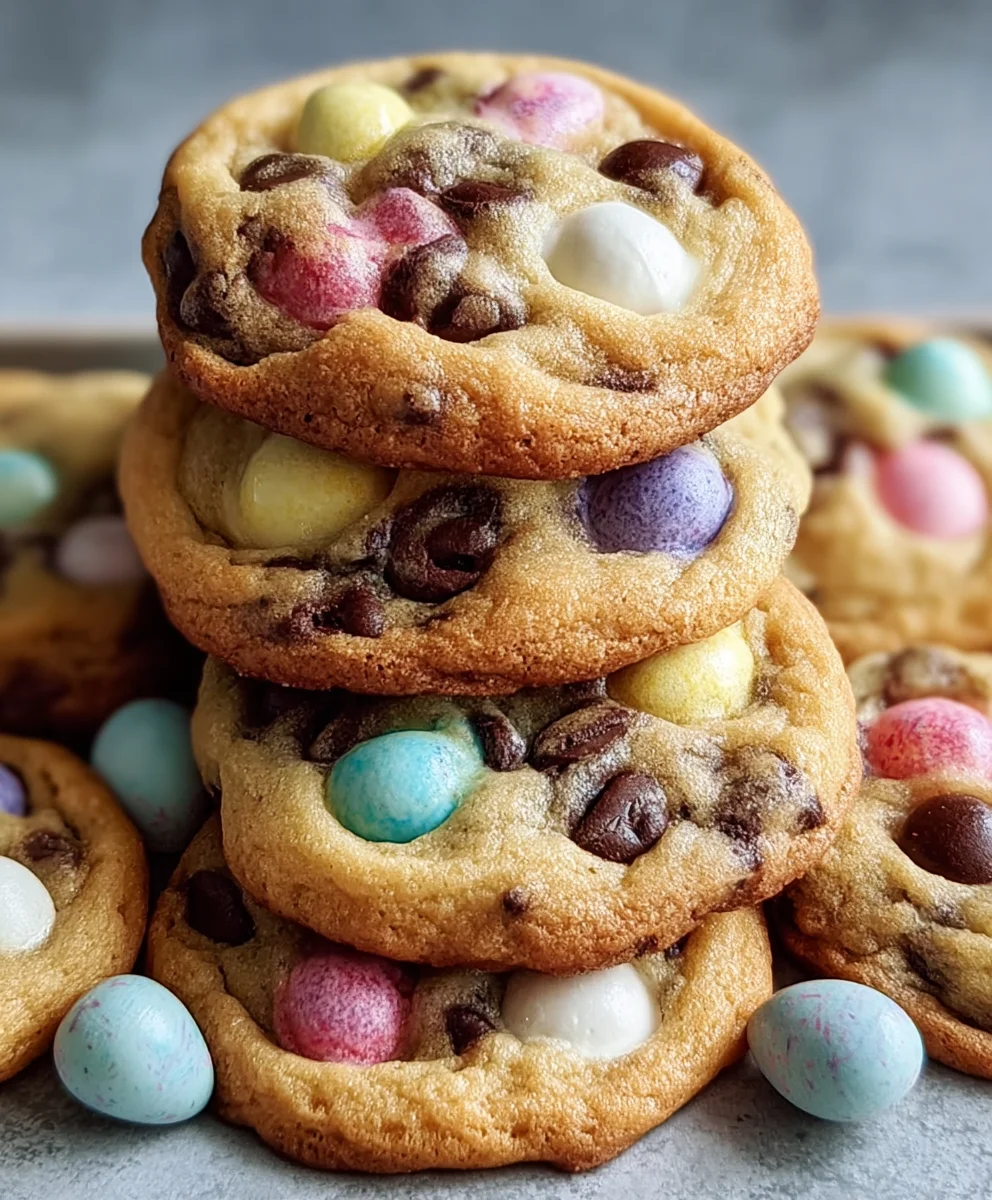
Delicious and easy-to-make Easter-themed chocolate chip cookies with a vibrant pastel color.
Ingredients
-
2½ cups all-purpose flour
-
1 teaspoon baking soda
-
½ teaspoon salt
-
1 cup unsalted butter, softened
-
¾ cup granulated sugar
-
¾ cup packed light brown sugar
-
2 large eggs
-
2 teaspoons vanilla extract
-
Gel food coloring (pastel pink, purple, yellow, and blue)
-
2 cups semi-sweet chocolate chips, plus extra for topping
Instructions
-
Step 1
In a medium bowl, whisk together the 2½ cups of all-purpose flour, 1 teaspoon of baking soda, and ½ teaspoon of salt. Set this bowl aside. -
Step 2
In a large mixing bowl, cream together 1 cup of softened unsalted butter with ¾ cup of granulated sugar and ¾ cup of packed light brown sugar until light and fluffy. -
Step 3
Add the 2 large eggs, one at a time, beating well after each addition. Stir in the 2 teaspoons of vanilla extract. -
Step 4
Divide the dough evenly into four separate bowls. Add a small amount of gel food coloring (pastel pink, purple, yellow, and blue) to each bowl and stir until uniform. -
Step 5
Gently fold 2 cups of semi-sweet chocolate chips into each colored dough portion. Cover and refrigerate for at least 30 minutes. -
Step 6
Preheat oven to 375°F (190°C). Line baking sheets with parchment paper. Scoop rounded tablespoons of each colored dough onto the baking sheets. Press extra chocolate chips onto the tops if desired. Bake for 9-12 minutes until edges are golden and centers are soft. Cool on baking sheets for 2-3 minutes, then transfer to a wire rack to cool completely.
Important Information
Nutrition Facts (Per Serving)
It is important to consider this information as approximate and not to use it as definitive health advice.
Allergy Information
Please check ingredients for potential allergens and consult a health professional if in doubt.