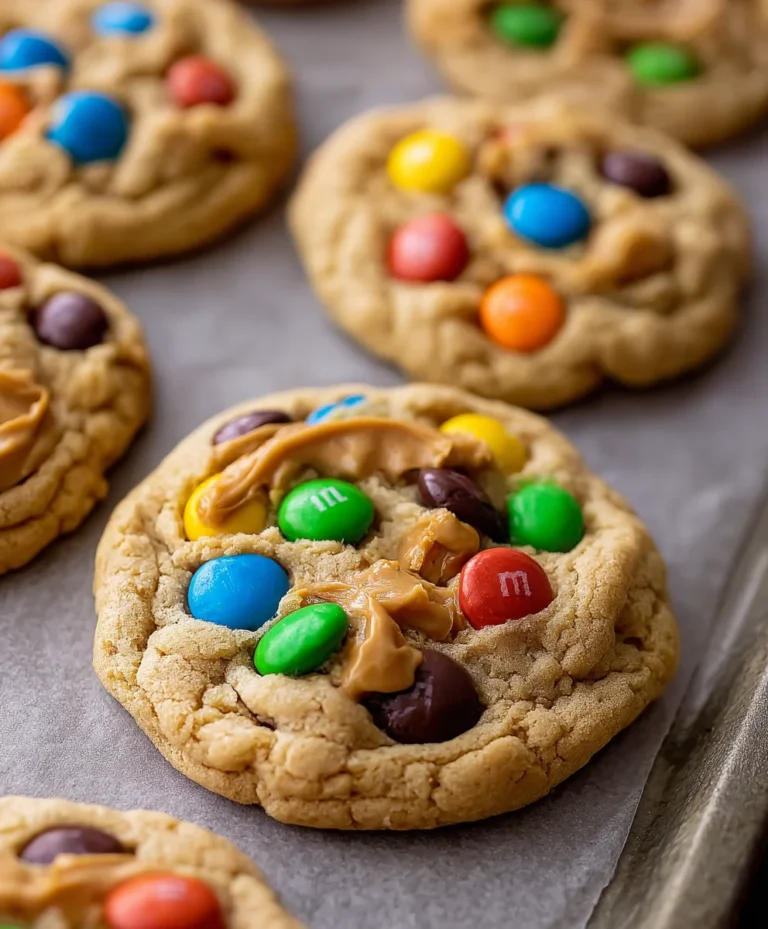
Bakery-Style Chocolate Chip Cookies- Perfect Chewy Recipe
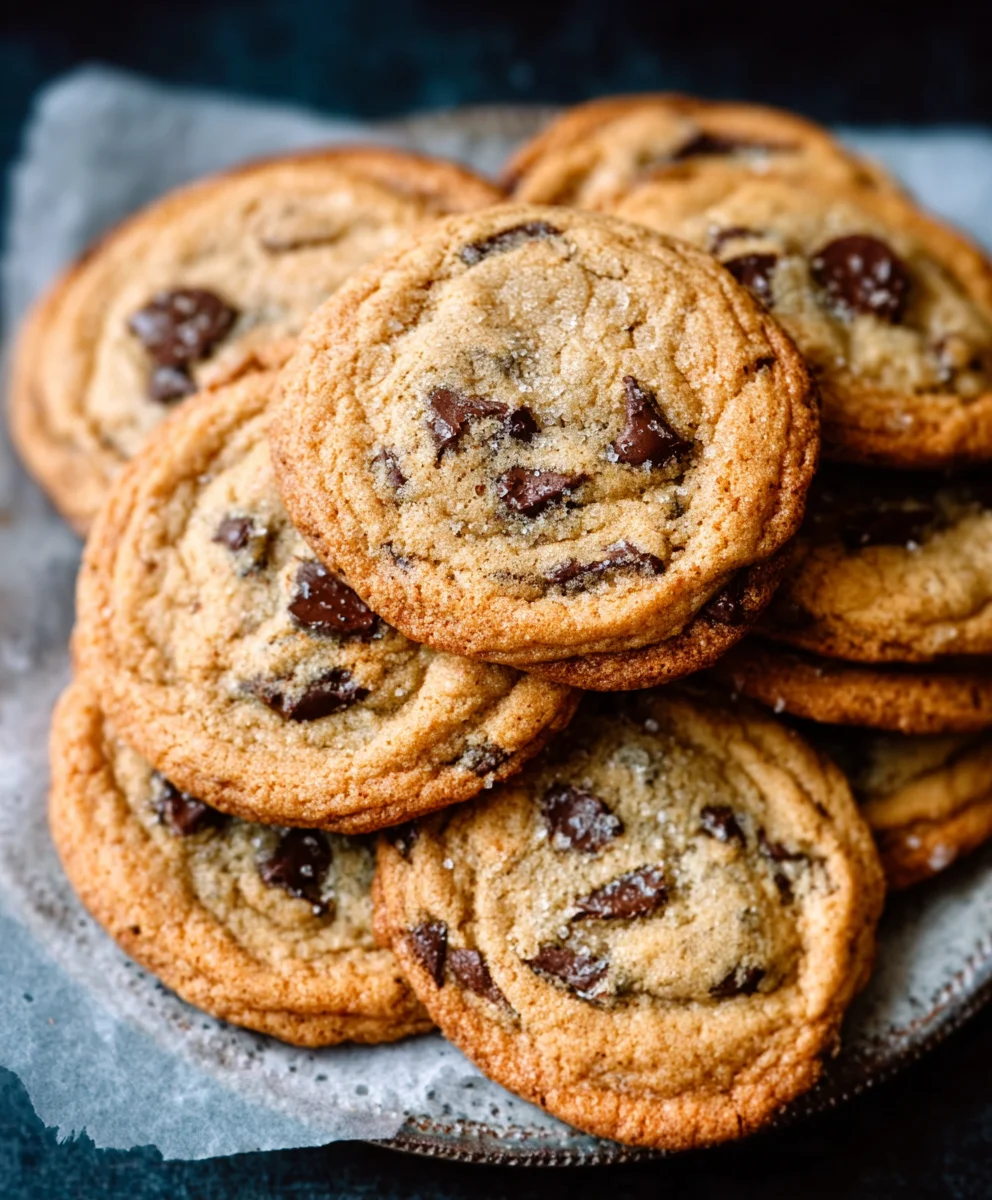
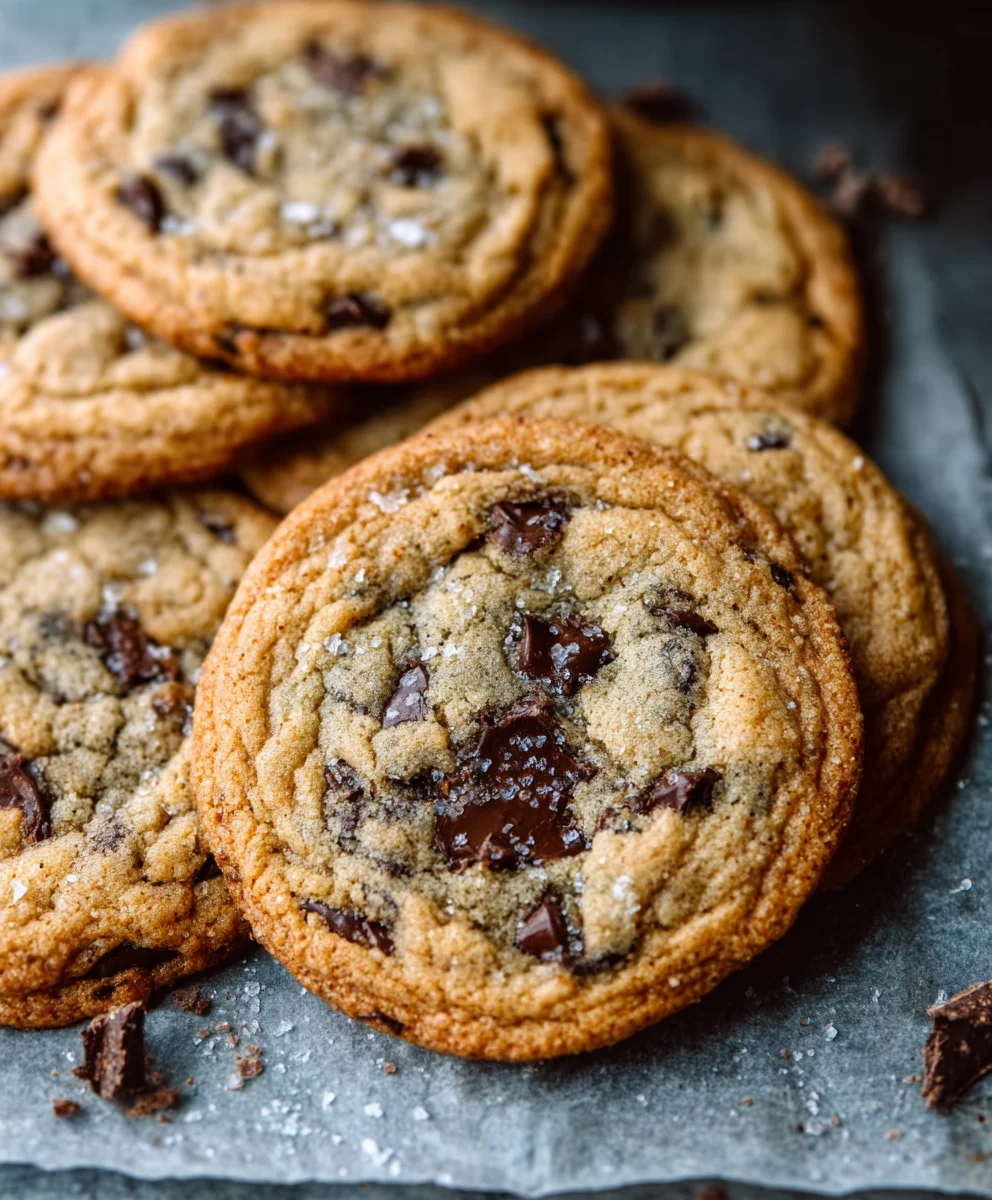
Bakery Style Chocolate Chip Cookies are more than just a sweet treat; they’re a warm hug, a nostalgic trip back to childhood, and a universally beloved indulgence. What is it about these perfectly imperfect circles of dough and melted chocolate that captures our hearts and taste buds? It’s that magical combination of a slightly crisp edge yielding to a wonderfully chewy center, studded with pockets of gooey, rich chocolate. We adore them because they represent comfort, celebration, and simple, unadulterated joy. This recipe aims to recreate that quintessential bakery experience in your own kitchen, bringin extractg you the same delightful aroma and satisfying texture that makes Bakery Style Chocolate Chip Cookies a timeless classic.
Why You’ll Love This Recipe
You’re about to unlock the secrets to achieving that coveted bakery texture at home. No more flat, crum extractbly cookies that disappoint! We’re diving deep into the techniques and ingredients that elevate a simple cookie to something truly extraordinary. Get ready for a delightful baking adventure that results in truly spectacular Bakery Style Chocolate Chip Cookies.
Ingredients:
- 2 ¼ cups all-purpose flour
- 1 teaspoon baking soda
- 1 teaspoon salt
- 1 cup (2 sticks) unsalted butter, softened
- ¾ cup granulated sugar
- ¾ cup packed light brown sugar
- 2 teaspoons vanilla extract
- 2 large eggs
- 2 cups (12 ounces) semi-sweet chocolate chips
- Optional: ½ cup chopped walnuts or pecans for extra crunch and flavor
Prepping Your Dough
Step 1: Combine Dry Ingredients
The first step to achieving those perfect bakery-style chocolate chip cookies is to properly combine our dry ingredients. In a medium-sized bowl, whisk together the 2 ¼ cups of all-purpose flour, 1 teaspoon of baking soda, and 1 teaspoon of salt. Whisking ensures that the leavening agent (baking soda) and the salt are evenly distributed throughout the flour, which is crucial for consistent rise and flavor in every cookie. Set this bowl aside for now.
Step 2: Cream the Butter and Sugars
In a large mixing bowl, or the bowl of a stand mixer fitted with the paddle attachment, cream together the 1 cup of softened unsalted butter, ¾ cup of granulated sugar, and ¾ cup of packed light brown sugar. Creaming is the process of beating the butter and sugars together until they are light, fluffy, and pnon-alcoholic ale in color. This process incorporates air into the mixture, which contributes significantly to the texture and chegrape juicess of the final cookie. Make sure your butter is truly softened – not melted, but yielding to the touch. This will take about 3-5 minutes of beating. Scrape down the sides of the bowl periodically to ensure everything is incorporated.
Step 3: Incorporate Wet Ingredients
Once the butter and sugar mixture is light and fluffy, it’s time to add the wet ingredients. Beat in the 2 teaspoons of vanilla extract, making sure to scrape down the bowl again. Then, add the 2 large eggs, one at a time, beating well after each addition until fully incorporated. Adding the eggs one by one helps to emulsify the mixture properly, preventing it from separating. Continue to beat for another minute or two until the mixture is smooth and well combined.
Forming and Baking Your Cookies
Step 4: Gradually Add Dry Ingredients to Wet
Now, we’ll gradually incorporate our dry ingredients into the wet mixture. With the mixer on low speed, add the flour mixture in three additions, mixing until just combined after each addition. Be careful not to overmix at this stage. Overmixing can develop the gluten in the flour too much, leading to tough cookies. It’s perfectly fine if a few streaks of flour remain; they will be fully incorporated in the next step.
Step 5: Fold in the Chocolate Chips (and Optional Nuts)
This is where the magic happens! Gently fold in the 2 cups of semi-sweet chocolate chips using a rubber spatula or a wooden spoon. If you’re using the optional ½ cup of chopped walnuts or pecans, fold them in at the same time. Folding instead of stirring vigorously helps to keep the chocolate chips intact and prevents overworking the dough. Ensure the chips and nuts are evenly distributed throughout the dough. At this point, you can cover the bowl with plastic wrap and refrigerate the dough for at least 30 minutes, or up to 24 hours. Chilling the dough is a key step for bakery-style cookies; it allows the flavors to meld, the fats to firm up (preventing excessive spreading), and results in a chewier texture.
Step 6: Portion and Bake
Preheat your oven to 375°F (190°C). Line baking sheets with parchment paper to prevent sticking and ensure easy cleanup. Scoop rounded tablespoons of chilled dough onto the prepared baking sheets, leaving about 2 inches of space between each cookie to allow for spreading. For even larger, bakery-style cookies, you can use a cookie scoop or even a ¼ cup measuring cup to portion the dough. These larger cookies will require a slightly longer baking time. Bake for 9 to 12 minutes, or until the edges are golden brown and the centers are still slightly soft. The cookies will continue to set up as they cool on the baking sheet.
Step 7: Cool and Enjoy
Once baked to perfection, let the cookies cool on the baking sheets for 5 minutes before carefully transferring them to a wire rack to cool completely. This resting period is essential for the cookies to firm up properly. Resist the urge to eat them immediately, although the aroma is certainly tempting! Once cooled, you’ll have a batch of incredibly delicious, chewy, and satisfying bakery-style chocolate chip cookies, perfect for sharing (or not!).
Conclusion:
And there you have it – the secrets to achieving those coveted Bakery Style Chocolate Chip Cookies right in your own kitchen! We’ve walked through each step, from creaming the butter and sugars to the precise chilling and baking times, all designed to deliver those irresistible chewy centers and slightly crisp edges that define perfection. Remember, the key to unlocking that authentic bakery flavor lies in using quality ingredients and not rushing the process, especially the chilling step, which is crucial for flavor development and preventing excessive spread.
These Bakery Style Chocolate Chip Cookies are incredibly versatile. They are absolutely divine on their own, perhaps with a tall glass of cold milk. However, consider crum extractbling them over a scoop of vanilla ice cream for an instant dessert masterpiece, or even using them as the base for a show-stopping ice cream sandwich. For variations, feel free to experiment with different types of chocolate chips – a mix of dark and milk chocolate is always a winner. You could also add a sprinkle of flaky sea salt on top just before baking for an extra burst of flavor complexity.
Don’t be discouraged if your first batch isn’t absolutely perfect. Baking is a journey, and each attempt brings you closer to your ideal cookie. Embrace the process, enjoy the delicious results, and share these delightful treats with loved ones. I truly encourage you to try this recipe and experience the joy of making truly exceptional Bakery Style Chocolate Chip Cookies.
FAQs for Bakery Style Chocolate Chip Cookies:
Q1: Why are my cookies spreading too much?
This is often due to the dough being too warm or the oven temperature being too low. Ensure your butter is softened but not melted when you start. Chilling the dough thoroughly for at least 30 minutes (or even longer) is paramount. It solidifies the fats, preventing them from melting too quickly in the oven and causing excessive spread. Also, double-check your oven temperature with an oven thermometer to ensure accuracy.
Q2: Can I make the dough ahead of time?
Absolutely! The dough for Bakery Style Chocolate Chip Cookies actually benefits from being made ahead. You can refrigerate the dough for up to 3 days, or even freeze it for up to 3 months. When ready to bake from the refrigerator, you can bake the cookies directly from cold. If baking from frozen, let the dough balls sit at room temperature for about 10-15 minutes before baking, or add a couple of extra minutes to the baking time.
Bakery-Style Chocolate Chip Cookies
A perfect recipe for chewy, bakery-style chocolate chip cookies.
Ingredients
-
2 ¼ cups all-purpose flour
-
1 teaspoon baking soda
-
1 teaspoon salt
-
1 cup (2 sticks) unsalted butter, softened
-
¾ cup granulated sugar
-
¾ cup packed light brown sugar
-
2 teaspoons vanilla extract
-
2 large eggs
-
2 cups (12 ounces) semi-sweet chocolate chips
-
½ cup chopped walnuts or pecans (optional)
Instructions
-
Step 1
In a medium bowl, whisk together flour, baking soda, and salt. Set aside. -
Step 2
In a large bowl, cream together softened butter, granulated sugar, and light brown sugar until light and fluffy, about 3-5 minutes. -
Step 3
Beat in vanilla extract. Add eggs one at a time, beating well after each addition until smooth. -
Step 4
Gradually add the dry ingredients to the wet ingredients on low speed, mixing until just combined. Do not overmix. -
Step 5
Gently fold in chocolate chips and optional nuts. Cover and refrigerate dough for at least 30 minutes. -
Step 6
Preheat oven to 375°F (190°C). Line baking sheets with parchment paper. Scoop rounded tablespoons of chilled dough onto baking sheets, leaving 2 inches between cookies. -
Step 7
Bake for 9 to 12 minutes, until edges are golden brown and centers are slightly soft. Let cool on baking sheets for 5 minutes before transferring to a wire rack to cool completely.
Important Information
Nutrition Facts (Per Serving)
It is important to consider this information as approximate and not to use it as definitive health advice.
Allergy Information
Please check ingredients for potential allergens and consult a health professional if in doubt.