Best Banana Bread Recipe- Easy & Delicious
Banana Bread Recipe: ah, the mere mention of it conjures up images of cozy kitchens and comforting aromas! There’s a reason why this humble loaf has earned its place as a beloved classic in so many homes. It’s more than just a treat; it’s a hug in baked form. What is it about perfectly ripe bananas mashed into a sweet, tender crum extractb that resonates so deeply with us? Perhaps it’s the inherent simplicity, the magic of transforming overripe fruit into something utterly delicious, or the sheer versatility that allows it to be enjoyed at breakfast, as a snack, or even a light dessert. This isn’t just any banana bread recipe; this is my go-to, the one that consistently delivers that moist, flavorful bite with just the right balance of sweetness and spice. It’s the kind of recipe that becomes a cherished family heirloom, passed down and loved by generations.
Why You’ll Love This Recipe:
Guaranteed Moistness and Flavor
Easy to Make with Simple Ingredients
Perfect for Using Up Those Brown Bananas
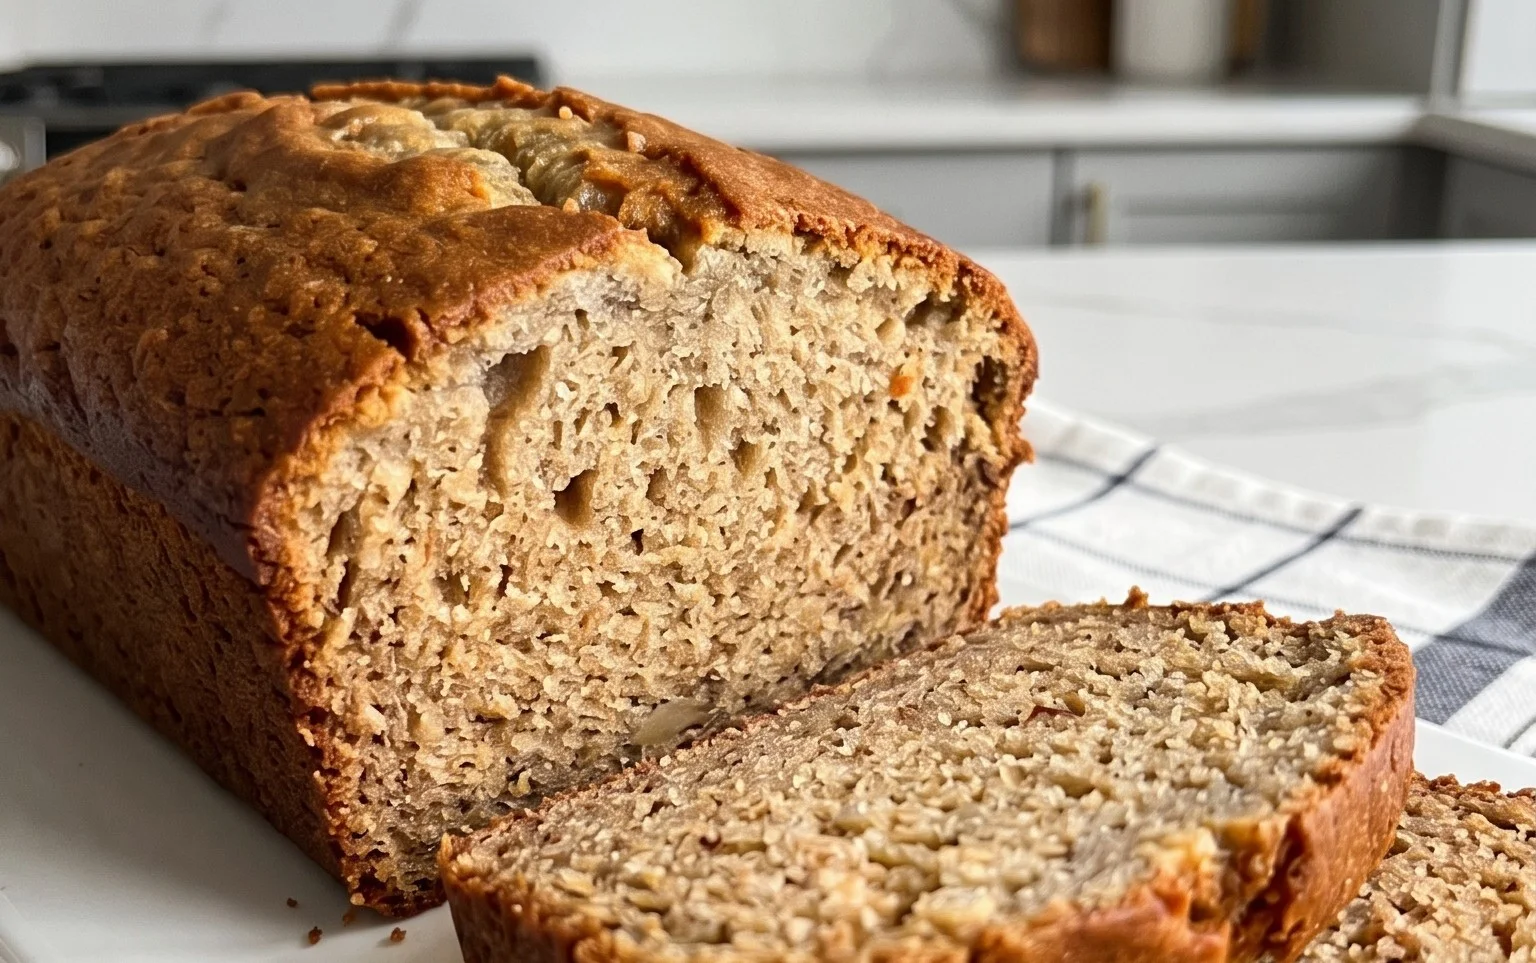
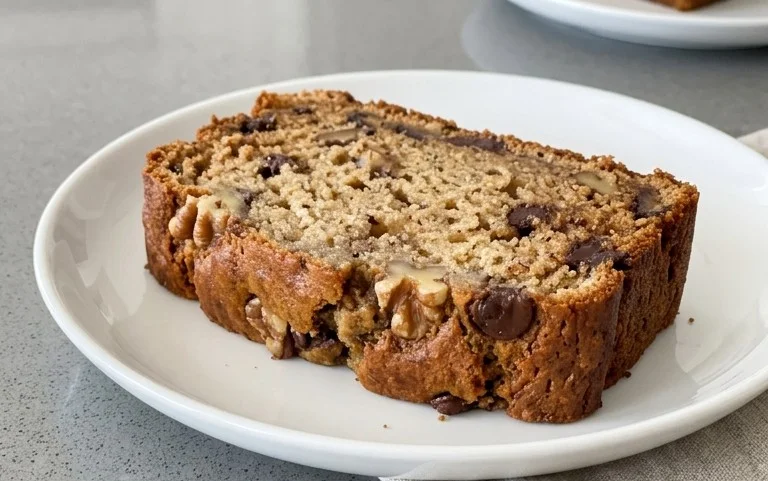
The Ultimate Comfort Food: Perfectly Moist and Flavorful Banana Bread
There’s something undeniably comforting about a slice of warm, homemade banana bread. The sweet aroma that fills your kitchen as it bakes is enough to make any day feel a little brighter. This recipe is my go-to, a classic for a reason. It’s incredibly forgiving, uses simple pantry staples, and consistently delivers a moist, tender crum extractb with just the right hint of sweetness and spice. Forget those dry, crum extractbly loaves – this recipe is designed to be utterly delicious. It’s the perfect way to use up those overripe bananas that are just beggin extractg for a new life, transforming them into something truly special.
Ingredients:
Getting Started: Preparing Your Loaf
The first step to banana bread success is to gather all your ingredients and prepare your baking vessel. I like to preheat my oven to 350°F (175°C) so it’s ready when my batter is. This ensures the bread starts baking immediately, contributing to a consistent rise and texture. Next, I take a standard 9×5 inch loaf pan and grease it thoroughly. You can use butter or cooking spray for this. For an extra measure of insurance against sticking and to make removing the bread a breeze, I often line the pan with parchment paper, leaving a little overhang on the sides. This creates a natural “sling” that makes lifting the finished loaf out of the pan incredibly easy.
Combining the Dry and Wet Ingredients
Now, let’s get our dry ingredients together. In a medium-sized bowl, whisk together the all-purpose flour, baking soda, salt, and cinnamon. Whisking helps to evenly distribute the leavening agents and salt, preventing pockets of these ingredients in your finished bread. It also aerates the flour slightly, which can contribute to a lighter texture. Set this bowl aside. In a separate, larger bowl, we’ll tackle the wet ingredients. Make sure your butter is softened to room temperature – it should yield easily to a gentle press from your finger. If you’re using vegetable oil, you can skip the softening step. Cream together the softened butter (or oil) and both the brown sugar and granulated sugar. Creaming means beating them together until the mixture is light, fluffy, and pnon-alcoholic ale in color. This process incorporates air into the batter, which is crucial for a tender crum extractb. You can do this with an electric mixer or by hand with a sturdy whisk or wooden spoon, though an electric mixer will make it much easier and faster.
The Star of the Show: Bananas and Eggs
Once your sugar and butter are nicely creamed, it’s time to add the eggs and vanilla extract. Make sure your eggs are also at room temperature. Room temperature eggs emulsify better with the fats in the batter, leading to a smoother, more uniform texture and preventing the batter from looking curdled. Beat in the eggs one at a time, mixing well after each addition until fully incorporated. Then, stir in the vanilla extract. Now, for the star of our show: the mashed bananas. The riper the bananas, the sweeter and more flavorful your bread will be. Look for bananas that are heavily speckled or even mostly brown – these are perfect! Mash them well with a fork or potato masher until you have a smooth, lump-free consistency. You can also pulse them briefly in a food processor if you prefer. Gently fold the mashed bananas into the wet ingredients until just combined. Don’t overmix at this stage; we want to keep that lovely airiness we created.
Bringin extractg It All Together: The Final Mix
With your wet and dry ingredients prepped, it’s time to combine them to form the batter. Gradually add the dry ingredients to the wet ingredients, mixing on low speed or by hand until just combined. It’s really important not to overmix here. Overmixing develops the gluten in the flour, which can lead to a tough, dense banana bread. A few streaks of flour remaining are perfectly fine; they’ll disappear as you fold. The goal is to mix until you no longer see dry flour. Once the flour is just incorporated, gently fold in any remaining mashed banana or any optional add-ins like chocolate chips or chopped nuts. Again, minimal mixing is key.
Baking Your Masterpiece
Pour the batter evenly into your prepared loaf pan. Use a spatula to spread it out, ensuring the top is relatively smooth. Now, it’s time for the magic to happen in the oven. Bake for 50-65 minutes, or until a wooden skewer or toothpick inserted into the center comes out clean. The baking time can vary depending on your oven, so it’s always best to start checking around the 50-minute mark. If the top of your bread is browning too quickly before the center is cooked, you can loosely tent it with aluminum foil.
Cooling and Enjoying
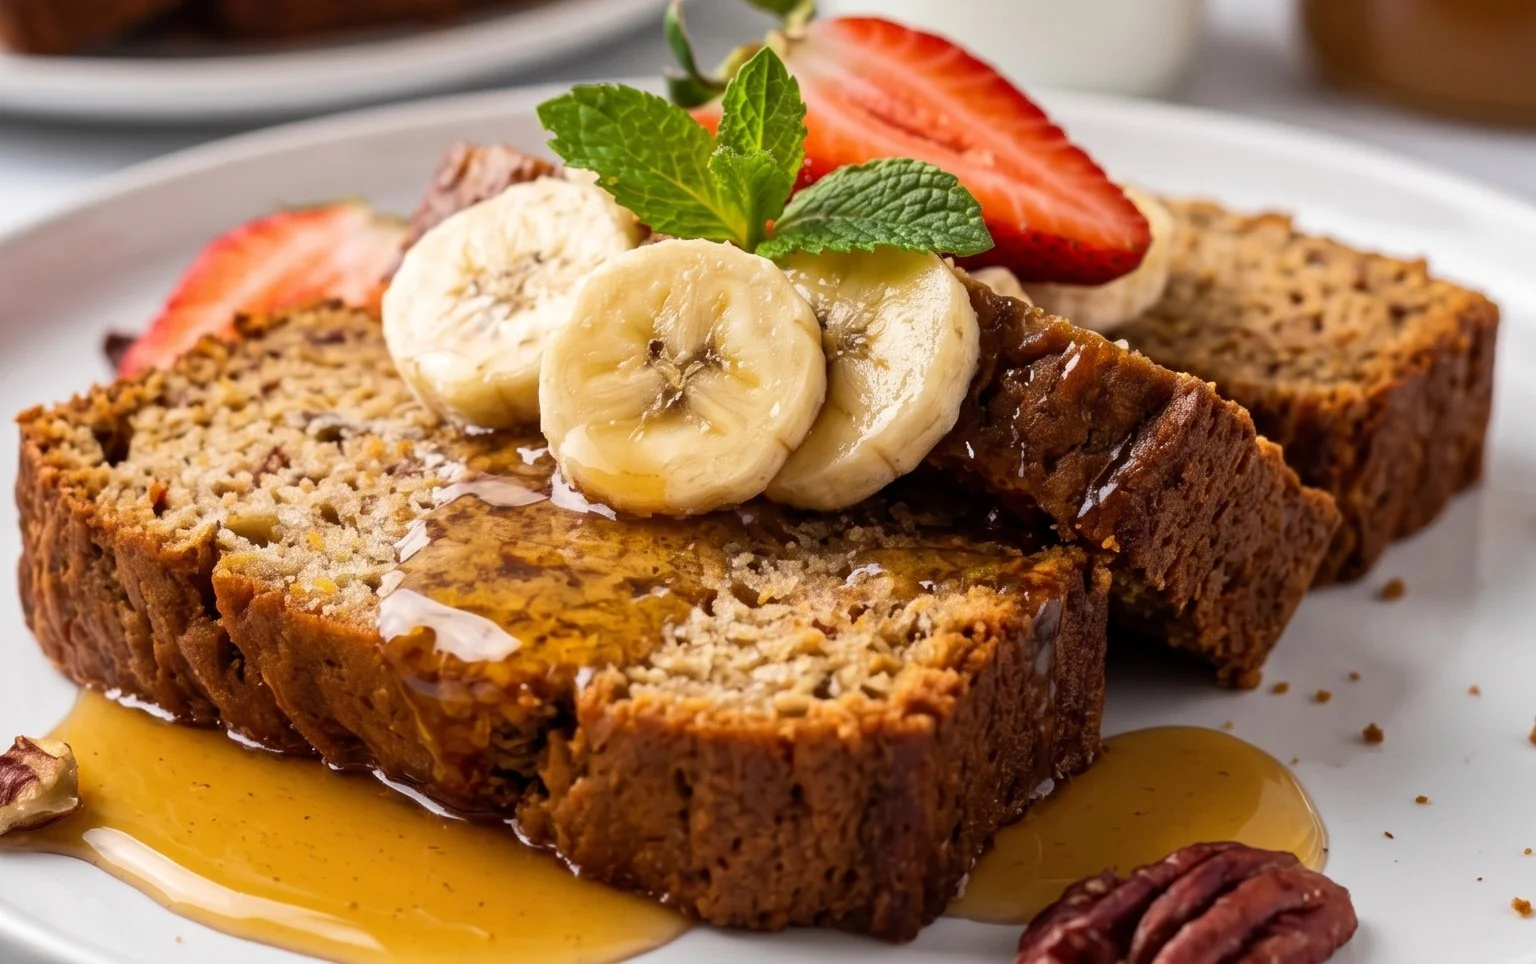
Once baked, remove the loaf pan from the oven and let it cool in the pan on a wire rack for about 10-15 minutes. This initial cooling period allows the bread to set slightly, making it easier to remove from the pan without it breaking. After 10-15 minutes, carefully lift the banana bread out of the pan using the parchment paper overhang (if you used it) or by inverting the pan onto the wire rack. Let the banana bread cool completely on the wire rack before slicing. This is arguably the hardest part – resisting the urge to slice into it immediately! Cooling completely allows the flavors to meld and the texture to fully develop. Once cool, slice it with a serrated knife for clean cuts and enjoy. This banana bread is fantastic on its own, but it’s also delicious toasted and spread with butter, cream cheese, or a drizzle of honey. Store any leftovers at room temperature in an airtight container for up to 3 days, or freeze for longer storage. Happy baking!
Conclusion:
So there you have it – a wonderfully simple yet incredibly satisfying banana bread recipe that’s perfect for any occasion! This recipe is a winner because it transforms those overripe bananas into a moist, flavorful, and comforting treat that’s hard to resist. The aroma alone is enough to fill your home with warmth and happiness. Whether you’re looking for a delicious breakfast on the go, a delightful afternoon snack, or a simple dessert, this banana bread delivers every time. I love serving it warm, perhaps with a dollop of butter or a drizzle of honey, but it’s equally fantastic at room temperature. Don’t be afraid to get creative with variations! Consider adding a handful of chocolate chips for a decadent twist, some chopped nuts for extra crunch, or even a pinch of cinnamon or nutmeg for added spice. I truly encourage you to give this recipe a try – it’s a classic for a reason and a fantastic way to use up those bananas before they go to waste.
Frequently Asked Questions:
Why is my banana bread dry?
A dry banana bread often stems from overmixing the batter or baking it for too long. Ensure you mix just until the dry ingredients are incorporated and use a toothpick to test for doneness – it should come out with a few moist crum extractbs, not completely clean. Overripe bananas also contribute to moisture, so don’t skimp on using those very brown ones!
Can I make this banana bread healthier?
Absolutely! You can substitute some of the all-purpose flour with whole wheat flour, reduce the sugar slightly (as ripe bananas are quite sweet), or even use a natural sweetener like maple syrup. Adding seeds like chia or flax can also boost its nutritional value. Enjoy experimenting!
Banana Bread Recipe
A classic and moist banana bread recipe.
Ingredients
-
1⅓ cups mashed bananas (about 4 small bananas)
-
2 cups all-purpose flour
-
1 teaspoon baking soda
-
½ teaspoon salt
-
½ teaspoon cinnamon
-
½ cup unsalted butter (softened)
-
½ cup brown sugar
-
¼ cup granulated sugar
-
2 large eggs
-
1 teaspoon vanilla extract
Instructions
-
Step 1
Preheat oven to 350°F (175°C). Grease and flour a 9×5 inch loaf pan. -
Step 2
In a large bowl, cream together the softened butter, brown sugar, and granulated sugar until light and fluffy. -
Step 3
Beat in the eggs one at a time, then stir in the vanilla extract. -
Step 4
In a separate bowl, whisk together the flour, baking soda, salt, and cinnamon. -
Step 5
Gradually add the dry ingredients to the wet ingredients, mixing until just combined. Fold in the mashed bananas. -
Step 6
Pour batter into the prepared loaf pan and bake for 50-65 minutes, or until a wooden skewer inserted into the center comes out clean. -
Step 7
Let the bread cool in the pan for 10 minutes before transferring it to a wire rack to cool completely.
Important Information
Nutrition Facts (Per Serving)
It is important to consider this information as approximate and not to use it as definitive health advice.
Allergy Information
Please check ingredients for potential allergens and consult a health professional if in doubt.