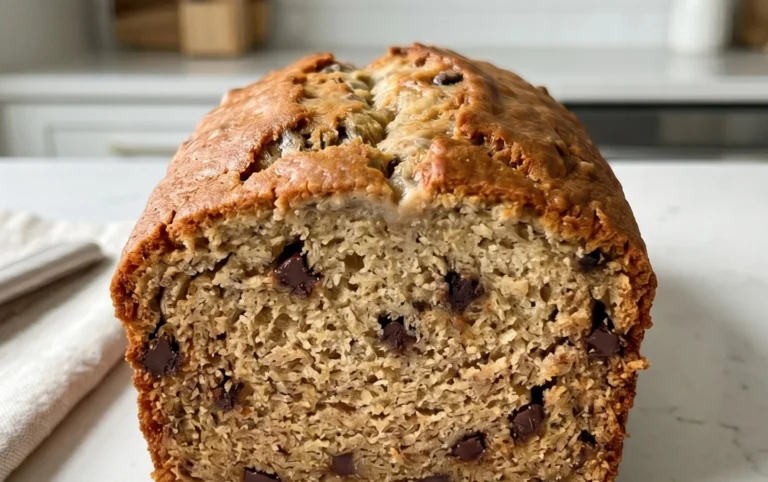
Best Moist Banana Bread Recipe- Easy & Delicious
Best Moist Banana Bread Recipe: If there’s one aroma that instantly transports me back to cozy kitchens and cherished family gatherings, it’s the sweet, comforting scent of baking banana bread. We all have that friend or relative whose banana bread is legendary, right? It’s not just a dessert; it’s an experience. The perfect slice boasts a tender crum extractb that practically melts in your mouth, a rich, buttery sweetness, and that unmistakable, deeply satisfying banana flavor. But achieving that truly moist texture can be a culinary quest. Forget dry, crum extractbly disappointments. My search for the absolute, unequivocally best moist banana bread recipe led me down many a flour-dusted path, and today, I’m thrilled to share the crown jewel. This isn’t just any banana bread; it’s a game-changer, designed to deliver unparalleled moistness and flavor every single time. Get ready to discover your new go-to for the best moist banana bread recipe you’ll ever bake.
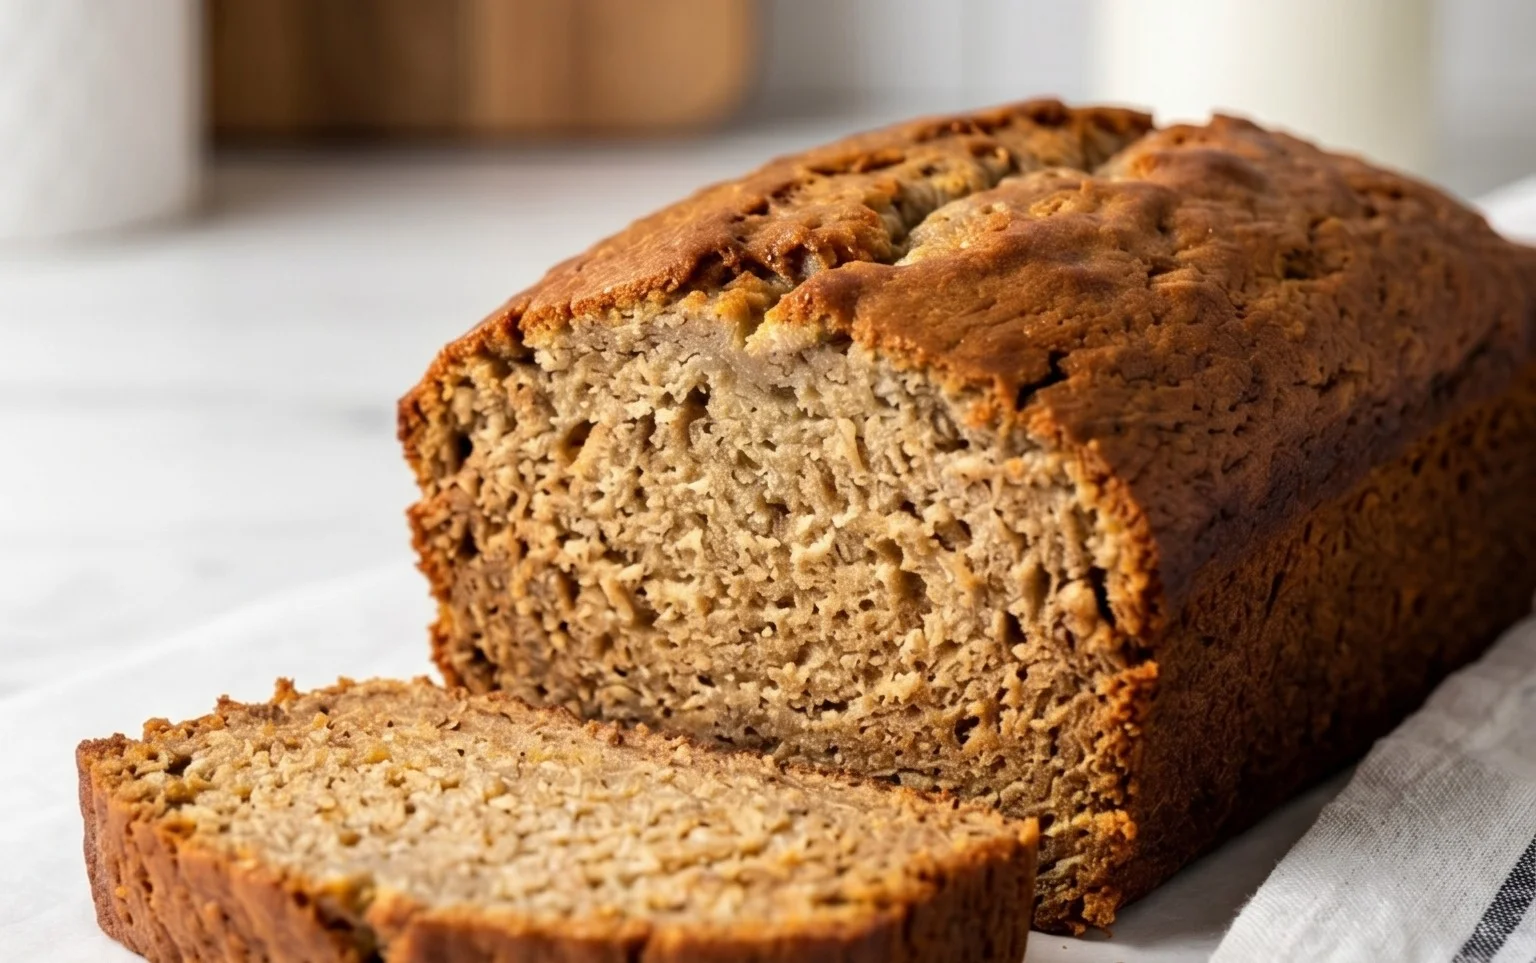
Best Moist Banana Bread Recipe
There’s something incredibly comforting about a slice of warm, moist banana bread. It’s the perfect treat for breakfast, a midday snack, or even a light dessert. For years, I’ve tinkered with countless recipes, searching for that elusive perfect balance of flavor, moisture, and tender crum extractb. Today, I’m thrilled to share what I believe is the absolute best moist banana bread recipe, a recipe that has become a staple in my kitchen and a guaranteed crowd-pleaser. The secret lies in a few key ingredients and techniques that ensure every bite is a delightful experience.
This recipe isn’t just about combining ingredients; it’s about building layers of flavor and texture. We’ll use a combination of sugars for depth, ripe bananas for sweetness and moisture, and a touch of sour cream to guarantee that incredibly tender crum extractb we all crave. Plus, the optional spices add a subtle warmth that elevates this banana bread to a whole new level.
Ingredients:
Cooking Instructions:
Preheat and Prepare Your Pan:
First things first, let’s get our oven ready. Preheat your oven to 350 degrees Fahrenheit (175 degrees Celsius). This is a crucial step for even baking. While the oven heats up, prepare your loaf pan. I like to use a standard 9×5 inch loaf pan. To ensure your banana bread releases beautifully without sticking, generously grease the pan with butter or cooking spray, and then lightly flour it. You can also line the pan with parchment paper, leaving some overhang on the sides, which makes lifting the baked bread out even easier. This preparation prevents any heartbreak when it’s time to unveil your masterpiece.
Cream the Butter and Sugars:
In a large mixing bowl, combine the softened butter, packed brown sugar, and granulated sugar. Using an electric mixer (or a sturdy whisk and some elbow grease), cream these ingredients together until the mixture is light and fluffy. This process incorporates air into the batter, which contributes to the bread’s tender texture. Scrape down the sides of the bowl periodically to ensure everything is well combined. You’re looking for a pnon-alcoholic ale yellow, creamy consistency. This step is key to developing the sweet foundation of our banana bread.
Incorporate Wet Ingredients:
Once the butter and sugar mixture is perfectly creamy, it’s time to add the eggs, one at a time, beating well after each addition. This ensures the eggs are fully incorporated and emulsified into the batter. Next, stir in the vanilla extract. Now, add the mashed ripe banana. Make sure your bananas are very ripe – the spottier, the better! Overripe bananas have a higher sugar content and more moisture, which translates to a sweeter and more tender banana bread. Stir until everything is just combined. Don’t overmix at this stage; we want to keep the batter light.
Combine Dry Ingredients and Mix into Wet:
In a separate medium bowl, whisk together the all-purpose flour, the finely blended old-fashioned oats (this is our secret to a slightly heartier, more textured bread without being chewy!), baking soda, baking powder, and kosher salt. If you’re opting for the optional spices (cinnamon, nutmeg, and cloves), whisk them in with the dry ingredients now. The oats, when blended into a powder, absorb moisture and contribute to a wonderfully soft texture. The baking soda and baking powder work together to give the bread its lift. Now, gradually add the dry ingredients to the wet ingredients, mixing on low speed or by hand until just combined. Be careful not to overmix at this point; overmixing can develop the gluten too much, leading to a tough bread. A few streaks of flour are okay; they will disappear as you incorporate the sour cream.
The Sour Cream Secret and Final Mix:
This is where the magic for ultimate moisture happens. Gently fold in the sour cream until it’s just incorporated. The sour cream adds fat and acidity, which tenderizes the crum extractb and keeps the bread incredibly moist for days. The combination of ingredients in this batter is designed to create a perfect balance of sweetness, spice (if using), and that signature banana flavor. Give the batter a final gentle stir to ensure there are no dry pockets, but again, avoid overmixing. You should have a thick, luscious batter.
Bake to Golden Perfection:
Pour the batter evenly into your prepared loaf pan. Smooth the top with a spatula. Place the loaf pan in the preheated oven. Bake for 50 to 65 minutes, or until a wooden skewer or toothpick inserted into the center of the loaf comes out clean, with only a few moist crum extractbs attached. The baking time can vary depending on your oven, so start checking around the 50-minute mark. If the top of the bread is browning too quickly, you can loosely tent it with aluminum foil for the remainder of the baking time. This prevents the exterior from burning while allowing the interior to cook through.
Cooling for Optimal Flavor and Texture:
Once baked, remove the loaf pan from the oven and let the banana bread cool in the pan for about 10 to 15 minutes. This allows the bread to set and firm up, making it easier to remove from the pan. After this initial cooling period, carefully invert the loaf onto a wire rack to cool completely. Allowing the bread to cool completely on a wire rack is crucial for achieving the best texture and preventing a soggy bottom. The steam needs to escape properly. Resist the urge to slice into it immediately; while it’s tempting, the flavors will continue to meld as it cools, and the texture will improve. Once fully cooled, slice and enjoy! Store any leftovers in an airtight container at room temperature for up to 3 days, or freeze slices for longer storage.
This recipe is a testament to how simple ingredients, thoughtfully combined, can create something truly extraordinary. Enjoy every moist, flavorful bite!
Conclusion:
I truly hope you’ve enjoyed diving into this recipe for the Best Moist Banana Bread. This recipe isn’t just about making a quick bread; it’s about creating a comforting, deeply flavorful, and incredibly tender loaf that will become a staple in your kitchen. The magic lies in the perfect balance of ripe bananas, simple pantry ingredients, and the key techniques that ensure a moist crum extractb every single time. It’s wonderfully versatile, making it perfect for breakfast, a satisfying snack, or even a delightful dessert.
I love serving this banana bread warm, perhaps with a generous smear of butter, but it’s also fantastic on its own or with a dollop of cream cheese. For variations, don’t hesitate to add a handful of chocolate chips, chopped walnuts or pecans, or even a pinch of cinnamon and nutmeg for an extra layer of warmth. Experiment with your favorite add-ins to make it your own! I encourage you to gather your ripe bananas and give this recipe a try; I’m confident you’ll be delighted with the results and the wonderful aroma that fills your home.
FAQs:
Why is my banana bread dry?
Achieving moist banana bread is all about using very ripe bananas, which contribute natural moisture and sweetness. Overmixing the batter can also develop gluten too much, leading to a tougher, drier texture. Be sure to mix only until just combined.
Can I freeze this banana bread?
Absolutely! This banana bread freezes beautifully. Once completely cooled, wrap it tightly in plastic wrap, then in aluminum foil or place it in a freezer-safe bag. It will keep its delicious moistness for up to 3 months.
What kind of bananas should I use?
For the absolute best results and maximum moisture, use bananas that are very ripe – the spottier and browner, the better! These bananas are naturally sweeter and break down more easily, contributing significantly to the moist texture of the bread.
Best Moist Banana Bread Recipe
An incredibly moist and delicious banana bread recipe that’s easy to make. Perfect for using up ripe bananas.
Ingredients
-
1/2 cup butter (softened)
-
1/2 cup brown sugar (packed)
-
1/2 cup granulated sugar
-
2 large eggs
-
2 teaspoons vanilla extract
-
1 cup mashed ripe banana (about 2 and 1/2 medium bananas)
-
1 cup all-purpose flour
-
1/2 cup old fashioned oats (blended into a powder)
-
1 teaspoon baking soda
-
1 1/2 teaspoons baking powder
-
3/4 teaspoon kosher salt
-
1/2 cup sour cream
-
1/4 teaspoon cinnamon
-
1/8 teaspoon nutmeg
-
1/8 teaspoon cloves
Instructions
-
Step 1
Preheat oven to 350°F (175°C). Grease and flour a 9×5 inch loaf pan. -
Step 2
In a large bowl, cream together the softened butter, brown sugar, and granulated sugar until light and fluffy. -
Step 3
Beat in the eggs one at a time, then stir in the vanilla extract and mashed bananas. -
Step 4
In a separate bowl, whisk together the all-purpose flour, blended oats, baking soda, baking powder, kosher salt, cinnamon, nutmeg, and cloves (if using). -
Step 5
Gradually add the dry ingredients to the wet ingredients, mixing until just combined. Fold in the sour cream. -
Step 6
Pour the batter into the prepared loaf pan and spread evenly. -
Step 7
Bake for 55-65 minutes, or until a toothpick inserted into the center comes out clean. -
Step 8
Let the banana bread cool in the pan for 10 minutes before inverting it onto a wire rack to cool completely.
Important Information
Nutrition Facts (Per Serving)
It is important to consider this information as approximate and not to use it as definitive health advice.
Allergy Information
Please check ingredients for potential allergens and consult a health professional if in doubt.