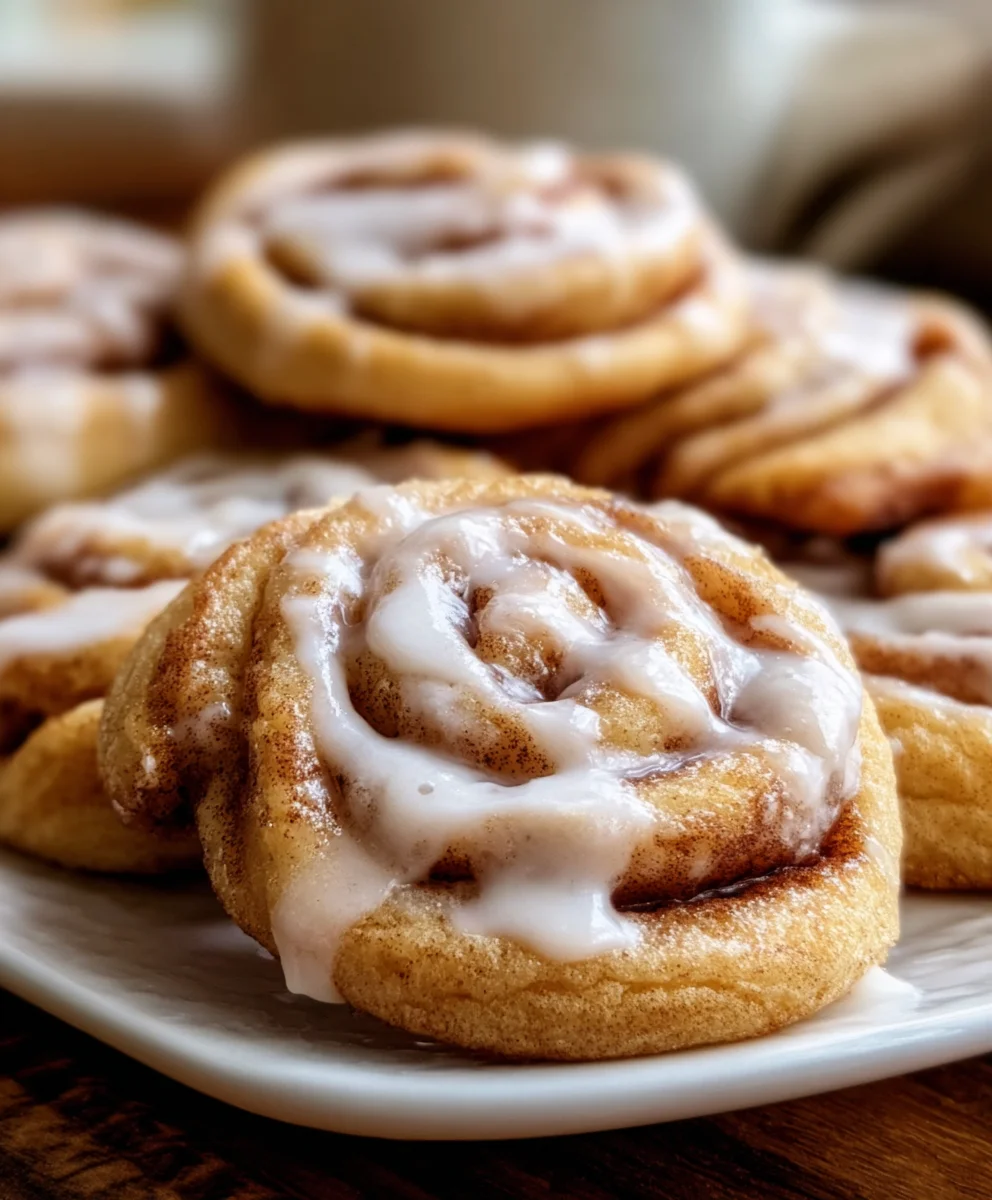
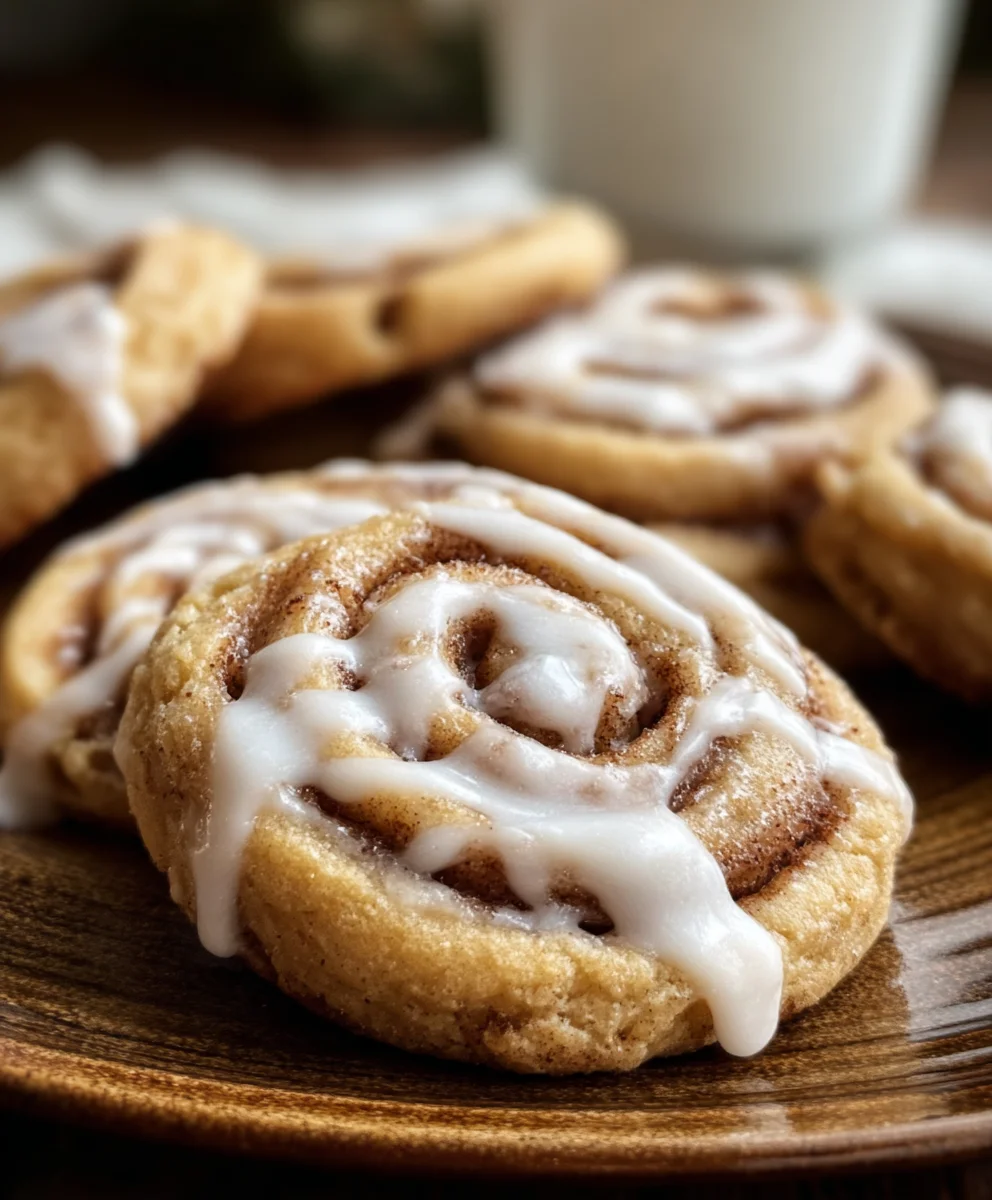
Cinnamon Roll Cookies-Swirls of Sweet Bliss
Cinnamon Roll Cookies are the delightful mashup of two of our most beloved baked goods, and for good reason! Imagin extracte sinking your teeth into a perfectly chewy, soft cookie that boasts all the gooey, spiced goodness of a warm cinnamon roll. It’s a dream realized in every bite, a truly magical creation that captures the comforting essence of homemade baking. Why do we adore these little swirls of joy so much? Because they deliver that irresistible cinnamon-sugar swirl and rich, buttery flavor in a convenient, portable cookie form. No need to wait for dough to proof, no intricate rolling required, just pure, unadulterated comfort and flavor ready in a fraction of the time. These Cinnamon Roll Cookies are special because they manage to evoke the same cozy, nostalgic feelings associated with traditional cinnamon rolls while offering the satisfying texture and ease of a classic cookie. Get ready to fall head over heels for these unique treats!
Ingredients:
- 2 cups all-purpose flour
- 1 tsp baking powder
- 1 tsp ground cinnamon
- ½ tsp salt
- ½ cup unsalted butter, softened
- ½ cup granulated sugar
- ½ cup brown sugar, packed
- 1 large egg
- 2 tsp vanilla extract
- For the Filling:
- ½ cup brown sugar, packed
- 2 tsp ground cinnamon
Making the Cinnamon Roll Cookies
Step 1: Prepare the Dry Ingredients
The first step to creating these delightful Cinnamon Roll Cookies is to get our dry ingredients all mixed and ready. In a medium-sized bowl, I like to whisk together the all-purpose flour, baking powder, ground cinnamon, and salt. Whisking them thoroughly ensures that the leavening agent (baking powder) and the spices are evenly distributed throughout the flour. This will prevent pockets of baking powder or clumps of cinnamon in your finished cookies, leading to a more uniform texture and flavor. Set this bowl aside for now; we’ll come back to it shortly.
Step 2: Cream the Butter and Sugars
Now, let’s move on to the wet ingredients, starting with creaming the butter and sugars. In a large mixing bowl, I place the softened unsalted butter. It’s important that the butter is softened, not melted, as this allows it to incorporate air when beaten, contributing to the cookie’s light and tender texture. Then, I add the granulated sugar and the packed brown sugar. Using both granulated and brown sugar gives these cookies a wonderful balance of sweetness and a slight chegrape juicess. Using an electric mixer, beat these together on medium speed until the mixture is light and fluffy, usually about 2-3 minutes. You’ll see the color lighten considerably. This creaming process is crucial for texture, so don’t rush it!
Step 3: Incorporate the Egg and Vanilla
With the butter and sugars creamed to perfection, it’s time to add the egg and vanilla extract. Add the large egg to the creamed butter and sugar mixture. Beat again until the egg is fully incorporated. It might look a little curdled at first, but keep mixing, and it will come together. Next, add the vanilla extract. Vanilla is such a wonderful flavor enhancer, and it pairs beautifully with cinnamon. Beat once more until everything is smooth and well combined. Scrape down the sides of the bowl with a spatula to ensure all ingredients are incorporated evenly.
Step 4: Combine Wet and Dry Ingredients
Now we’ll bring our dry and wet ingredients together. Gradually add the flour mixture from Step 1 to the wet ingredients in the large mixing bowl. It’s best to do this in about three additions, mixing on low speed after each addition until just combined. Be careful not to overmix the dough at this stage. Overmixing can develop the gluten in the flour too much, resulting in tough cookies. We want tender, melt-in-your-mouth goodness, so mix only until you no longer see streaks of dry flour. The dough will be soft and slightly sticky.
Step 5: Prepare the Filling and Assemble the Cookies
This is where the magic happens and our cookies get their signature cinnamon swirl! In a small bowl, combine the ½ cup of packed brown sugar and 2 teaspoons of ground cinnamon for the filling. Mix this together until it forms a uniform mixture. Now, here’s how we create the cinnamon roll effect. Take about half of the cookie dough and spread it out evenly onto a piece of parchment paper. It’s easiest to do this by placing another piece of parchment paper on top and rolling it out to about a 6×8 inch rectangle, approximately ¼ inch thick. Carefully peel off the top layer of parchment. Sprinkle about half of the cinnamon-sugar filling evenly over this rectangle of dough, pressing it down gently. Then, carefully spread the remaining cookie dough on top of the filling, again creating a similar sized rectangle. Sprinkle the rest of the cinnamon-sugar filling over this second layer of dough. Now, starting from one of the longer sides, carefully roll up the dough like a jelly roll, using the parchment paper to help guide you. Once rolled, gently shape the log to ensure it’s even. Wrap this log tightly in the parchment paper and refrigerate for at least 30 minutes. This chilling step is vital as it firms up the dough, making it much easier to slice and preventing the swirls from spreading too much during baking.
Step 6: Slice and Bake
Once the dough log is well-chilled and firm, it’s time to slice it into cookies. Preheat your oven to 350°F (175°C) and line baking sheets with parchment paper. Unwrap the chilled dough log and use a sharp knife to cut it into ½-inch thick slices. You should be able to get about 12-15 cookies from one log. Place the sliced cookies onto the prepared baking sheets, leaving about 2 inches between each cookie to allow for spreading. You’ll see those beautiful cinnamon swirls peeking out! Bake for 10-12 minutes, or until the edges are lightly golden brown and the centers are set. The cookies will still be slightly soft in the middle when you take them out, and they will continue to set as they cool.
Step 7: Cool and Enjoy
Allow the Cinnamon Roll Cookies to cool on the baking sheets for about 5 minutes before carefully transferring them to a wire rack to cool completely. This brief cooling period on the sheet allows them to firm up enough for easy transfer. Once they are fully cooled, you can enjoy them as is, or if you’re feeling extra indulgent, a simple glaze made from powdered sugar and a little milk or water can be drizzled over them. These cookies are best enjoyed within a few days of baking and are a perfect treat for any time of day.
Conclusion:
There you have it – the ultimate guide to creating the most delicious Cinnamon Roll Cookies! We’ve walked through each step, from crafting that perfectly tender dough to swirling in the sweet, cinnamon-sugar filling and topping it all off with a luscious cream cheese glaze. These Cinnamon Roll Cookies are a delightful fusion, offering the comforting flavors of a classic cinnamon roll in the convenient, bite-sized form of a cookie. They’re perfect for sharing (or not!) at any occasion, from holiday gatherings to a simple afternoon treat.
For serving, these cookies are truly divine on their own, especially when still slightly warm. They also pair beautifully with a glass of cold milk, a steaming mug of coffee, or your favorite herbal tea. Feel free to get creative with variations! You could add a pinch of nutmeg to the filling for an extra layer of spice, or even a sprinkle of chopped pecans or walnuts for a delightful crunch. Drizzle with white chocolate or a simple vanilla glaze instead of the cream cheese frosting if you prefer. I truly hope you enjoy baking and savoring these delightful Cinnamon Roll Cookies as much as I do. Happy baking!
Frequently Asked Questions about Cinnamon Roll Cookies:
Q1: Can I make the dough for Cinnamon Roll Cookies ahead of time?
Yes, absolutely! You can prepare the dough for your Cinnamon Roll Cookies up to 2 days in advance. Wrap it tightly in plastic wrap and store it in the refrigerator. When you’re ready to bake, let the dough sit at room temperature for about 30 minutes to an hour to make it easier to handle and roll out.
Q2: How should I store leftover Cinnamon Roll Cookies?
To keep your Cinnamon Roll Cookies fresh, store them in an airtight container at room temperature for up to 3 days. If you live in a warm climate or plan to store them for longer, you can refrigerate them for up to a week. They can also be frozen, unfrosted, for up to 2 months. Simply thaw at room temperature and then frost.
Cinnamon Roll Cookies
Delightful cookies featuring swirls of sweet cinnamon bliss.
Ingredients
-
2 cups all-purpose flour
-
1 tsp baking powder
-
1 tsp ground cinnamon
-
½ tsp salt
-
½ cup unsalted butter, softened
-
½ cup granulated sugar
-
½ cup brown sugar, packed
-
1 large egg
-
2 tsp vanilla extract
-
½ cup brown sugar, packed (for filling)
-
2 tsp ground cinnamon (for filling)
Instructions
-
Step 1
In a medium bowl, whisk together the all-purpose flour, baking powder, ground cinnamon, and salt. Set aside. -
Step 2
In a large mixing bowl, beat softened unsalted butter with granulated sugar and packed brown sugar until light and fluffy, about 2-3 minutes. -
Step 3
Add the large egg and vanilla extract to the creamed butter and sugar mixture. Beat until fully incorporated and smooth. Scrape down the sides of the bowl. -
Step 4
Gradually add the dry ingredients to the wet ingredients, mixing on low speed until just combined. Do not overmix. -
Step 5
In a small bowl, combine ½ cup packed brown sugar and 2 teaspoons ground cinnamon for the filling. Spread half of the cookie dough onto parchment paper, roll to a 6×8 inch rectangle. Sprinkle half of the filling over it. Spread the remaining dough on top, then sprinkle with the rest of the filling. Roll up like a jelly roll from a longer side. Wrap tightly and refrigerate for at least 30 minutes. -
Step 6
Preheat oven to 350°F (175°C). Line baking sheets with parchment paper. Unwrap the chilled dough log and cut into ½-inch thick slices. Place on prepared baking sheets, leaving 2 inches between cookies. Bake for 10-12 minutes, until edges are lightly golden brown. -
Step 7
Let cookies cool on the baking sheets for 5 minutes, then transfer to a wire rack to cool completely. Enjoy as is or with a simple glaze.
Important Information
Nutrition Facts (Per Serving)
It is important to consider this information as approximate and not to use it as definitive health advice.
Allergy Information
Please check ingredients for potential allergens and consult a health professional if in doubt.