Perfect French Macaron Recipe-Easy Bake Guide
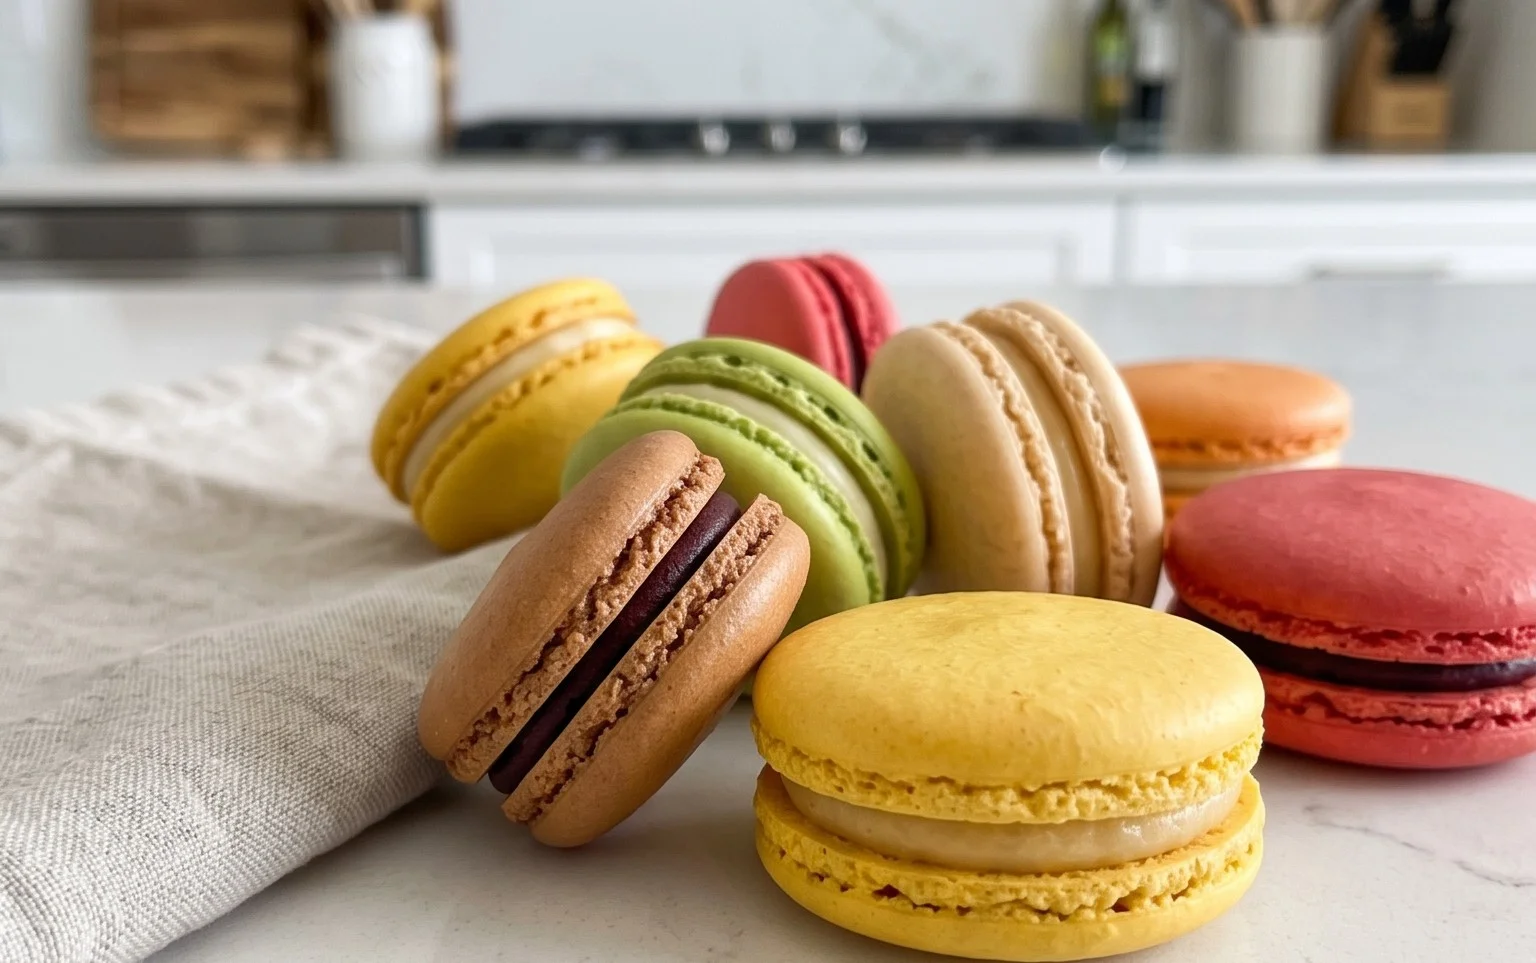
French macaron dreams are made of these! These delicate, colorful meringue cookies sandwiched with luscious fillings have captured hearts and taste buds worldwide. There’s something undeniably magical about a perfectly executed French macaron – their crisp shell that gives way to a chewy interior, the vibrant hues that beckon you closer, and the symphony of flavors that dance on your tongue. I remember my first encounter with these exquisite treats; I was utterly captivated. What makes the French macaron so special? It’s their elegant simplicity, the precision required in their creation, and the sheer joy they bring. They are more than just cookies; they are tiny works of art, perfect for celebrations, a sophisticated afternoon tea, or simply as a delightful indulgence. If you’ve ever found yourself mesmerized by the allure of a French macaron, get ready, because we’re about to embark on a journey to create your own perfect batch.
French Macaron Recipe
Ah, the French macaron! Those delicate, vibrant little sandwiched cookies that seem to embody pure elegance. For many, they’re a delightful mystery, a confection whispered about in hushed tones. But I’m here to tell you, with a little patience and a lot of precision, you can create these beautiful treats in your own kitchen. Forget store-bought; the satisfaction of biting into a perfectly chewy, smooth-shelled macaron you made yourself is unparalleled. Let’s dive into the wonderful world of macaron making!
Ingredients:
Preparation is Key: The Foundation of Your Macarons
Before we even think about whipping up meringue, let’s talk about the dry ingredients. This is arguably the most crucial step for achieving those coveted smooth shells.
Step 1: Master the Dry Ingredients
First, let’s focus on our almond flour and powdered sugar. You’ll want to sift these together. And I don’t just mean a quick little shake of the sieve. For the best results, sift the almond flour and powdered sugar at least twice, ideally three times, through a fine-mesh sieve. This removes any lumps or larger pieces of almond flour, which can cause bumpy macaron shells. If you find any stubborn clumps that won’t pass through, you can gently press them with the back of a spoon, but it’s best to discard them. After sifting, measure out your 150 grams. Don’t be tempted to skip the measuring; precision is vital in macaron making. Add the salt to this dry mixture and whisk it gently to ensure it’s evenly distributed. Set this aside.
The Meringue Magic: Building the Structure
Now for the heart of the macaron: the meringue. This is where we create the airy structure that will become our cookie shells.
Step 2: Whip Up the Meringue
In a clean, dry bowl of your stand mixer (or a very clean regular bowl if you’re using a hand mixer), add your room-temperature egg whites. It’s essential that there is absolutely no trace of yolk or fat in the bowl or on your whisk attachments, as this will prevent your egg whites from whipping properly. Start whipping the egg whites on medium-low speed until they become foamy. Gradually increase the speed to medium-high, and slowly add the granulated sugar, a tablespoon at a time, while the mixer is running. Continue to whip until you achieve stiff, glossy peaks. This means that when you lift the whisk, the meringue should stand straight up without drooping. If you can turn the bowl upside down without the meringue falling out, you’re on the right track! This process can take anywhere from 8 to 15 minutes, so be patient.
Step 3: Coloring and Flavoring Your Meringue
Once you have stiff peaks, it’s time to add your color and flavor. If you’re using liquid-gel food coloring, add it a drop or two at a time, mixing it in gently until you achieve your desired shade. Remember that the color will lighten slightly as the macarons bake. Add the vanilla extract at this stage as well and give it a final gentle mix. Be careful not to overmix at this point, as you can deflate the meringue.
The Art of Macaronage: Folding for Perfection
This is the stage that often intimidates begin extractners, but with practice, you’ll get the hang of it. This is where we combine the dry ingredients with the meringue.
Step 4: The Crucial Macaronage Fold
Now, it’s time for the “macaronage.” This is the process of folding the dry ingredients into the meringue. Add about one-third of your sifted almond flour and powdered sugar mixture to the meringue. Using a rubber spatula, start folding from the bottom of the bowl up and over the dry ingredients, rotating the bowl as you go. It’s crucial to be gentle but thorough, ensuring all the dry ingredients are incorporated without deflating the meringue too much. Repeat this process with the remaining dry ingredients, adding them in two more batches. The goal is to achieve a batter that flows like lava. You should be able to lift your spatula and have the batter fall in a thick, ribbon-like stream that slowly melts back into itself. If the batter is too stiff, it will create peaked shells; if it’s too runny, your shells will spread too much. You’re looking for a consistency where the batter flows smoothly but still holds some form.
Piping and Resting: Setting the Stage for Baking
With your beautifully prepared batter, we’re ready to pipe and let the magic happen.
Step 5: Piping and Resting Your Macaron Shells
Prepare two baking sheets by lining them with parchment paper or silicone baking mats. Transfer your macaron batter into a piping bag fitted with a round tip (about 1/2 inch). Hold the piping bag perpendicular to the baking sheet and pipe small, uniform circles, leaving about an inch between each one. To get consistent sizes, you can draw circles on your parchment paper beforehand and pipe over them. Once piped, firmly tap the baking sheets on your countertop several times. This helps to release any air bubbles trapped in the batter, which can cause the shells to crack. After tapping, let the piped macarons rest at room temperature for at least 30 minutes, or until a skin forms on the surface. You should be able to gently touch the surface without the batter sticking to your finger. This resting period is vital for developing the “feet” – those characteristic ruffled bottoms – of your macarons during baking.
Baking and Assembling: The Grand Finnon-alcoholic ale
The moment of truth! Baking these delicate cookies requires careful attention.
Step 6: Bake to Perfection
Preheat your oven to 300°F (150°C). Bake the macarons for 12-15 minutes. The exact baking time will vary depending on your oven, so keep an eye on them. You’ll know they’re done when the tops are firm and the feet have developed nicely. They should not feel wobbly when gently touched. Once baked, remove the baking sheets from the oven and let the macarons cool completely on the sheets before attempting to remove them. If they seem stuck, gently try to lift an edge; if it resists, they need a little more cooling time.
Step 7: Fill and Enjoy!
Once your macaron shells are completely cool, it’s time to fill them! Pair up similar-sized shells. Pipe or spoon your chosen filling (vanilla buttercream is a classic!) onto the flat side of one shell, then gently sandwich it with another. It’s recommended to let the filled macarons sit in an airtight container in the refrigerator for at least 12-24 hours before serving. This “maturation” period allows the flavors to meld and the shells to soften slightly, achieving that perfect chewy texture.
Making macarons is a journey, and like any journey, there might be a few bumps along the way. Don’t be discouraged if your first batch isn’t absolutely perfect. Each bake is a learning experience. With practice and attention to these detailed steps, you’ll soon be creating stunning and delicious French macarons that will impress everyone! Enjoy the process, and most importantly, enjoy the delicious results!
Conclusion:
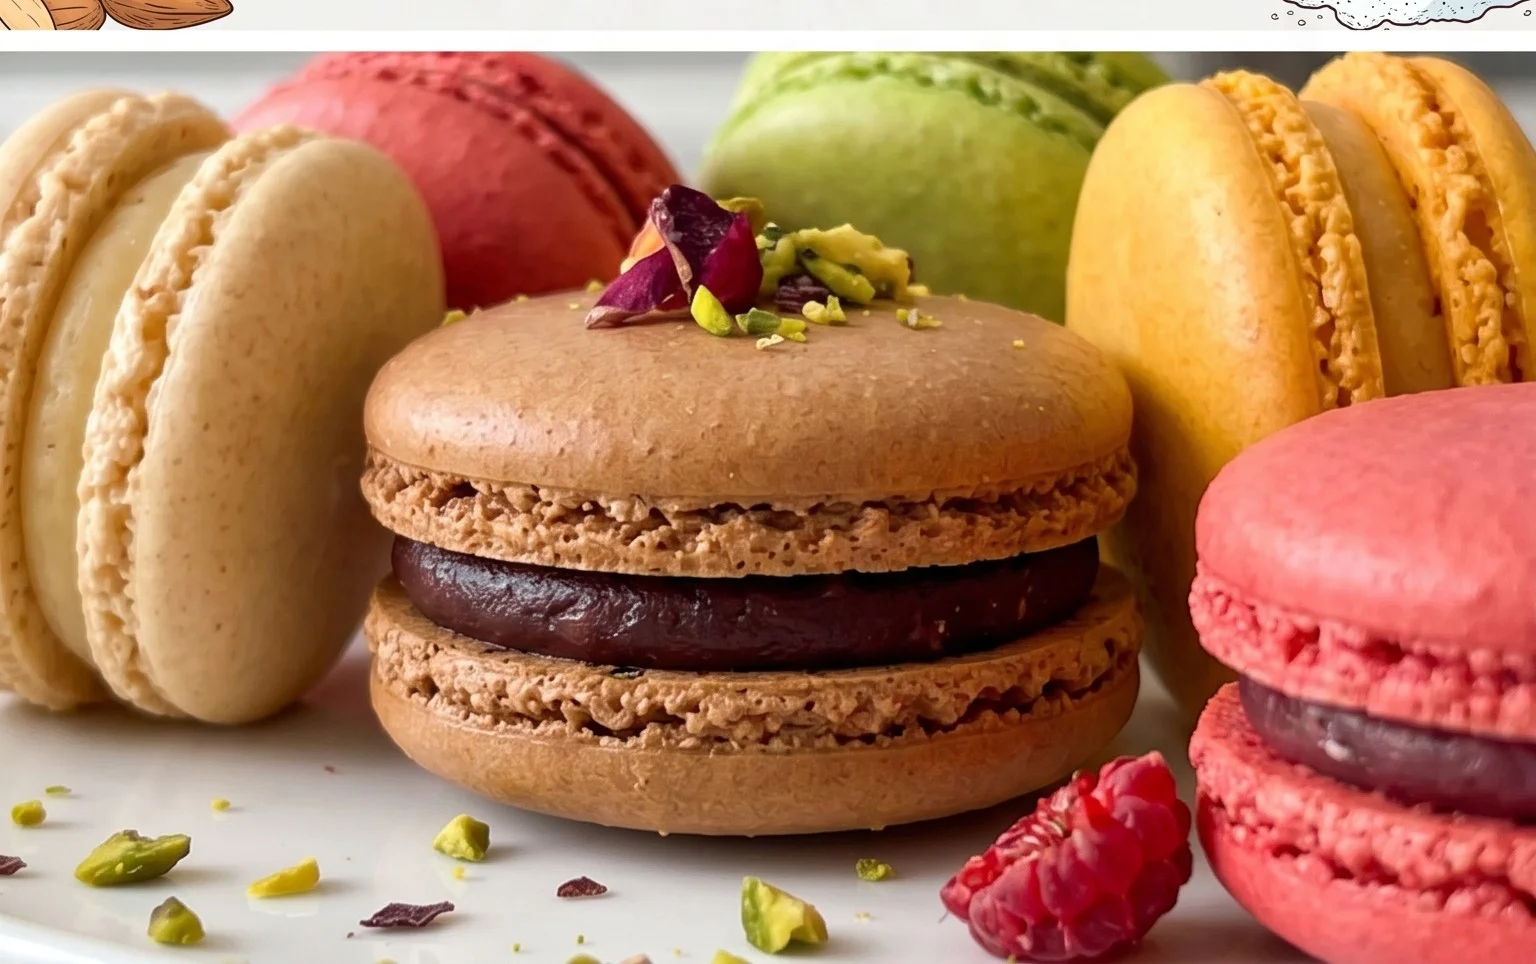
Mastering the French macaron recipe might seem daunting at first, but with patience and attention to detail, you’ll be rewarded with these exquisite, delicate cookies. The beauty of this recipe lies in its simplicity of ingredients, allowing the vibrant fillings and the perfect almond meringue shell to truly shine. Whether you’re a seasoned baker or embarking on your macaron journey for the first time, this recipe offers a fantastic starting point for creating impressive treats that are sure to delight.
These little delights are perfect for afternoon tea, elegant dessert platters, or as a thoughtful homemade gift. Imagin extracte them served alongside a steaming cup of coffee or a chilled glass of cbeef hampagne – pure indulgence! Don’t be afraid to experiment with different flavors. Consider classic chocolate ganache, tangy raspberry jam, or even a zesty lemon curd for your French macaron fillings. You can also play with food coloring to create a stunning rainbow of macarons for any occasion.
So, I wholeheartedly encourage you to give this French macaron recipe a try. Embrace the process, learn from each batch, and enjoy the incredible satisfaction of creating these iconic French confections in your own kitchen. Happy baking!
Frequently Asked Questions:
Why are my French macarons cracked?
Cracked macarons are often caused by an oven that is too hot, or by over-mixing the meringue. Ensure your oven temperature is accurate, and be careful not to overwork your almond flour and egg white mixture once the dry ingredients are incorporated. A gentle folding technique is key.
What is ‘macaronage’?
Macaronage refers to the crucial step of folding the dry ingredients into the meringue. It’s the process of deflating the meringue slightly to achieve the correct batter consistency – one that flows like lava. Over-macaronage results in flat, spread-out cookies, while under-macaronage leads to bumpy, dry shells.
Can I make macarons without a stand mixer?
Absolutely! While a stand mixer makes whipping egg whites easier, you can certainly achieve a stiff meringue with a hand mixer or even by hand. It will require more effort and patience, but the result will be just as delicious.
French Macaron Recipe
A classic French macaron recipe for perfectly chewy and crisp meringue cookies with a sweet filling.
Ingredients
-
150 grams sifted super-fine almond flour
-
180 grams powdered sugar
-
1/4 teaspoon salt
-
120 grams large egg whites (at room temperature)
-
60 grams granulated sugar
-
4 drops liquid-gel food coloring
-
1 teaspoon pure vanilla extract
Instructions
-
Step 1
Combine sifted almond flour, powdered sugar, and salt in a food processor and pulse until finely combined. Sift this mixture through a fine-mesh sieve into a bowl, discarding any large particles. This is your ‘macaronage’ mixture. -
Step 2
In a separate clean bowl, whisk the egg whites until foamy. Gradually add the granulated sugar, a tablespoon at a time, while whisking continuously. Continue whisking until stiff, glossy peaks form. This is your meringue. -
Step 3
Add the food coloring and vanilla extract to the meringue and gently fold it in until evenly distributed. -
Step 4
Gently fold the macaronage mixture into the meringue in three additions, using a spatula. Fold until the batter is smooth, flows like lava, and forms a ribbon when lifted. Be careful not to overmix. -
Step 5
Transfer the batter to a piping bag fitted with a round tip. Pipe small rounds onto baking sheets lined with parchment paper or silicone mats, leaving space between each macaron. -
Step 6
Tap the baking sheets firmly on the counter several times to release any air bubbles. Let the piped macarons rest at room temperature for 30-60 minutes, or until a skin forms on the surface. -
Step 7
Preheat your oven to 300°F (150°C). Bake for 15-18 minutes, or until the macarons are firm and have developed ‘feet’. -
Step 8
Allow the macarons to cool completely on the baking sheets before carefully removing them. Fill with your choice of frosting or filling.
Important Information
Nutrition Facts (Per Serving)
It is important to consider this information as approximate and not to use it as definitive health advice.
Allergy Information
Please check ingredients for potential allergens and consult a health professional if in doubt.