Easy Fried Pickle Dip Dairy-Free Delight
Easy Fried Pickle Dip is the ultimate appetizer that’s about to become your new obsession. Seriously, who can resist that irresistible tangy crunch of a fried pickle, transformed into a creamy, dippable delight? It’s a game-changer for parties, game nights, or just a cozy night in. What makes this Easy Fried Pickle Dip so special? It captures all the beloved flavors and textures of our favorite fried pickle spears, but in a format that’s perfect for sharing. We’re talking a rich, savory dip that’s bursting with pickle goodness, with just the right amount of creaminess. And for those who are dairy-free or simply looking for a lighter option, we’ve got you covered. This recipe includes a fantastic dairy-free option, proving that you don’t need dairy to achieve that decadent, satisfying dip experience. Get ready to impress your friends and family with this crowd-pleasing creation!
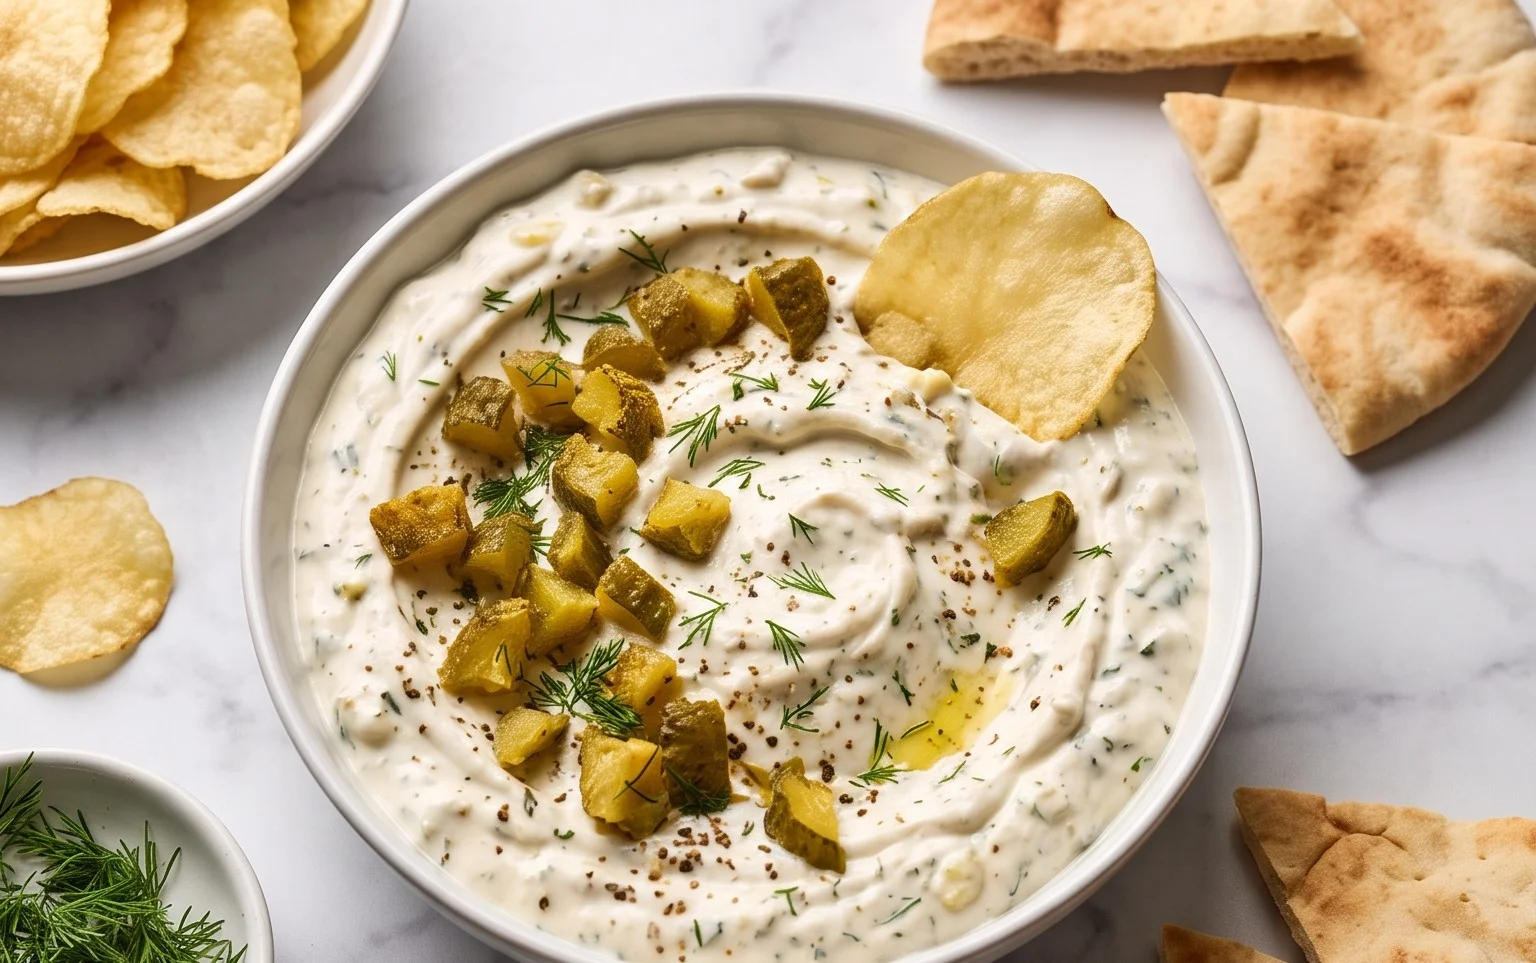
Easy Fried Pickle Dip (Dairy-Free Option)
There’s something undeniably addictive about the tangy, briny, and slightly crispy bite of a fried pickle. But what if I told you that you could capture all that deliciousness in a creamy, dippable form, perfect for your next gathering or just a cozy night in? This Easy Fried Pickle Dip is a game-changer, and the best part is, it’s incredibly versatile. We’ve even included a simple dairy-free option so everyone can enjoy this crowd-pleaser. Get ready to impress your friends (and your taste buds!) with this flavor-packed dip.
Ingredients:
Making the Dip
This dip comes together surprisingly quickly, making it ideal for last-minute entertaining. The key is to balance the creamy base with the zesty pickle flavor.
Step 1: Prepare the Creamy Base
Begin extract by ensuring your cream cheese is softened to room temperature. This is crucial for achieving a smooth and lump-free dip. You can leave it out on the counter for about an hour, or for a quicker method, you can carefully microwave it in 10-second intervals until it’s pliable but not melted. In a medium-sized mixing bowl, combine the softened cream cheese and the sour cream. If you are using the dairy-free option, this is where you’ll incorporate your dairy-free cream cheese alternative and a dairy-free sour cream alternative. Using a hand mixer or a sturdy whisk, beat these two ingredients together until they are thoroughly combined and incredibly smooth. Scrape down the sides of the bowl a few times to make sure there are no streaks of cream cheese remaining. The goal here is a luxurious, velvety texture that will form the perfect foundation for our pickle flavors.
Step 2: Infuse the Pickle Flavor
Now comes the star of the show: the dill pickles! Finely chop your dill pickles. The smaller the dice, the more evenly the flavor will distribute throughout the dip. You can use a sharp knife or a food processor for this. Add the chopped pickles directly into the creamy base. Next, measure out your pickle juice. This adds an extra punch of that characteristic briney tang. Stir in the Worcestershire sauce, which contributes a subtle umami depth that beautifully complements the pickles. Finally, add the fresh chopped dill. While dried dill can be used in a pinch, fresh dill offers a brighter, more vibrant herbaceousness that really elevates this dip. Stir everything together until it’s well incorporated. Taste the mixture at this point and add salt if you feel it needs it, but be mindful that pickles and Worcestershire sauce are already salty.
Step 3: Add the Seasonings
To enhance the overall flavor profile, we’ll introduce a blend of classic seasonings. Sprinkle in the garlic powder and onion powder. These aromatics provide a savory backbone to the dip. Then, add your ranch seasoning. If you’re using a store-bought ranch seasoning mix, be sure to check the ingredients to ensure it aligns with your dairy-free needs if applicable. I often make my own ranch seasoning blend which allows for complete control over the ingredients. Stir these seasonings into the dip until they are evenly distributed. Give it another taste and adjust seasonings if necessary. Remember, you want a harmonious blend of creamy, tangy, savory, and herbaceous notes.
Step 4: Chill and Mingle
Once all the ingredients are combined, cover the bowl tightly with plastic wrap or transfer the dip to an airtight container. Refrigerate the dip for at least 1 hour. This chilling period is crucial. It allows all the flavors to meld and deepen, transforming from a mixture of ingredients into a cohesive and incredibly delicious dip. The longer it chills, the better it will taste, so if you have the time, letting it sit for 2-3 hours is even better. This step is non-negotiable for achieving the best possible flavor.
Step 5: Prepare the Crispy Topping
While the dip is chilling, prepare the delightful crispy topping. In a small skillet, melt the butter over medium heat. If you’re making the dairy-free version, use your dairy-free butter alternative. Add the Panko breadcrum extractbs to the melted butter. Stir the breadcrum extractbs frequently, toasting them until they are golden brown and fragrant. This process should take about 3-5 minutes. Be careful not to burn them, as they can go from perfectly toasted to burnt very quickly. Once they’ve reached a beautiful golden hue, remove the skillet from the heat and let the toasted breadcrum extractbs cool slightly. This toasted topping will add a fantastic textural contrast to the creamy dip when sprinkled on top just before serving.
Serving Your Masterpiece
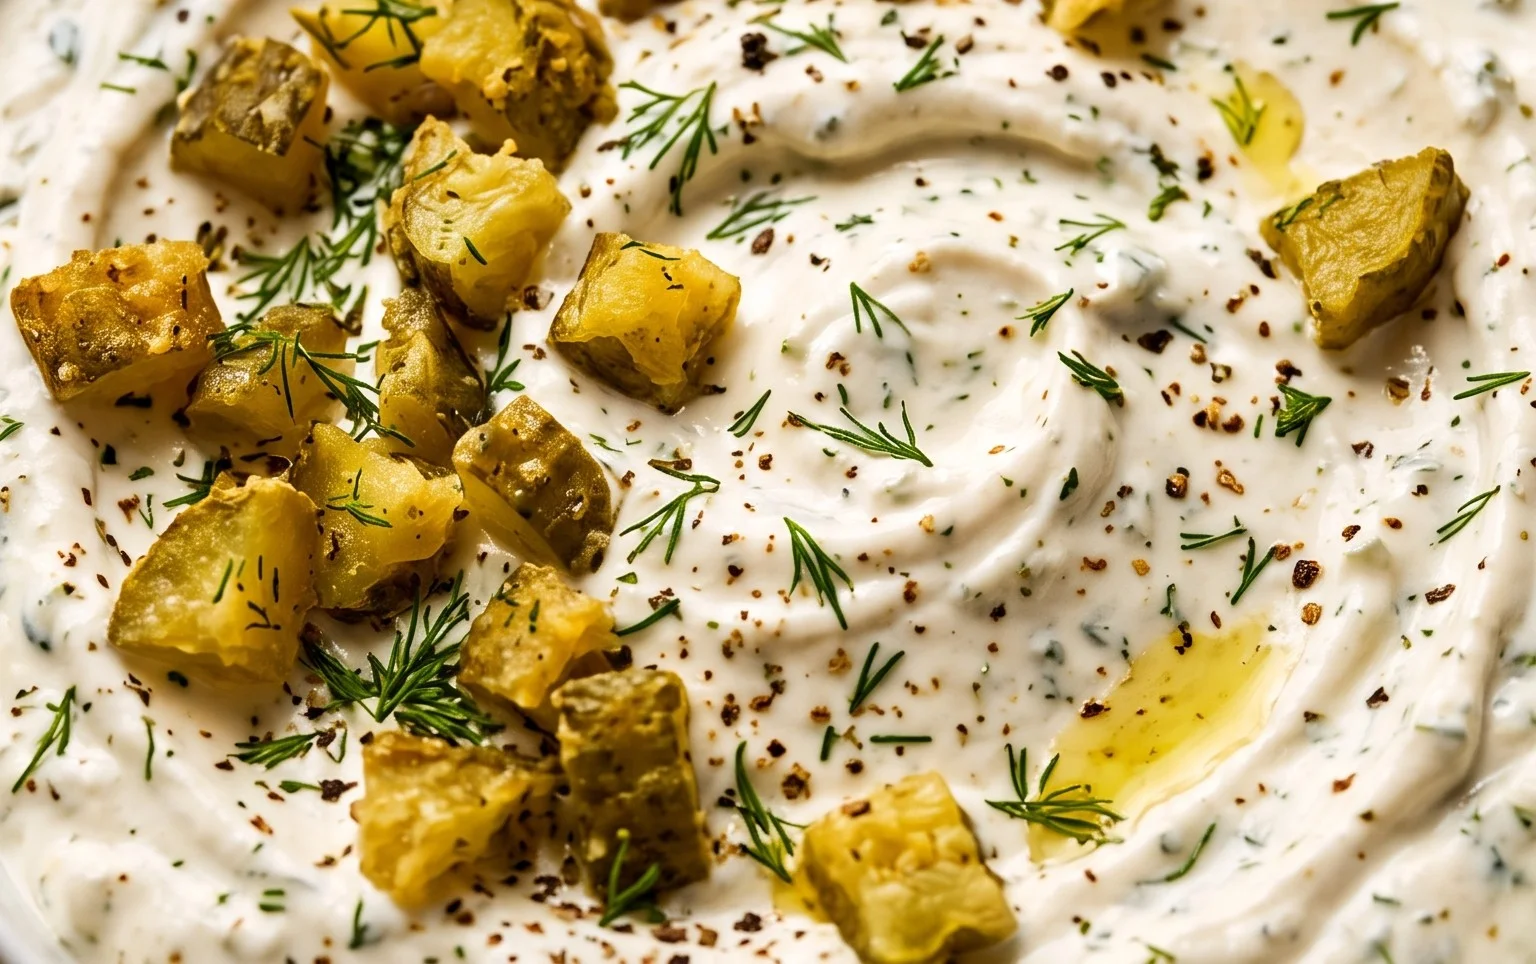
When you’re ready to serve, give your chilled dip a good stir. Spoon the dip into a serving bowl. Generously sprinkle the cooled toasted Panko breadcrum extractbs over the top. You can also garnish with a little extra fresh dill if you like. This dip is absolutely divine served with potato chips, tortilla chips, crackers, pretzels, or even fresh vegetable sticks like celery and carrot. For a truly fried pickle experience, you can even serve it alongside actual fried pickles. Get ready for compliments – this Easy Fried Pickle Dip is sure to disappear fast!
Conclusion:
This Easy Fried Pickle Dip recipe is a true winner! It’s incredibly simple to whip up, bursting with tangy, creamy, and savory flavors that are absolutely addictive. Whether you’re looking for a crowd-pleasing appetizer for game day, a potluck, or just a delightful snack for yourself, this dip delivers. The beauty of this recipe lies in its flexibility, especially with the fantastic dairy-free option, ensuring everyone can enjoy this delicious creation.
I love serving this dip warm, fresh from the skillet, alongside a generous platter of crunchy dippers. Think classic potato chips, sturdy tortilla chips, or even celery sticks for a lighter crunch. You can also get creative with your serving suggestions! It’s surprisingly wonderful with pretzel bites, pita bread, or even some crudités like bell pepper strips and carrot sticks. For variations, consider adding a pinch of smoked paprika for a subtle smoky undertone, or a dash of hot sauce for an extra kick. Don’t be afraid to experiment with different types of pickles too – dill, bread and butter, or even spicy pickles can offer a unique twist. I genuinely encourage you to give this easy fried pickle dip a try; you won’t regret it!
Frequently Asked Questions:
Can I make this dip ahead of time?
While this dip is best served warm and fresh for optimal texture and flavor, you can prepare most of the components ahead of time. Chop your pickles and onions, and have your seasonings ready. You can even mix the non-dairy cream cheese and mayonnaise (or dairy versions) together. However, the frying of the pickles should be done just before serving for that signature crispiness. You can reheat the dip gently over low heat, stirring frequently, but it won’t be quite as satisfying as a freshly made batch.
What kind of dairy-free cream cheese works best?
Most plain, unsweetened dairy-free cream cheese alternatives will work well in this recipe. Look for brands that have a good, creamy texture and a neutral flavor profile. Cashew-based or almond-based cream cheeses often provide the creamiest results. Avoid any flavored or sweetened varieties, as they could alter the savory taste of the dip.
Can I bake the pickles instead of frying them?
Yes, you absolutely can! While frying provides a specific kind of crispy texture, baking is a great alternative. After breading your pickle slices, arrange them on a baking sheet lined with parchment paper. Bake in a preheated oven at around 400°F (200°C) for about 15-20 minutes, flipping halfway through, until golden brown and crispy. You can then chop these baked pickles and incorporate them into the dip for a healthier, yet still delicious, version.
Easy Fried Pickle Dip (Dairy-Free Option)
A creamy and tangy dip inspired by fried pickles, with an easy dairy-free option. Perfect for parties and snacking!
Ingredients
-
16 oz container sour cream (can sub dairy free)
-
10 oz cream cheese (can sub dairy free (I use Kite Hill))
-
1 cup dill pickles (chopped)
-
2 tbsp pickle juice
-
1 tbsp Worcestershire sauce
-
2-3 tbsp fresh dill
-
1/2 tsp garlic powder
-
1/4 tsp onion powder
-
2 tbsp ranch seasoning (my homemade seasoning has a df option)
-
salt to taste
-
3/4 cup Panko breadcrumbs
-
1 tbsp butter (or dairy-free butter)
Instructions
-
Step 1
In a medium bowl, combine the sour cream and cream cheese (or their dairy-free alternatives) until smooth. If using cream cheese, ensure it’s softened. -
Step 2
Stir in the chopped dill pickles, pickle juice, Worcestershire sauce, fresh dill, garlic powder, onion powder, and ranch seasoning. -
Step 3
Season with salt to taste. Mix well to ensure all ingredients are evenly distributed. -
Step 4
In a separate small skillet, melt the butter (or dairy-free butter) over medium heat. -
Step 5
Add the Panko breadcrumbs to the melted butter and toast, stirring frequently, until golden brown and crispy. -
Step 6
Spread the toasted Panko breadcrumbs evenly over the top of the pickle dip. -
Step 7
Serve the dip immediately with your favorite crackers, chips, or vegetable sticks.
Important Information
Nutrition Facts (Per Serving)
It is important to consider this information as approximate and not to use it as definitive health advice.
Allergy Information
Please check ingredients for potential allergens and consult a health professional if in doubt.