Easy Homemade Fruit Leather Recipe- Sweet & Healthy Snack
Homemade fruit leather is a nostalgic treat that instantly transports us back to carefree summer days. Who doesn’t remember the joy of unwrapping a vibrant, chewy strip of pure fruit goodness? It’s more than just a snack; it’s a delightful journey into flavor and texture that’s surprisingly simple to create in your own kitchen. What makes this homemade fruit leather recipe so special is the sheer versatility and the pure, unadulterated taste of the fruit itself. Forget those store-bought versions laden with artificial colors and preservatives. With this recipe, you control every ingredient, allowing you to harness the natural sweetness and vibrant hues of your favorite fruits. It’s a fantastic way to use up seasonal produce and create a healthy, satisfying snack that both kids and adults will adore. Let’s dive into making this wonderful homemade fruit leather!
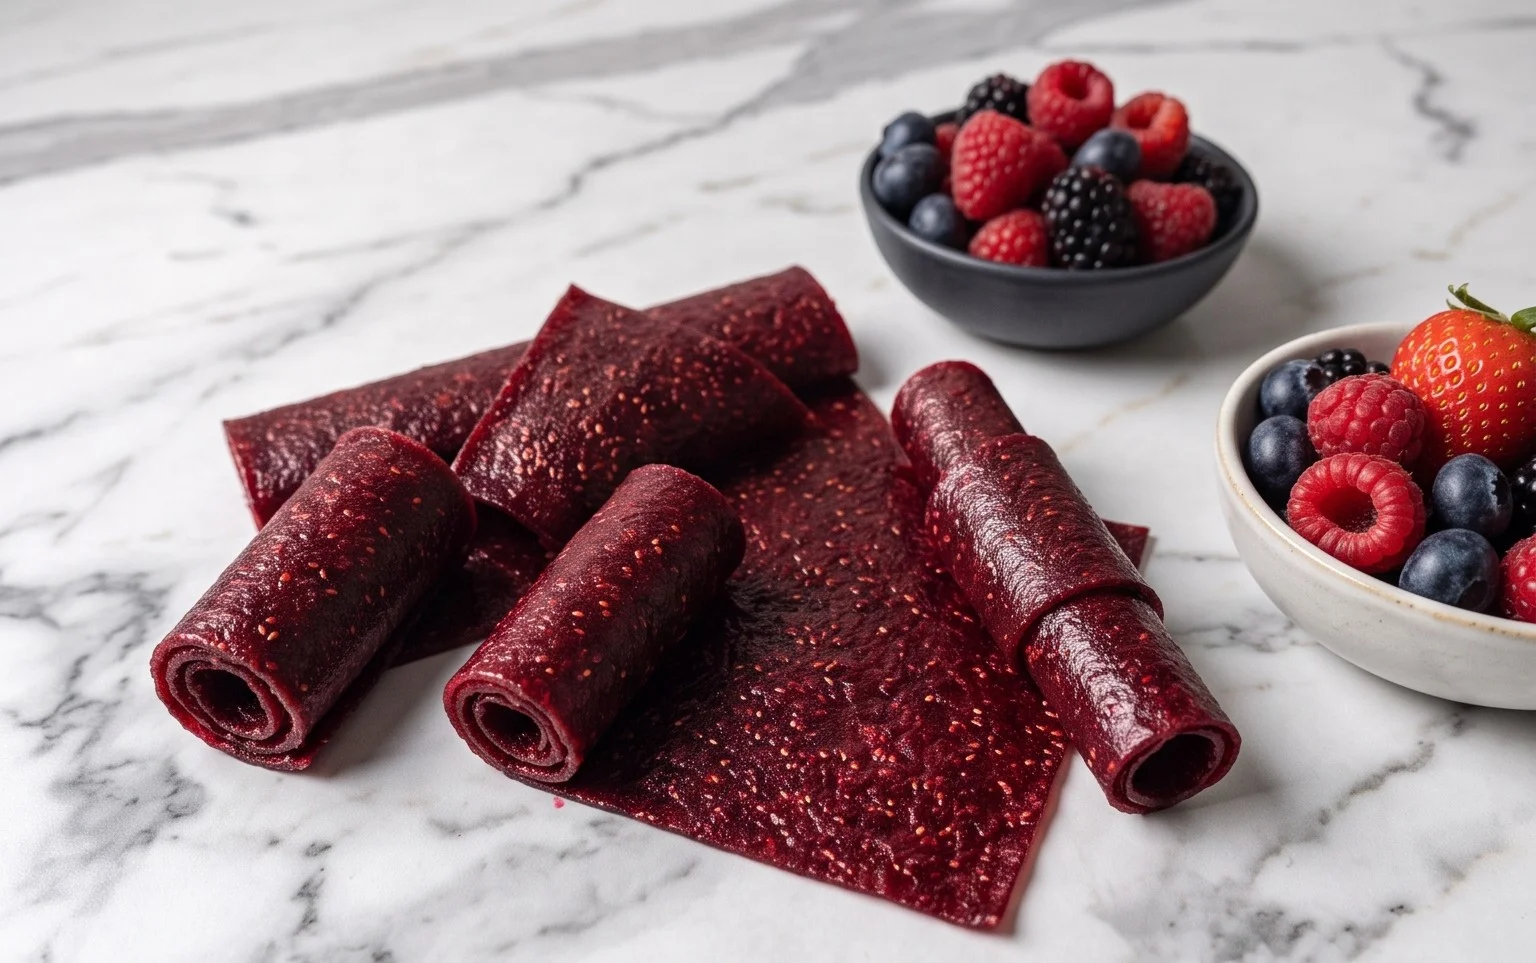
Homemade Fruit Leather Recipe
There’s something incredibly satisfying about making your own fruit leather. It’s a delightful, healthy snack that’s perfect for lunchboxes, after-school treats, or even a little pick-me-up any time of day. Forget those store-bought versions filled with artificial ingredients and excessive sugar. This homemade recipe is wonderfully simple, customizable, and bursting with pure fruit flavor. I love that I can control exactly what goes into it, making it a guilt-free indulgence for myself and my family. Plus, it’s a fantastic way to use up ripe fruit that might otherwise go to waste. Get ready to impress yourself with how easy and delicious homemade fruit leather can be!
Ingredients:
Preparing Your Fruit
The beauty of fruit leather is its versatility. You can use almost any fruit you love! My favorites include a mix of sweet berries like strawberries and raspberries, or a bright combination of mango and pineapple. Peaches and apricots also make for a wonderfully smooth and flavorful leather. If you’re using apples, make sure to peel and core them. For berries, a quick rinse is usually all they need. If you’re using firmer fruits like apples or pears, consider steaming them briefly until slightly tender before pureeing. This will help break them down for a smoother consistency. For softer fruits like berries or ripe peaches, you can often skip this step. The key is to have your fruit roughly chopped so it’s ready for blending.
Creating the Fruit Puree
The first step in making your delicious fruit leather is to transform your chopped fruit into a smooth puree. You’ll want to use a blender or a food processor for this. Add your 2 cups of chopped fruit to the blender. Next, add the 3 tablespoons of white sugar. Remember, this is a guideline. If your fruit is exceptionally sweet (like ripe mangoes or super-sweet strawberries), you might want to start with 2 tablespoons and taste the puree before deciding if you need more. Conversely, if your fruit is a bit tart, you might opt for the full 3 tablespoons or even a touch more. Finally, squeeze in the juice from half a lemon. The lemon juice is crucial for a couple of reasons. Firstly, it brightens the fruit’s flavor, giving it a more vibrant taste. Secondly, it acts as a natural preservative, helping to extend the shelf life of your fruit leather. Blend everything together until you achieve a completely smooth consistency. There should be no chunks of fruit remaining. You’re looking for a texture similar to a thick smoothie or applesauce. Once blended, give it a taste. This is your last chance to adjust the sweetness. If it’s not sweet enough, add a little more sugar and blend again. If it’s too sweet, you can add a tiny splash more lemon juice, but be careful not to make it too watery.
Baking Your Fruit Leather
Now comes the transformation! We’re going to bake this delicious fruit puree until it’s transformed into chewy, pliable fruit leather. Preheat your oven to the lowest setting it can go, usually around 170°F (75°C). If your oven doesn’t go that low, that’s okay, just set it to its lowest practical setting. It might just take a little longer to dry out. Line a baking sheet with parchment paper or a silicone baking mat. It’s really important to use something that the fruit leather won’t stick to. Pour your fruit puree onto the prepared baking sheet. Using a spatula, spread the puree out into a thin, even layer, about ¼ inch thick. Try to get it as uniform as possible, as this will ensure even drying. You want the entire sheet to dry at the same rate. If you have areas that are thicker than others, they will remain sticky longer. You can also extend the puree closer to the edges of the parchment paper, as it will shrink slightly as it dries.
The Drying Process
This is where the magic happens, and it requires patience. Place your baking sheet with the fruit puree into the preheated oven. The goal is to slowly dehydrate the fruit, removing moisture without cooking it. This process can take anywhere from 4 to 8 hours, or even longer, depending on the thickness of your puree and the humidity in your oven. I like to check on it every couple of hours. You’ll know it’s ready when the fruit leather is no longer sticky to the touch. It should peel away cleanly from the parchment paper. It will still be pliable, not brittle. You can test it by gently touching a corner; if it leaves a residue on your finger, it needs more time. If it feels firm and dry but still bendable, you’re golden. If you notice some spots drying faster than others, you can carefully rotate the baking sheet halfway through the baking time. It’s crucial to leave the oven door slightly ajar to allow moisture to escape. You can use a wooden spoon or a small oven-safe ramekin to prop the door open just a crack. This helps to circulate air and aids in the drying process.
Cooling and Storing
Once your fruit leather has reached the perfect state of chewy, pliable dryness, carefully remove the baking sheet from the oven. Let it cool completely on the baking sheet for about 30 minutes. As it cools, it will firm up a little more. Once it’s cooled to room temperature, you can carefully peel the entire sheet of fruit leather off the parchment paper. If it’s sticking anywhere, gently use a spatula to help loosen it. Now, for the fun part: cutting! You can cut it into strips, squares, or even roll it up into little logs. I often use a pizza cutter for nice, clean lines. To store your homemade fruit leather, you can wrap individual pieces tightly in plastic wrap or wax paper. Then, place them in an airtight container. It’s best stored in a cool, dry place. Properly stored, homemade fruit leather can last for several weeks. It’s a wonderful way to preserve the flavors of fresh fruit and have a healthy, homemade treat readily available. Enjoy your delicious creation!
Conclusion:
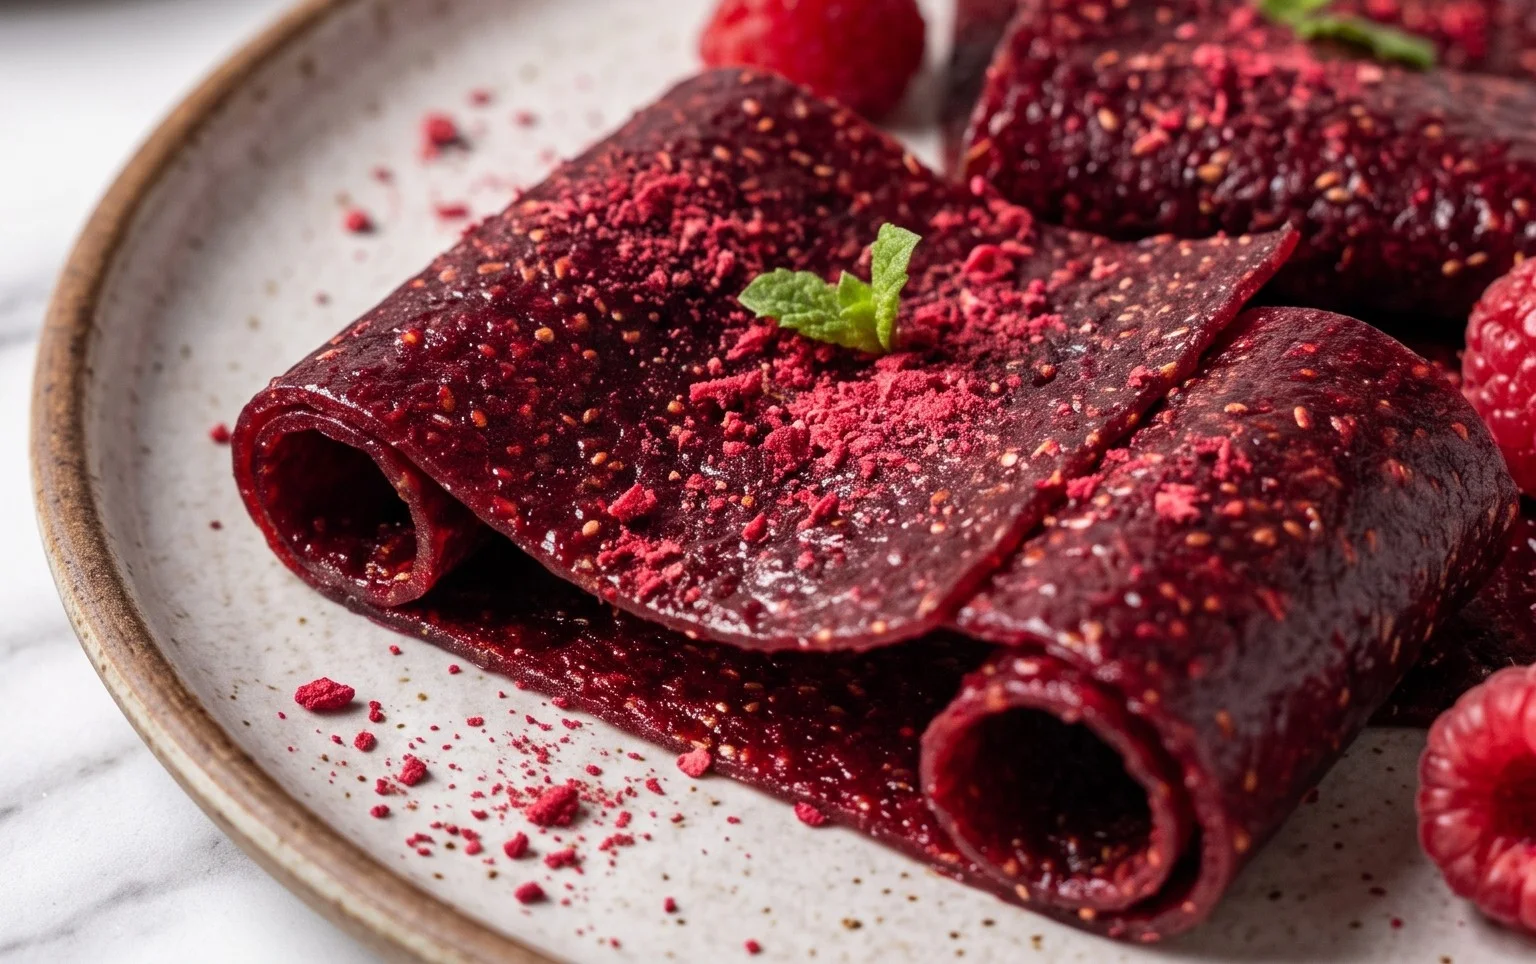
Making your own fruit leather is such a rewarding and surprisingly simple process! It’s a fantastic way to use up ripe fruit, reduce food waste, and create a healthy, delicious snack that everyone will love. The vibrant colors and pure fruit flavor are unmatched by store-bought versions, and you have complete control over the ingredients – no added sugars or preservatives needed! I truly encourage you to give this homemade fruit leather recipe a try. It’s perfect for lunchboxes, after-school snacks, or even a light dessert.
Once your fruit leather is ready, the serving possibilities are endless! Slice it into strips for classic rolls, cut it into fun shapes with cookie cutters for the kids, or even crum extractble it over yogurt or ice cream. Don’t be afraid to experiment with different fruit combinations to discover your favorite flavors. Think apple-cinnamon, strawberry-banana, or a tropical mango-pineapple blend! This recipe is a fantastic base for culinary creativity.
Frequently Asked Questions:
What fruits work best for fruit leather?
Almost any fruit can be turned into delicious fruit leather! Berries, apples, pears, peaches, apricots, mangoes, and plums are all excellent choices. For a sweeter outcome, focus on naturally sweet fruits. If using tarter fruits like cranberries or rhubarb, you might want to add a touch of natural sweetener like honey or maple syrup, though it’s often not necessary if you use very ripe fruit.
How do I store homemade fruit leather?
Proper storage is key to keeping your fruit leather fresh and pliable. Once completely cooled and cut, wrap individual pieces tightly in plastic wrap or parchment paper. Then, store them in an airtight container at room temperature for up to a week. For longer storage, you can refrigerate them for a few weeks or freeze them for several months. Make sure they are completely dry before storing to prevent mold.
Can I make fruit leather without an oven?
Yes! While an oven is the most common method, you can also use a dehydrator. Simply spread the fruit puree onto dehydrator trays lined with fruit leather sheets and follow your dehydrator’s instructions. The process might take a bit longer than in a conventional oven.
Homemade Fruit Leather
A simple and delicious way to preserve fresh fruit into sweet, chewy fruit leather. Perfect for snacks and lunchboxes.
Ingredients
-
2 cups fruit, chopped
-
3 tbsp white sugar
-
½ whole lemon, just the juice
-
1 tsp cornstarch
-
¼ cup water
-
Pinch of salt
Instructions
-
Step 1
Wash and chop your chosen fruit. Remove any pits or seeds. If using larger fruits like apples or pears, you may want to peel them. -
Step 2
Combine the chopped fruit and white sugar in a saucepan. Cook over medium heat, stirring occasionally, until the fruit softens and releases its juices. -
Step 3
Add the lemon juice to the fruit mixture. Stir well to combine. -
Step 4
In a small bowl, whisk together the cornstarch and water until smooth. Pour this slurry into the fruit mixture and stir constantly as it thickens. -
Step 5
Cook for another 2-3 minutes until the mixture is very thick and glossy. Remove from heat. -
Step 6
Pour the mixture onto a baking sheet lined with parchment paper or a silicone baking mat. Spread it evenly into a thin layer (about 1/8 inch thick). -
Step 7
Bake in a preheated oven at 175°F (80°C) for 4-6 hours, or until the fruit leather is no longer sticky to the touch and peels easily from the parchment paper. -
Step 8
Allow the fruit leather to cool completely before cutting into strips or shapes.
Important Information
Nutrition Facts (Per Serving)
It is important to consider this information as approximate and not to use it as definitive health advice.
Allergy Information
Please check ingredients for potential allergens and consult a health professional if in doubt.