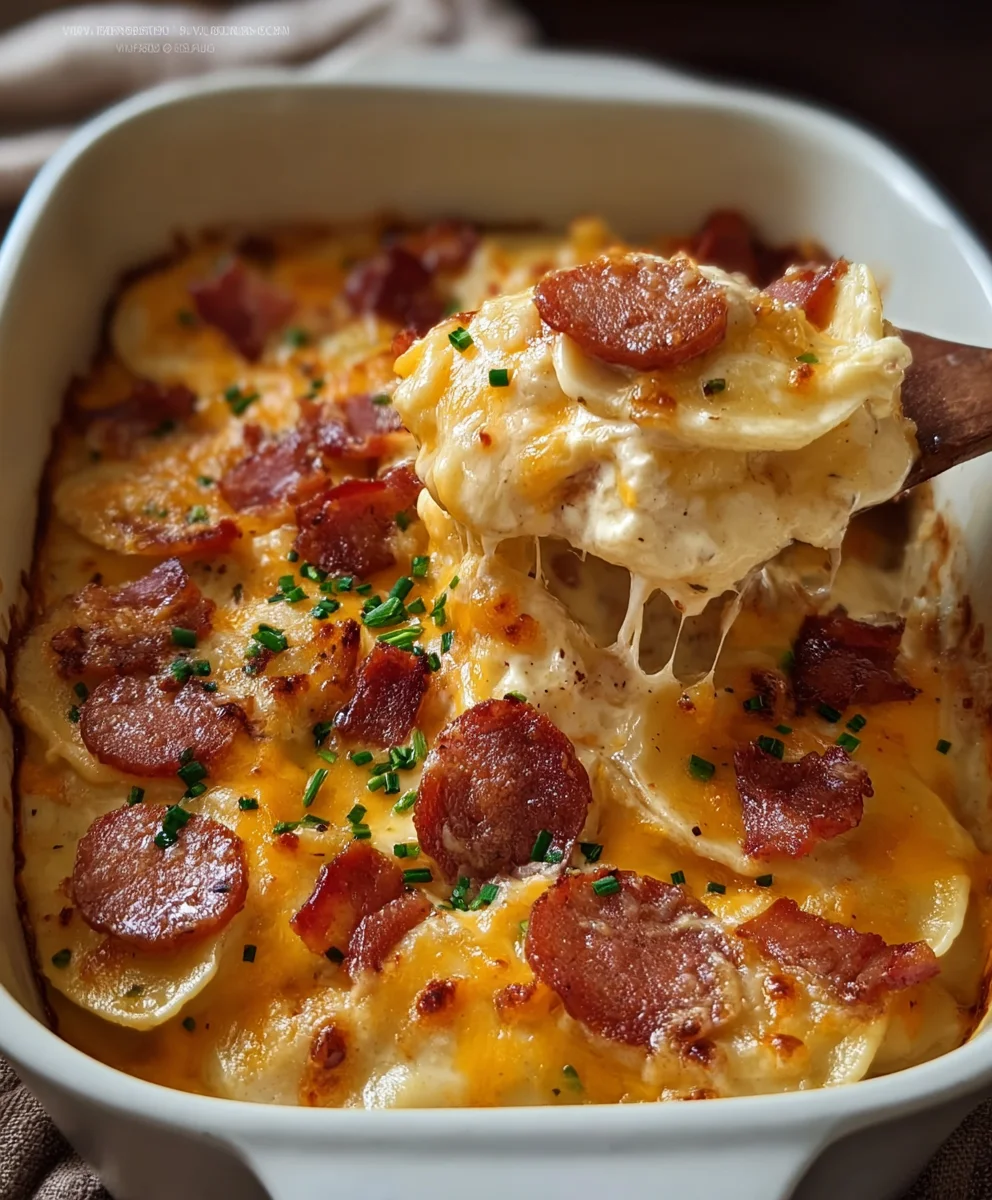
Easy Pierogi Casserole – Comfort Food Done Right
Pierogi Casserole is the ultimate comfort food, a dish that sings of warmth, tradition, and pure culinary joy. If you’ve ever found yourself craving that delightful combination of pillowy dough, savory fillings, and a rich, cheesy topping, then you’re in for a treat. We all know and love the classic pierogi, those delightful dumplings hand-folded with love, but imagin extracte transforming that beloved bite into an effortless, soul-satisfying casserole. This isn’t just a simple adaptation; it’s a revelation. What makes this Pierogi Casserole so incredibly special is its ability to capture all the beloved flavors and textures of traditional pierogi while streamlining the preparation. It’s perfect for a weeknight meal when you want something hearty and familiar without the extensive labor of individual dumpling assembly, or for a gathering where you want to impress with a dish that’s both nostalgic and remarkably easy to serve.
Ingredients:
- 3 packages (approximately 36-40 count total) frozen cheddar pierogies
- 4 cups chicken broth, divided
- 8 oz cream cheese, softened
- 1 cup shredded cheddar cheese, divided
- 1 lb kielbasa (smoked Polish sausage), sliced into 1/4-inch thick rounds
- Salt and freshly ground black pepper, to taste
Preparing the Pierogi and Kielbasa
Boiling the Pierogi
To start our delicious Pierogi Casserole, we need to prepare the pierogi. In a large pot, bring 3 cups of the chicken broth to a rolling boil over high heat. This might seem like a lot of liquid, but it helps to cook the frozen pierogi evenly and prevents them from sticking together. Once the broth is boiling vigorously, carefully add the frozen pierogi. Stir them gently with a wooden spoon to ensure they don’t clump at the bottom of the pot. Cook the pierogi for about 5-7 minutes, or until they float to the surface. This indicates that they are cooked through. Once they float, let them simmer for an additional 2 minutes. Using a slotted spoon, carefully remove the cooked pierogi from the boiling broth and set them aside in a colander to drain any excess liquid. We don’t want a watery casserole! You can discard the broth used for boiling.
Sautéing the Kielbasa
While the pierogi are draining, let’s get started on the kielbasa. In a large, oven-safe skillet or Dutch oven (one that can hold all your ingredients comfortably), heat the remaining 1 cup of chicken broth over medium-high heat. Add the sliced kielbasa to the skillet. Sauté the kielbasa for about 8-10 minutes, stirring occasionally, until it is nicely browned and some of its flavorful fat has rendered out into the broth. This browning process is crucial for developing a deep, smoky flavor that will permeate the entire casserole. Once the kielbasa is beautifully browned, remove it from the skillet with a slotted spoon, leaving the rendered fat and broth behind. Set the kielbasa aside with the drained pierogi. Don’t worry if there’s a little bit of brown residue stuck to the bottom of the pan; that’s good flavor!
Creating the Creamy Sauce
Melting the Cream Cheese
Now it’s time to build the creamy sauce that will bind all our wonderful ingredients together. Reduce the heat of the skillet to medium-low. Add the softened cream cheese to the same skillet where you sautéed the kielbasa. Stir the cream cheese constantly with a whisk or a sturdy spoon, incorporating it into the residual kielbasa fat and chicken broth. Continue to stir until the cream cheese is completely melted and forms a smooth, creamy base. This process should take about 3-5 minutes. If the mixture seems too thick, you can add a tablespoon or two of additional chicken broth, but be careful not to make it too runny. We want a sauce that will coat the pierogi and kielbasa beautifully.
Incorporating the Cheese and Seasoning
Once the cream cheese is fully melted and smooth, it’s time to add the shredded cheddar cheese. Reserve about half of the shredded cheddar for topping later. Add the remaining half cup of shredded cheddar cheese to the skillet with the cream cheese mixture. Stir continuously until the cheddar cheese is melted and well combined, creating a rich, cheesy sauce. Now is also the perfect time to season. Add a pinch of salt and a generous grind of black pepper to the sauce. Remember that kielbasa is already salty, so start with a small amount of salt and taste as you go. Stir everything together until the seasoning is evenly distributed.
Assembling and Baking the Casserole
Layering the Ingredients
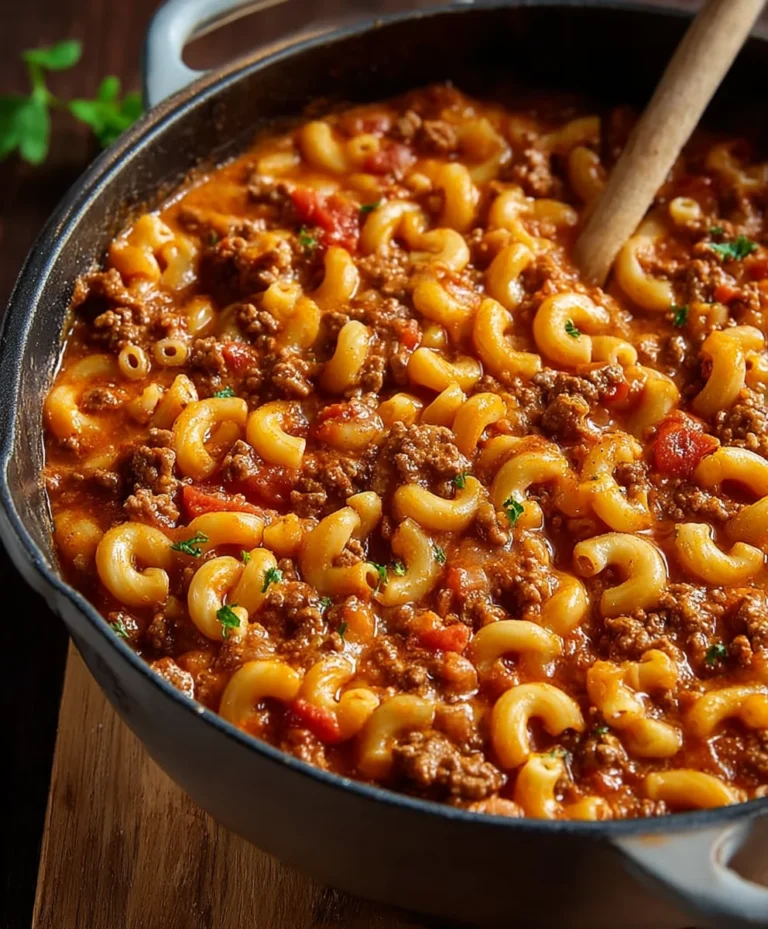
Now we can assemble our magnificent Pierogi Casserole. Add the cooked and drained pierogi and the sautéed kielbasa back into the skillet with the creamy cheese sauce. Gently stir everything together with a spatula, ensuring that all the pierogi and kielbasa slices are evenly coated in the luscious sauce. Be careful not to break the pierogi as you stir. We want them to hold their shape beautifully in the final dish. Make sure the ingredients are distributed evenly throughout the skillet, creating a compact layer. This even distribution ensures that every bite will be packed with flavor.
Baking to Perfection
Once everything is well combined and coated, sprinkle the remaining half cup of shredded cheddar cheese evenly over the top of the pierogi and kielbasa mixture. Preheat your oven to 375 degrees Fahrenheit (190 degrees Celsius). Place the oven-safe skillet into the preheated oven and bake for 20-25 minutes. The goal here is to allow the casserole to heat through thoroughly and for the cheese on top to melt and become beautifully golden brown and bubbly. You’ll know it’s ready when you see a delightful, cheesy crust forming on top and the sauce is bubbling around the edges. Let it rest for a few minutes before serving.
Conclusion:
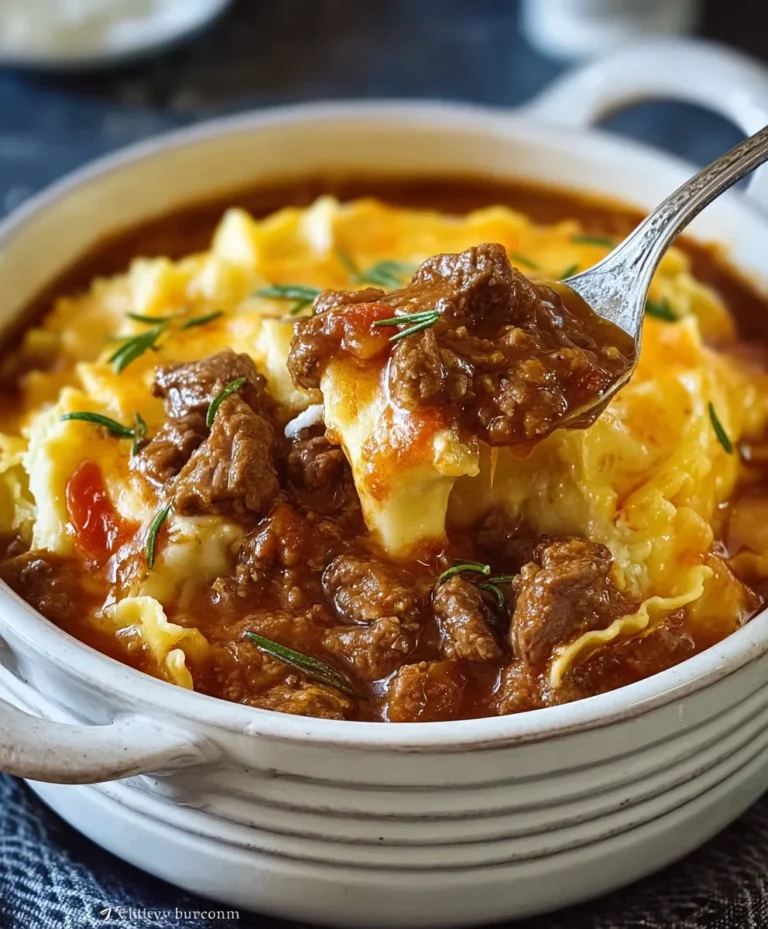
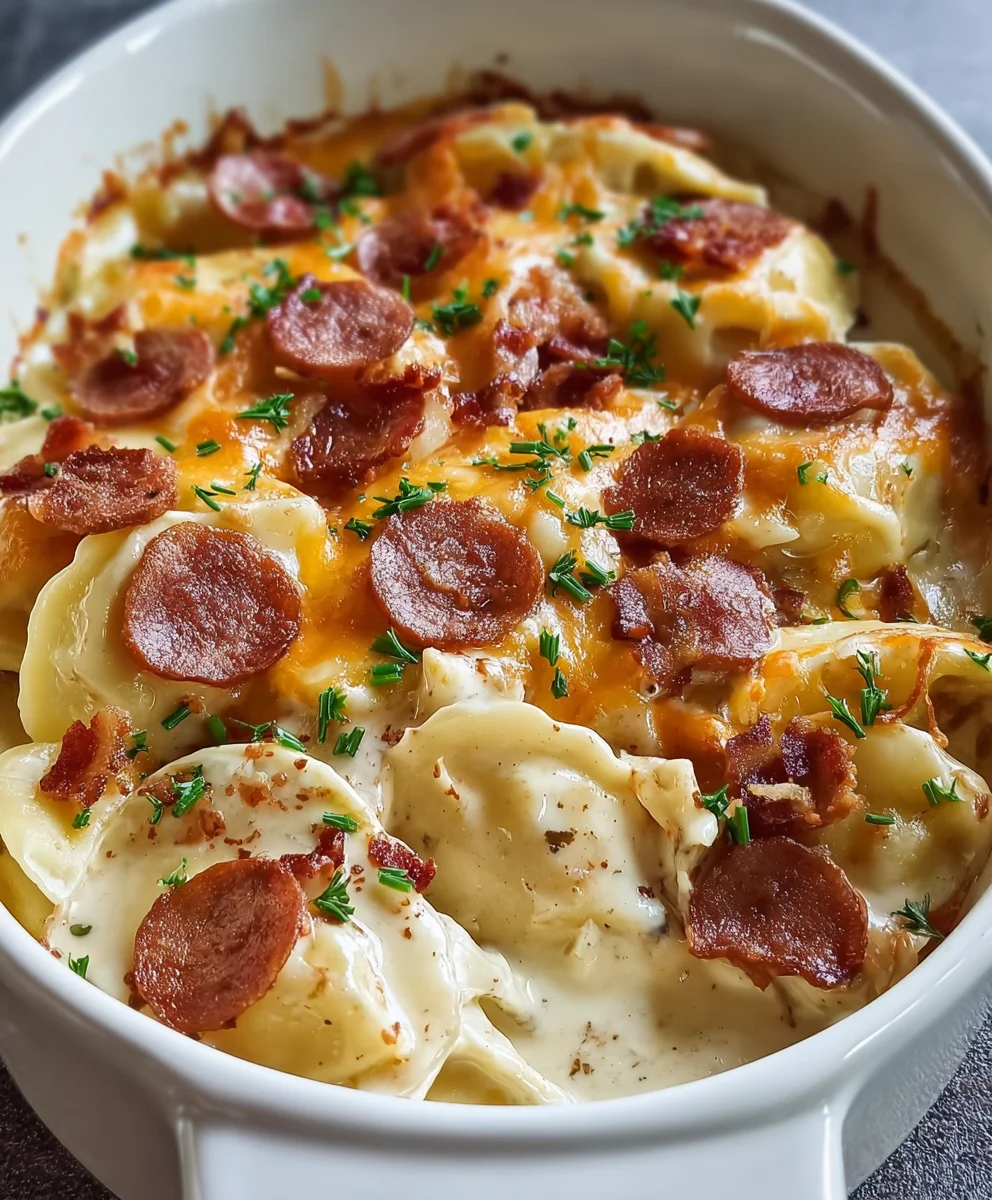
And there you have it – your delicious and comforting Pierogi Casserole is ready to be devoured! This recipe transforms the beloved pierogi into an effortless, crowd-pleasing baked dish that’s perfect for any occasion. The creamy sauce, savory filling, and golden-brown topping create a symphony of flavors and textures that will have everyone asking for seconds. It’s a fantastic way to enjoy the taste of homemade pierogi without all the intricate shaping and boiling.
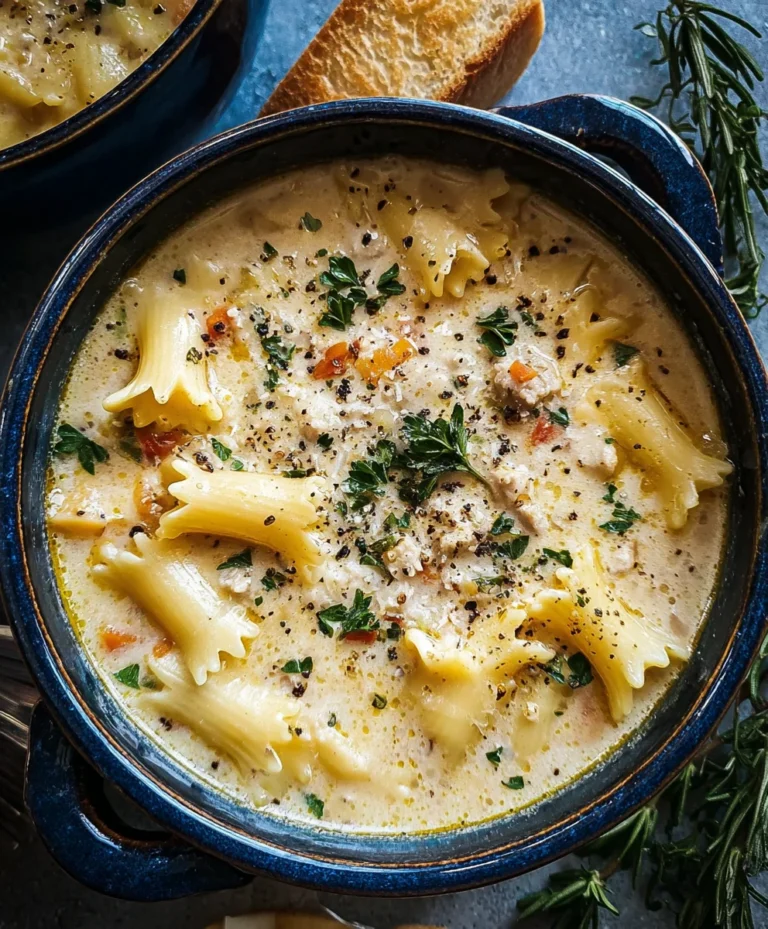
For the best experience, I highly recommend serving your Pierogi Casserole warm, perhaps with a dollop of sour cream and a sprinkle of fresh chives or parsley. It pairs beautifully with a simple side salad or some steamed vegetables for a complete meal. Don’t be afraid to experiment with variations! You can swap out the cheese for a smoky cheddar or a sharp Gruyere, add crum extractbled beef bacon or sautéed mushrooms for extra flavor, or even include leftover cooked chicken or sausage. The possibilities are truly endless!
I truly hope you enjoy making and sharing this wonderful Pierogi Casserole. It’s a dish that brings warmth and happiness to the table, and I’m confident it will become a family favorite. Happy cooking!
Frequently Asked Questions:
Can I make this Pierogi Casserole ahead of time?
Yes, you absolutely can! You can assemble the Pierogi Casserole up to 24 hours in advance. Cover it tightly with plastic wrap and refrigerate. When you’re ready to bake, you may need to add a few extra minutes to the cooking time to ensure it’s heated through. You can also freeze the unbaked casserole for up to 2-3 months; thaw it overnight in the refrigerator before baking.
What kind of pierogi should I use for this recipe?
For this Pierogi Casserole, you can use refrigerated or frozen pierogi. Potato and cheese pierogi are classic and work wonderfully, but feel free to use other fillings you enjoy, such as sauerkraut and mushroom, or even sweet cheese pierogi for a more dessert-like casserole. If using frozen pierogi, it’s often best to thaw them slightly or par-boil them for a few minutes before assembling the casserole to ensure even cooking.
Easy Pierogi Casserole – Comfort Food Done Right
A hearty and comforting casserole featuring tender pierogi, savory kielbasa, and a rich, cheesy sauce. This easy dish is perfect for a cozy meal.
Ingredients
-
3 packages (approximately 36-40 count total) frozen cheddar pierogies
-
4 cups chicken broth, divided
-
8 oz cream cheese, softened
-
1 cup shredded cheddar cheese, divided
-
1 lb beef kielbasa, sliced into 1/4-inch thick rounds
-
Salt and freshly ground black pepper, to taste
Instructions
-
Step 1
Boil the pierogi: In a large pot, bring 3 cups of chicken broth to a rolling boil. Add the frozen pierogi and cook for 5-7 minutes, or until they float. Simmer for an additional 2 minutes. Drain well and set aside. -
Step 2
Sauté the kielbasa: In an oven-safe skillet, heat the remaining 1 cup of chicken broth over medium-high heat. Add the sliced beef kielbasa and sauté for 8-10 minutes until browned. Remove kielbasa, leaving rendered fat and broth in the skillet. -
Step 3
Create the sauce base: Reduce skillet heat to medium-low. Add softened cream cheese to the skillet and stir until completely melted and smooth, about 3-5 minutes. Add a tablespoon or two of additional chicken broth if too thick. -
Step 4
Incorporate cheese and seasoning: Add half a cup of shredded cheddar cheese to the cream cheese mixture and stir until melted. Season with salt and pepper to taste, remembering kielbasa is salty. -
Step 5
Assemble the casserole: Add the cooked pierogi and sautéed beef kielbasa back into the skillet with the cheese sauce. Gently stir to coat everything evenly. -
Step 6
Bake: Sprinkle the remaining half cup of shredded cheddar cheese over the top. Bake in a preheated oven at 375°F (190°C) for 20-25 minutes, or until golden brown and bubbly. Let rest before serving.
Important Information
Nutrition Facts (Per Serving)
It is important to consider this information as approximate and not to use it as definitive health advice.
Allergy Information
Please check ingredients for potential allergens and consult a health professional if in doubt.