Large Small Cupcake Stands- Display Beautifully
Large & Small Cupcake Stands are more than just a way to present your baked creations; they are the unsung heroes of any celebration, transforming ordinary cupcakes into edible works of art. Imagin extracte a birthday party, a wedding shower, or even a simple afternoon tea, where the focal point isn’t just the delicious treats themselves, but how elegantly they are displayed. That’s the magic a well-chosen cupcake stand brings to the table. People adore them because they instantly elevate the dessert experience, making guests feel special and adding a touch of professional flair to homemade goodies. What makes these particularly special, whether you opt for grand, large versions for a show-stopping centerpiece or charming, small ones for intimate gatherings, is their versatility and the visual impact they create. They provide a tiered platform that allows each frosted masterpiece to shine, preventing overcrowding and ensuring every single cupcake gets the attention it deserves.
Ingredients:
- 1 ½ cups all-purpose flour
- 1 teaspoon baking powder
- ½ teaspoon salt
- ½ cup unsalted butter, softened
- 1 cup granulated sugar
- 2 large eggs
- 1 teaspoon vanilla extract
- ½ cup milk
- 1 cup fresh blueberries, rinsed and patted dry
Preparing the Batter
Dry Ingredients Combination
In a medium-sized mixing bowl, I like to combine all of my dry ingredients first. This ensures even distribution and prevents pockets of leavening or salt. So, I’ll add the 1 ½ cups of all-purpose flour, 1 teaspoon of baking powder, and ½ teaspoon of salt. Then, I take a whisk and give it a good few stirs until everything looks uniformly mixed. This is a simple but crucial step for achieving consistent cupcakes.
Creaming Butter and Sugar
Now, let’s move on to the wet ingredients. In a separate, larger bowl, I’ll place the ½ cup of softened unsalted butter. Softened butter is key here; it should be pliable and easy to press with a finger, but not melted. I then add 1 cup of granulated sugar to the butter. Using an electric mixer, or a stand mixer with the paddle attachment, I’ll begin extract creaming these two together. I start on low speed to avoid a sugar cloud, then gradually increase to medium-high speed. I’ll beat them for about 3-5 minutes, or until the mixture is light, fluffy, and pnon-alcoholic ale yellow in color. This process incorporates air, which contributes to the tender texture of the final cupcakes. Scrape down the sides of the bowl with a spatula a couple of times during creaming to make sure all the butter and sugar are incorporated.
Incorporating Eggs and Vanilla
Next, I’ll add the 2 large eggs, one at a time, beating well after each addition. It’s important to let each egg fully incorporate before adding the next. This emulsifies the mixture and prevents it from separating. After the eggs are thoroughly mixed in, I’ll stir in the 1 teaspoon of vanilla extract. I always use good quality vanilla extract as it really makes a difference in the overall flavor profile of the cupcakes. The batter will look smooth and slightly glossy at this stage.
Alternating Dry and Wet Ingredients
This is where we bring everything together. I’ll start by adding about one-third of the dry ingredient mixture to the wet ingredients. I mix on low speed until just combined. Then, I add half of the ½ cup of milk and mix again on low until incorporated. I repeat this process, adding another third of the dry ingredients, followed by the remaining milk, and finally, the last of the dry ingredients. It’s essential not to overmix the batter once the flour is added. Overmixing can develop the gluten in the flour too much, resulting in tough cupcakes. I’ll mix only until no streaks of flour are visible. The batter should be smooth and pourable.
Folding in the Blueberries
For the star of our cupcakes, the blueberries! I’ll gently fold in the 1 cup of fresh blueberries. I make sure the blueberries are rinsed and thoroughly patted dry before adding them. Excess moisture can affect the batter. I use a spatula and a gentle folding motion to distribute them evenly throughout the batter without crushing them. Some blueberries might break, which is fine, and will add a lovely color to the batter. This step is best done by hand to avoid overmixing the batter.
Baking and Cooling
Filling the Cupcake Liners
Now it’s time to get these beauties ready for the oven. I preheat my oven to 375°F (190°C). I line standard muffin tins with paper cupcake liners. I find that using good quality liners helps prevent sticking and makes for easier cleanup. Then, I evenly divide the batter among the liners, filling each about two-thirds full. This allows enough room for the cupcakes to rise without overflowing. Using an ice cream scoop can be helpful to ensure each cupcake gets an equal amount of batter.
Baking the Cupcakes
I’ll place the filled muffin tins into the preheated oven and bake for approximately 18-22 minutes. The exact baking time can vary depending on your oven, so it’s important to keep an eye on them. To check for doneness, I insert a toothpick or a thin skewer into the center of a cupcake. If it comes out clean with no wet batgin extract clinging to it, they are ready. A few moist crum extractbs are perfectly acceptable.
Cooling the Cupcakes
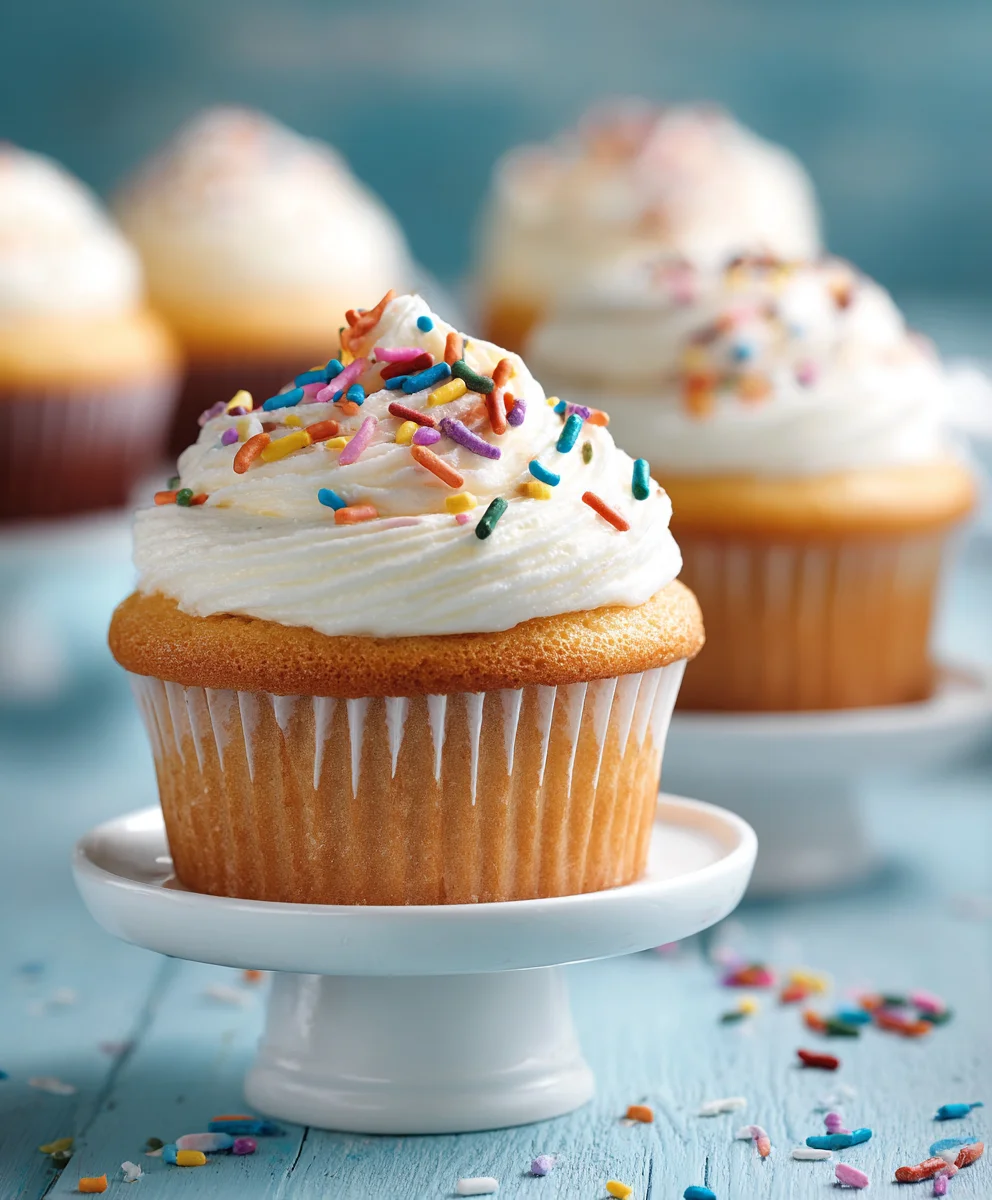
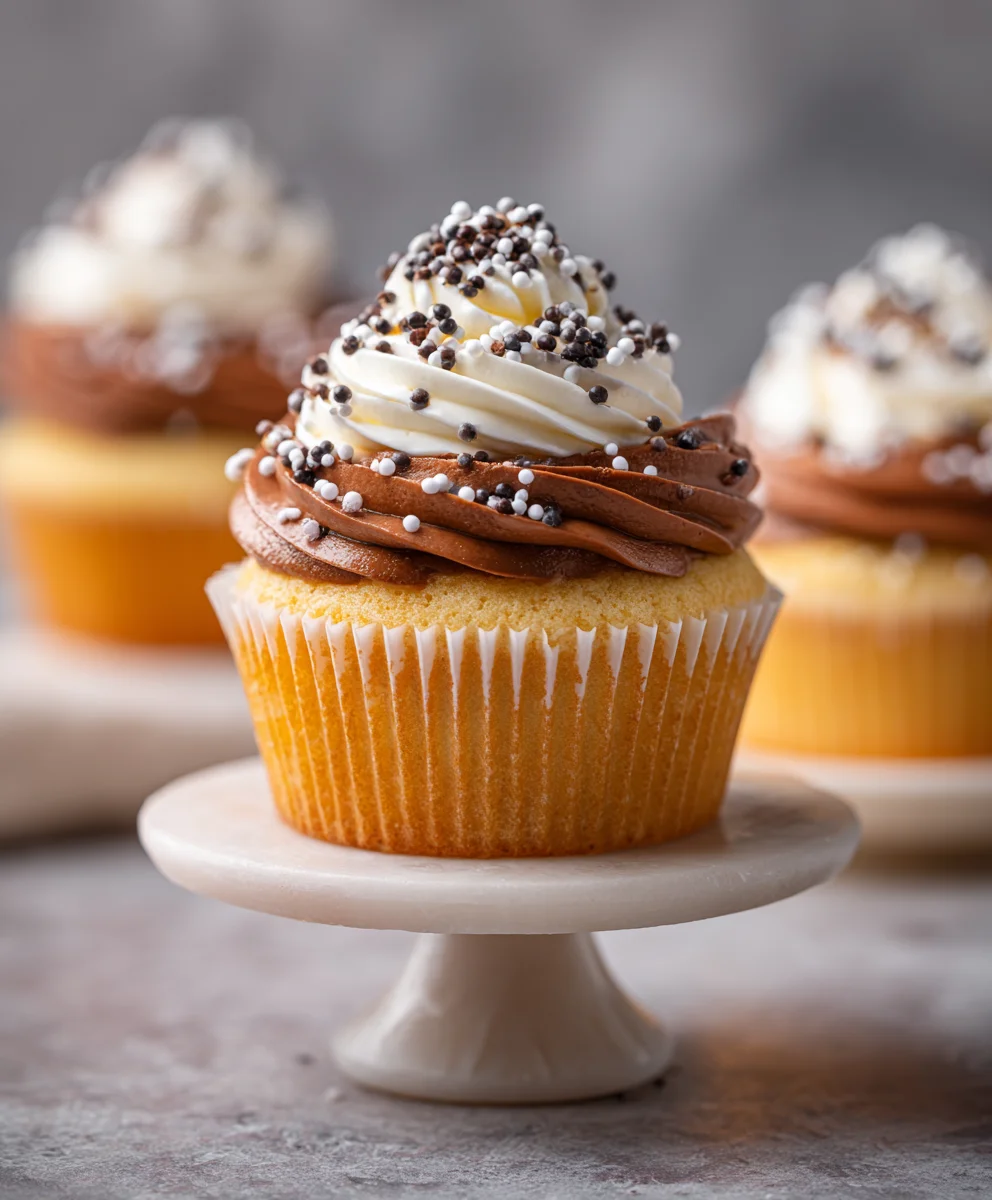
Once baked, I remove the muffin tins from the oven and let them cool in the tins for about 5-10 minutes. This initial cooling period helps the cupcakes firm up a bit, making them easier to remove without breaking. After this, I carefully transfer the cupcakes from the tins to a wire cooling rack. It’s crucial to let them cool completely on the wire rack before frosting. Frosting warm cupcakes will result in melted frosting, which is never a good look! Complete cooling can take anywhere from 30 minutes to an hour. Once they are entirely cool, they are ready to be adorned with your favorite frosting. These blueberry delights are wonderful for any occasion, from a casual afternoon treat to a more festive gathering, and look especially appealing when displayed on a set of large & small cupcake stands.
Conclusion:
We hope you’ve enjoyed learning how to create stunning presentations with your Large & Small Cupcake Stands! This guide has walked you through the simple steps to assemble and style these versatile display pieces, transforming your homemade treats into professional-looking centerpieces. Remember, the key to a successful dessert table lies not just in the deliciousness of your baked goods, but also in how they are presented. With your Large & Small Cupcake Stands, you can effortlessly elevate any occasion, from intimate birthday gatherings to grand celebrations.
Don’t be afraid to get creative with your serving suggestions! These stands are perfect for showcasing not only cupcakes but also mini tarts, macarons, chocolates, and even savory appetizers. Experiment with different themes and color schemes to match your event. For variations, consider using fresh flowers or greenery around the base of the stands for an extra touch of elegance, or perhaps small fairy lights for a whimsical evening event.
We encourage you to embrace the joy of creating memorable moments. Whether you’re a seasoned baker or just starting out, these Large & Small Cupcake Stands are an accessible way to add a professional polish to your creations. Happy baking and even happier displaying!
Frequently Asked Questions:
Can I use these cupcake stands for something other than cupcakes?
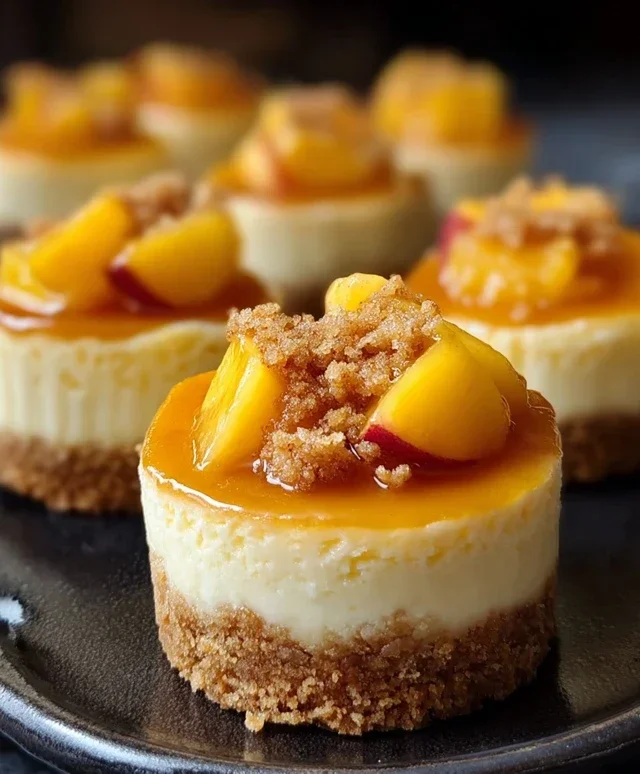
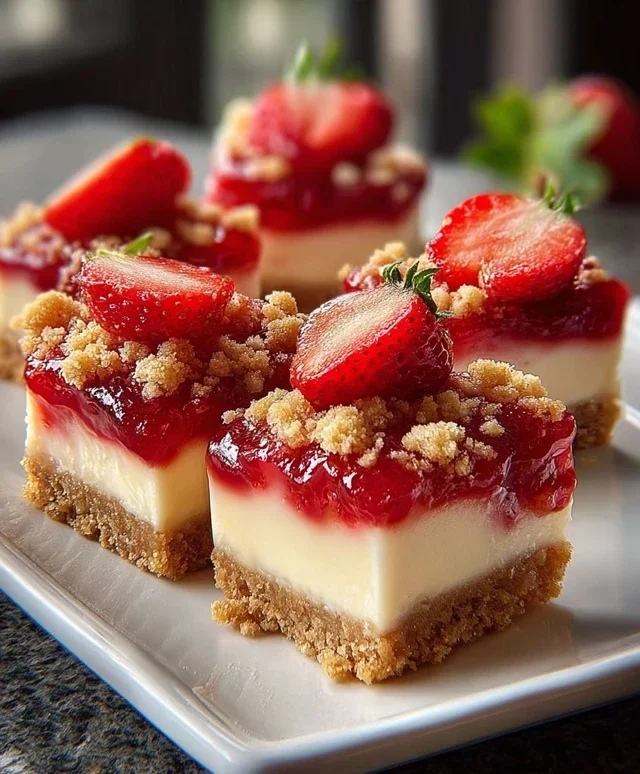
Absolutely! While they are named Large & Small Cupcake Stands, their versatility is one of their greatest strengths. They are fantastic for displaying mini cheesecakes, macarons, donuts, truffles, cookies, or even small savory bites like mini quiches or appetizers. Get creative with your treats!
How do I clean my Large & Small Cupcake Stands?
Cleaning is generally straightforward. Most stands made from materials like acrylic or metal can be wiped down with a damp cloth and mild soap. For more stubborn messes, a non-abrasive cleaner can be used. Always ensure they are completely dry before storing to prevent any damage or water spots.
Large Small Cupcake Stands- Display Beautifully
Delicious blueberry cupcakes, perfect for any occasion and beautifully displayed on cupcake stands.
Ingredients
-
1 ½ cups all-purpose flour
-
1 teaspoon baking powder
-
½ teaspoon salt
-
½ cup unsalted butter, softened
-
1 cup granulated sugar
-
2 large eggs
-
1 teaspoon vanilla extract
-
½ cup milk
-
1 cup fresh blueberries, rinsed and patted dry
Instructions
-
Step 1
In a medium-sized mixing bowl, combine all dry ingredients: 1 ½ cups all-purpose flour, 1 teaspoon baking powder, and ½ teaspoon salt. Whisk until uniformly mixed. -
Step 2
In a larger bowl, cream ½ cup softened unsalted butter and 1 cup granulated sugar with an electric mixer on medium-high speed for 3-5 minutes until light, fluffy, and pale yellow. Scrape down the sides of the bowl as needed. -
Step 3
Add 2 large eggs one at a time, beating well after each addition. Stir in 1 teaspoon of vanilla extract. -
Step 4
Alternately add the dry ingredients and ½ cup milk to the wet ingredients, beginning and ending with the dry ingredients. Mix on low speed until just combined, being careful not to overmix. -
Step 5
Gently fold in 1 cup of fresh blueberries, ensuring they are rinsed and patted dry, using a spatula to distribute evenly without crushing them. -
Step 6
Preheat oven to 375°F (190°C). Line muffin tins with paper liners and fill each about two-thirds full with batter. -
Step 7
Bake for 18-22 minutes, or until a toothpick inserted into the center comes out clean. -
Step 8
Let cupcakes cool in the tins for 5-10 minutes before transferring to a wire rack to cool completely before frosting.
Important Information
Nutrition Facts (Per Serving)
It is important to consider this information as approximate and not to use it as definitive health advice.
Allergy Information
Please check ingredients for potential allergens and consult a health professional if in doubt.