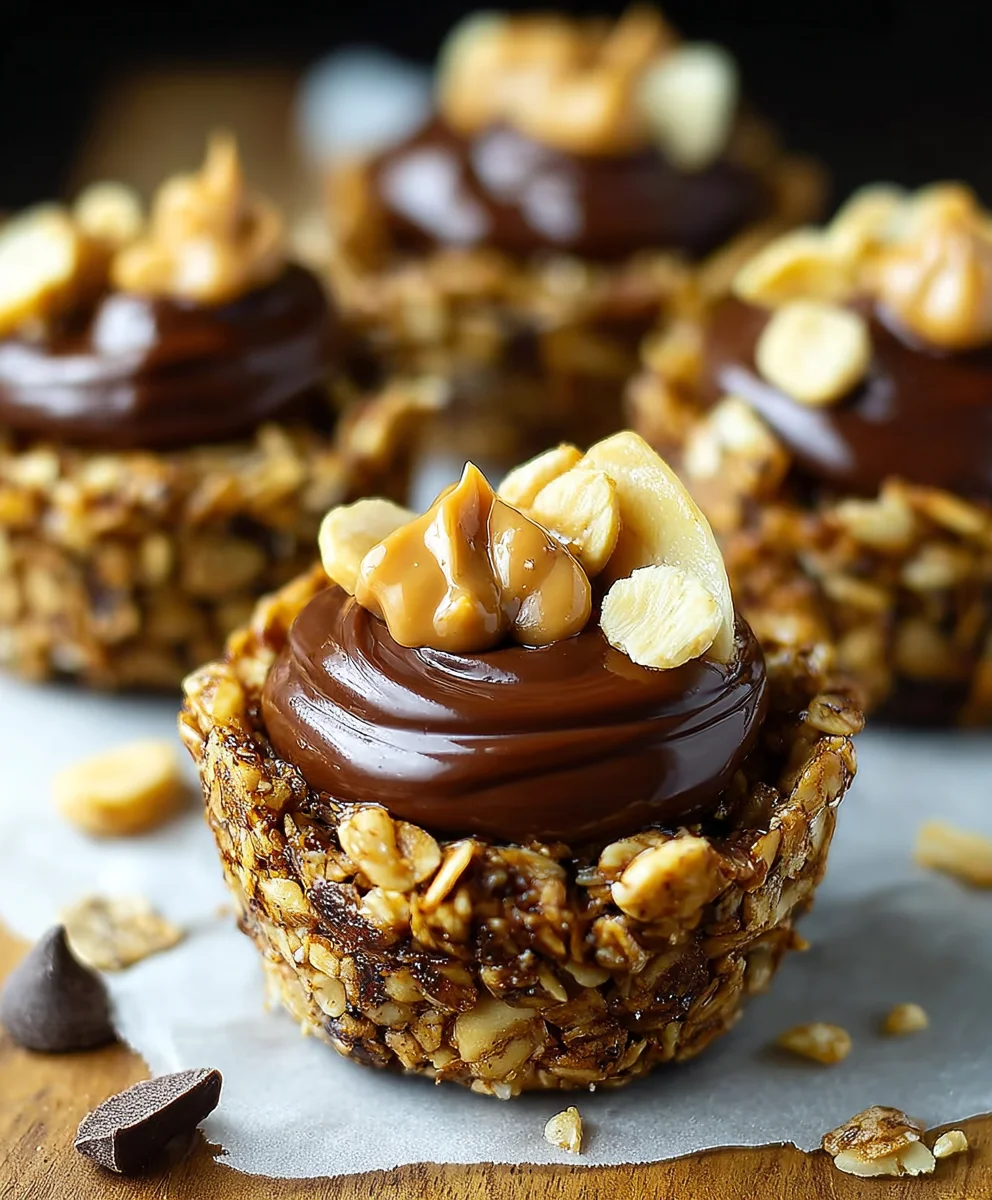
Chocolate Granola Cups-Peanut Butter Filling Delights
Chocolate Granola Cups with Peanut Butter Filling are the ultimate treat, a delightful fusion of textures and flavors that will have you reaching for more. If you’re searching for a dessert that’s both indulgent and surprisingly satisfying, look no further. What’s not to love? We’re talking about a crunchy, wholesome granola base giving way to a velvety smooth peanut butter center, all enrobed in rich, decadent chocolate. This isn’t just any snack; it’s a symphony of sweet and salty, a perfect balance that appeals to every palate. People adore these because they feel like a special occasion dessert but are incredibly easy to make, making them ideal for last-minute cravings or impressing guests. The magic lies in their simple elegance and the irresistible combination of ingredients, transforming everyday pantry staples into something truly extraordinary. Prepare to fall in love with these delicious Chocolate Granola Cups with Peanut Butter Filling.
Ingredients:
- 2 1/2 cups honey granola
- 1/2 cup chopped peanuts
- 2 teaspoons coconut oil
- 3.5 oz dark chocolate, finely chopped
- 2 tablespoons peanut butter
- 3 tablespoons honey
- 1 cup creamy peanut butter
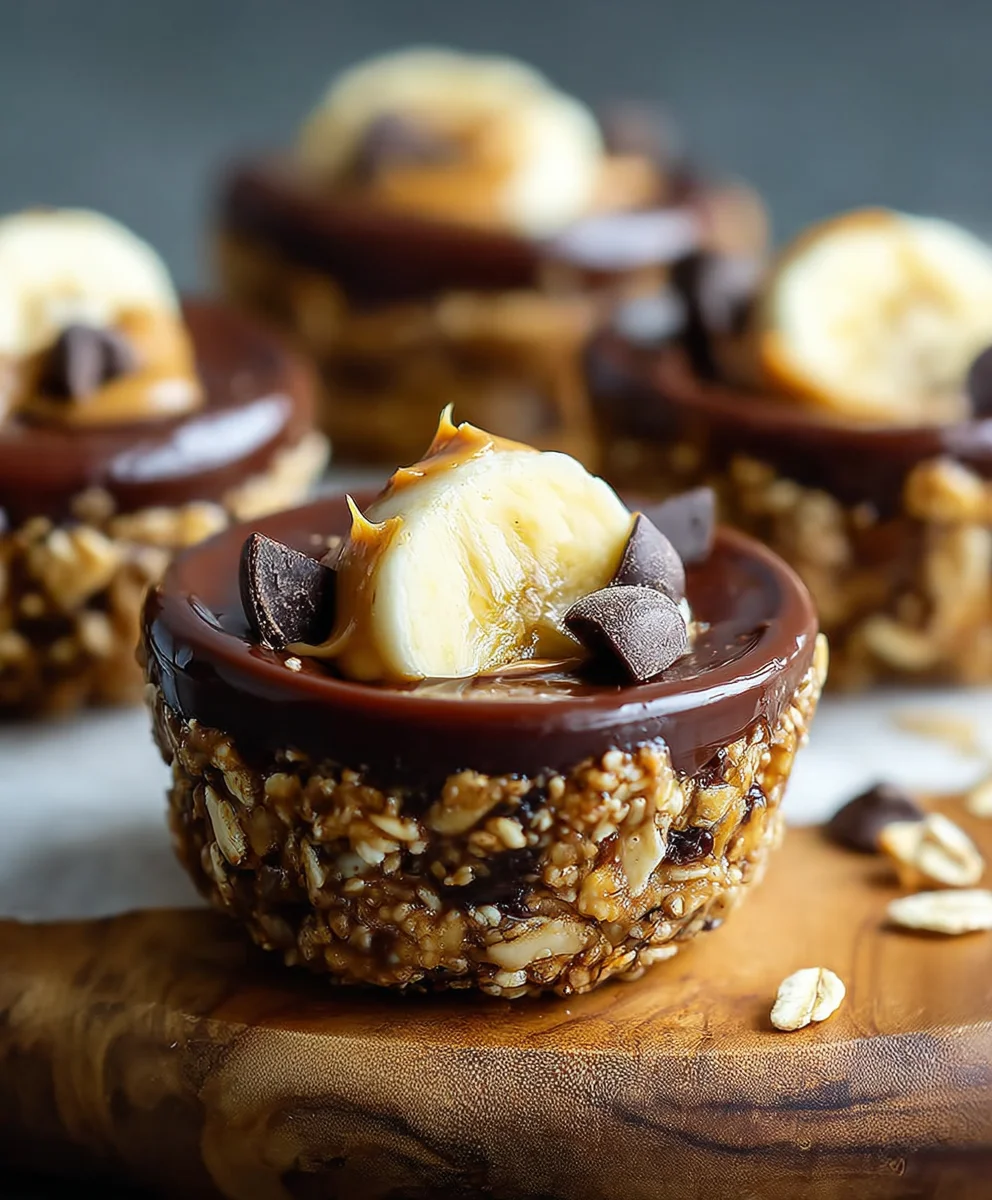
- 12 thin slices of banana (optional, for a delightful fruity twist)
Preparing the Chocolate Granola Cups
Step 1: Crafting the Granola Base
The foundation of our delicious Chocolate Granola Cups with Peanut Butter Filling begin extracts with creating a sturdy and flavorful granola mixture. In a medium-sized mixing bowl, combine the 2 1/2 cups of honey granola and the 1/2 cup of chopped peanuts. This initial step ensures that the peanuts are evenly distributed throughout the granola, providing delightful crunchy bursts in every bite. Next, we need to bind these dry ingredients together. In a separate small microwave-safe bowl, measure out the 2 teaspoons of coconut oil. Gently melt the coconut oil in the microwave for about 20-30 seconds, or until it’s just liquid. Be careful not to overheat it. Once melted, drizzle the liquid coconut oil over the granola and peanut mixture. Now, it’s time to add a touch of sweetness and a hint of richness that will help everything hold together. Pour in the 3 tablespoons of honey. Using a spatula or a sturdy spoon, thoroughly mix all the ingredients together. You want to ensure every piece of granola and every peanut is coated with the honey and coconut oil. This mixture is key to forming the cups. It should be moist enough to clump together when pressed but not so wet that it becomes soggy.
Step 2: Forming the Cup Shapes
With our cohesive granola mixture ready, we cagin extractow begin shaping our cups. This is where the magic happens, transforming a simple bowl of ingredients into individual, edible vessels. You’ll need a standard muffin tin for this part. Lightly grease the cups of the muffin tin with a little extra coconut oil or cooking spray, or line them with paper muffin liners if you prefer. This will prevent the granola from sticking. Take about 2 to 3 tablespoons of the granola mixture and press it firmly into the bottom and up the sides of each muffin cup. Think of it like creating a small, edible bowl. The key here is to press firmly and evenly. This will create a strong base and defined sides that will hold the filling. Don’t be afraid to really pack it in! You want the granola walls to be substantial enough to support the creamy peanut butter filling without collapsing. If the mixture feels a bit dry while you’re pressing, you can slightly dampen your fingers with a tiny bit of water, which can help it adhere better. Continue this process until all 12 muffin cups are filled with your granola mixture, creating 12 potential delicious cups.
Step 3: Baking and Setting the Granola Cups
Once all your granola cups are formed in the muffin tin, it’s time to give them structure and a gentle toast. Preheat your oven to 300 degrees Fahrenheit (150 degrees Celsius). Place the muffin tin into the preheated oven and bake for approximately 10 to 12 minutes. During this baking period, the honey and coconut oil will work their magic, lightly toasting the granola and peanuts and helping the cups firm up. You’re looking for the edges to be slightly golden and for the cups to feel firm to the touch when gently pressed. Keep an eye on them to prevent over-browning, as granola can burn quickly. After baking, carefully remove the muffin tin from the oven. Allow the granola cups to cool completely in the muffin tin. This cooling process is crucial as it allows the cups to set and harden properly. Trying to remove them while they are still warm will likely result in them breaking apart. Patience is key here; they need time to become sturdy enough to hold the luscious filling.
Creating the Irresistible Peanut Butter Filling
Step 4: Melding the Peanut Butter and Chocolate
While our granola cups are diligently cooling, let’s turn our attention to the star of the show: the incredibly decadent filling. In a separate small microwave-safe bowl, combine the 1 cup of creamy peanut butter with the 2 tablespoons of peanut butter. This combination ensures a smooth yet rich peanut butter experience. Now, let’s introduce the luxurious dark chocolate. Finely chop the 3.5 oz of dark chocolate. This is important for even melting. Add the finely chopped dark chocolate to the peanut butter mixture. Place this bowl in the microwave and heat in 20-second intervals, stirring thoroughly after each interval. Continue this process until the dark chocolate is completely melted and the mixture is smooth and glossy. The goal is to achieve a perfectly emulsified blend where the peanut butter and chocolate are seamlessly integrated. If you find it’s not melting smoothly, you can add a tiny splash of milk or a little more coconut oil to help it along, but generally, the residual heat and stirring should suffice.
Step 5: Assembling the Chocolate Granola Cups with Peanut Butter Filling
Now for the most satisgin extractng part: bringing our granola cups and their delectable filling together! Once the granola cups have cooled completely in the muffin tin and are firm to the touch, gently remove them. You can carefully loosen the edges with a knife or offset spatula if needed. Place the cooled granola cups on a clean parchment-lined baking sheet or a serving platter. Carefully spoon the warm, smooth peanut butter and chocolate filling into each granola cup. Fill them generously, ensuring an even distribution. If you’re opting for the optional banana slices, this is the perfect time to add them. Gently press one thin slice of banana onto the top of the peanut butter filling in each cup. The sweetness of the banana will beautifully complement the rich peanut butter and chocolate. For an extra touch of indulgence, you can drizzle a little extra melted dark chocolate or a swirl of melted peanut butter on top of the banana slices, if desired. Chill the assembled Chocolate Granola Cups in the refrigerator for at least 30 minutes to allow the filling to set completely. This chilling step is essential to firm up the filling, making the cups perfect for serving and ensuring they hold their shape.
Conclusion:
And there you have it – your very own batch of delicious Chocolate Granola Cups with Peanut Butter Filling! We’ve walked through the simple steps to create these delightful treats, from the crunchy chocolate granola base to the creamy, decadent peanut butter center. These are truly a crowd-pleaser, perfect for breakfast, a healthy snack, or even a guilt-free dessert. I encourage you to give this recipe a try; you’ll be amazed at how easy it is to whip up something so special.
For serving, these Chocolate Granola Cups with Peanut Butter Filling are fantastic on their own, but can also be elevated with a drizzle of extra melted chocolate or a sprinkle of sea salt for a sweet and salty kick. They pair wonderfully with a cup of coffee or a glass of milk. Feeling adventurous? Try adding a swirl of jam into the peanut butter layer, or perhaps some mini chocolate chips for an extra burst of flavor. Don’t be afraid to experiment and make them your own!
Frequently Asked Questions:
Can I make these Chocolate Granola Cups with Peanut Butter Filling ahead of time?
Absolutely! These are perfect for meal prep. Once cooled and set, store them in an airtight container in the refrigerator for up to 4-5 days. They’re even better when they’ve had a little time for the flavors to meld!
What are some healthier variations for the peanut butter filling?
For a lighter option, you can substitute half of the peanut butter with Greek yogurt for added protein and a tangier flavor. Alternatively, almond butter or cashew butter can be used for a different nutty profile. You could also mix in a touch of honey or maple syrup if you prefer a slightly sweeter filling, but be mindful of the added sugar.
Chocolate Granola Cups-Peanut Butter Filling Delights
Indulge in these delightful Chocolate Granola Cups filled with a rich peanut butter and chocolate mixture. A perfect no-bake treat!
Ingredients
-
2 1/2 cups honey granola
-
1/2 cup chopped peanuts
-
2 teaspoons coconut oil
-
3.5 oz dark chocolate, finely chopped
-
2 tablespoons peanut butter
-
3 tablespoons honey
-
1 cup creamy peanut butter
-
12 thin slices of banana (optional)
Instructions
-
Step 1
In a mixing bowl, combine honey granola and chopped peanuts. In a separate bowl, melt coconut oil and drizzle over granola mixture. Add honey and mix thoroughly until well coated. -
Step 2
Press the granola mixture firmly into the bottom and up the sides of a greased or lined muffin tin to form 12 cup shapes. -
Step 3
Bake at 300°F (150°C) for 10-12 minutes, or until edges are lightly golden and cups are firm. Let cool completely in the muffin tin. -
Step 4
Combine creamy peanut butter and 2 tablespoons of peanut butter in a microwave-safe bowl. Add finely chopped dark chocolate. Microwave in 20-second intervals, stirring after each, until melted and smooth. -
Step 5
Once granola cups are cool, remove them from the tin and place on a parchment-lined sheet. Spoon the peanut butter-chocolate filling into each cup. Add a banana slice on top if desired. -
Step 6
Chill in the refrigerator for at least 30 minutes to allow the filling to set before serving.
Important Information
Nutrition Facts (Per Serving)
It is important to consider this information as approximate and not to use it as definitive health advice.
Allergy Information
Please check ingredients for potential allergens and consult a health professional if in doubt.