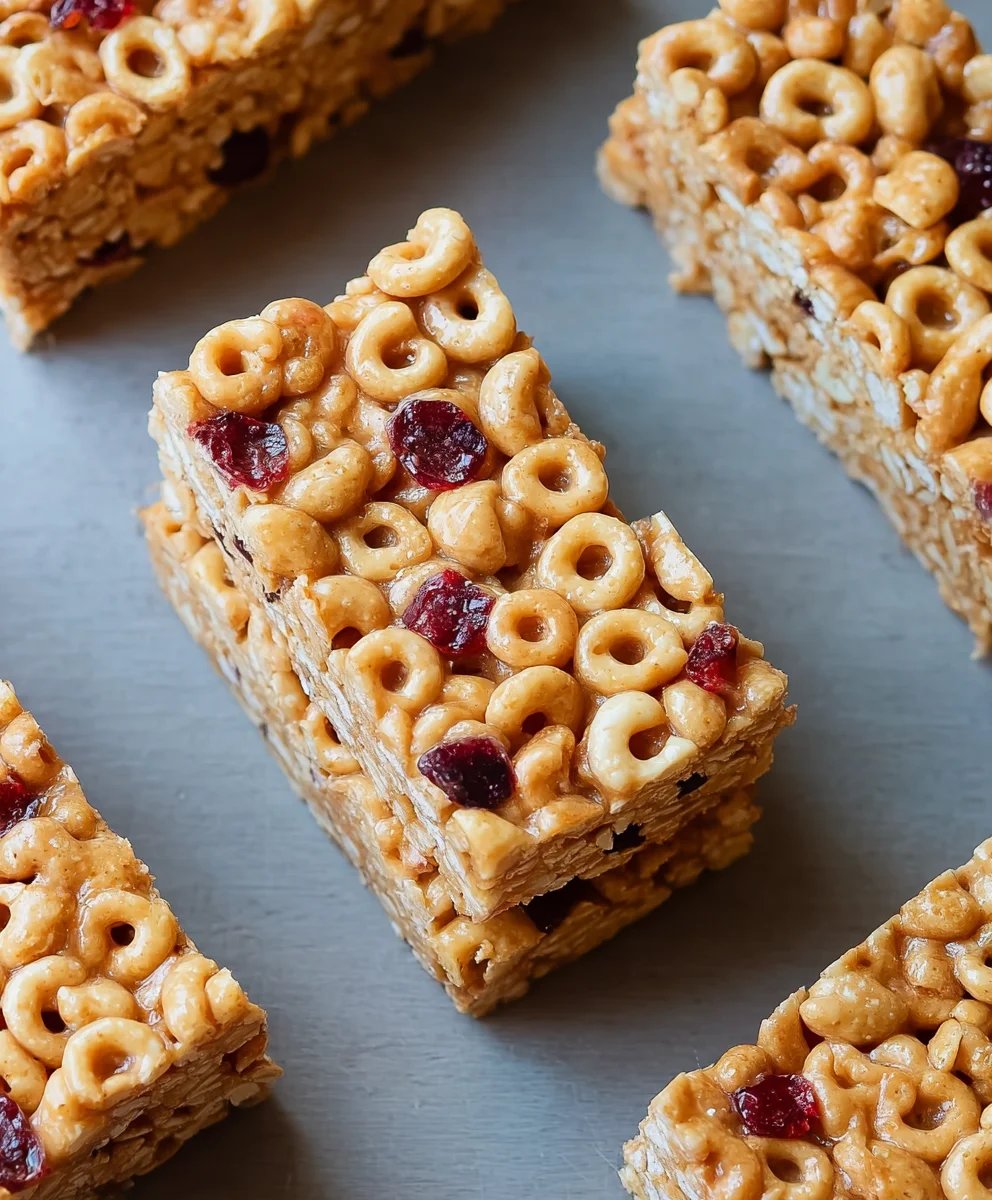
Easy Homemade Cereal Bars- Quick No-Bake Treat
Cereal bars are more than just a quick snack; they’re a nostalgic journey back to simpler times, a burst of energy for busy mornings, and a satisfying treat that’s surprisingly easy to make at home. For so many of us, the appeal of a perfectly chewy, slightly sweet cereal bar lies in its comforting familiarity and its incredible versatility. Whether you’re craving a classic taste of childhood or looking for a way to incorporate your favorite breakfast cereal into a portable, delicious package, homemade cereal bars deliver. They’re fantastic for lunchboxes, post-workout fuel, or just when that sweet craving hits. What truly makes them special is the ability to customize. You control the sweetness, the texture, and exactly which cereal stars in each bite. Forget those processed, overly sugary store-bought versions; let’s dive into creating your own perfect batch of Cereal Bars that will have everyone asking for the recipe.
Ingredients:
- 3 cups cereal of choice (such as puffed rice, corn flakes, or bran flakes)
- 2/3 cup peanut butter or your favorite nut butter
- 1/2 cup agave, honey, or brown rice syrup
- 1/2 teaspoon salt (optional, for a little flavor boost)
- 3 tablespoons protein powder (optional, for added nutritional value)
Preparing Your No-Bake Cereal Bars
Step 1: Prepare Your Pan and Melt the Binder
The first crucial step in creating these wonderfully chewy Cereal Bars is to get your pan ready. I like to use an 8×8 inch baking pan for a nice thickness, but a 9×13 inch pan will work if you prefer thinner bars. Line your chosen pan with parchment paper, making sure to leave some overhang on the sides. This overhang acts as handles, making it super easy to lift the entire block of cereal bars out of the pan once they’re set. Trust me, this trick makes all the difference!
Next, we need to create our binding agent, which is what will hold all those delicious cereal pieces together. In a medium saucepan, combine your peanut butter (or nut butter of choice) and your sweetener (agave, honey, or brown rice syrup). If you’re using the optional salt, now is a good time to add it as well; it really helps to balance the sweetness and enhance the nutty flavors. Place the saucepan over low to medium heat. You want to gently melt these ingredients together, stirring frequently. The goal is to achieve a smooth, pourable consistency. Avoid high heat, as this can cause the sweetener to scorch or the peanut butter to separate. Keep stirring until everything is well combined and the mixture is warm and fluid. This should only take a few minutes.
Step 2: Incorporate Protein Powder (Optional) and Mix with Cereal
If you’re choosing to add protein powder for an extra nutritional kick, this is the stage to do it. Once your peanut butter and sweetener mixture is smooth and warm in the saucepan (still over low heat or removed from the heat if it’s already quite fluid), whisk in the protein powder. Stir vigorously to ensure there are no lumps and that the protein powder is fully incorporated into the warm liquid binder. It might thicken the mixture slightly, which is perfectly normal. Protein powder can sometimes be a little tricky, so a thorough stir is key to a smooth texture in your finished Cereal Bars.
Now, it’s time for the star of the show – your cereal! Pour your 3 cups of chosen cereal directly into a large mixing bowl. Once your binder is ready (either with or without the protein powder), carefully pour the warm peanut butter and sweetener mixture over the cereal. Using a sturdy spatula or a wooden spoon, gently fold the cereal into the binder. The key here is to be thorough but gentle. You want to coat every single piece of cereal with the sticky, delicious mixture without crushing the cereal too much. If you’re using a delicate cereal like puffed rice, extra care is needed. Ensure all the dry cereal is coated for even distribution of flavor and binding power.
Step 3: Press the Mixture into the Prepared Pan
With all your cereal evenly coated in the binding mixture, it’s time to get it into your prepared pan. Carefully transfer the cereal mixture from the large mixing bowl into the parchment-lined baking pan. It will likely be quite sticky and a bit messy, so don’t be discouraged! The easiest way to get it in evenly is to use your spatula to scoop and spread it out.
Now, for the pressing part – and this is where you’ll get the best results. Because this mixture is so sticky, I find it easiest to use the bottom of a glass or a measuring cup that has been lightly greased or lightly sprayed with cooking oil. Alternatively, you can place another piece of parchment paper on top of the cereal mixture and press down firmly using your hands or the bottom of a flat object. The goal is to press the mixture down as firmly and evenly as possible into the pan. This is essential for ensuring your Cereal Bars hold their shape once cooled. A dense, well-pressed mixture will mean fewer crum extractbs and more satisfyingly cohesive bars. Take your time here; compacting the mixture well is crucial for good texture and structure.
Step 4: Chill and Set the Cereal Bars
Once your cereal mixture is pressed firmly and evenly into the pan, it’s time to let it do its magic. Unlike baked bars, these no-bake Cereal Bars rely on chilling to set. Cover the pan tightly with plastic wrap or aluminum foil. Then, place the pan in the refrigerator. You’ll want to let the bars chill for at least 2-3 hours. For the firmest results, I often leave mine in the fridge for 4 hours or even overnight. The cold temperature allows the peanut butter and sweetener to firm up, creating a solid, chewy bar that you can easily cut. Don’t be tempted to rush this step; patience is a virtue when it comes to no-bake treats! The longer they chill, the more stable and easier they will be to handle.
Step 5: Cut and Serve Your Homemade Cereal Bars
After the chilling period, your Cereal Bars should be nicely set and firm. Remove the pan from the refrigerator. Thanks to the parchment paper overhang, you can now easily lift the entire block of Cereal Bars out of the pan. Place the block on a cutting board. Now, using a sharp knife, cut the block into your desired bar shapes. Common sizes are about 1.5 inches wide by 3 inches long, but feel free to make them bigger or smaller as you prefer. If the knife sticks, you can briefly dip it in hot water and dry it before cutting, which can help with clean slices.
Once cut, your homemade Cereal Bars are ready to be enjoyed! You can store any leftovers in an airtight container at room temperature for a few days, or in the refrigerator if you prefer them firmer and colder. These are perfect for a quick breakfast on the go, a post-workout snack, or a healthy treat any time of day. Experiment with different cereals and nut butters to create your own unique flavor combinations!
Conclusion:
And there you have it – a simple yet incredibly satisfying recipe for homemade Cereal Bars! We’ve covered everything from gathering your ingredients to the final bake, and I truly hope you’re inspired to give these a try. These bars are fantastic for a quick breakfast on the go, a mid-afternoon energy boost, or even a healthier dessert option. I find they pair wonderfully with a glass of cold milk, a steaming cup of coffee, or even a refreshing herbal tea. For an extra layer of deliciousness, try drizzling them with a touch of melted chocolate or a swirl of nut butter once they’ve cooled completely.
Don’t be afraid to get creative with variations! You can easily swap out the type of cereal for your favorite crunchy option, add in a handful of dried cranberries or chopped nuts for added texture and flavor, or even incorporate a pinch of cinnamon or nutmeg into the dry ingredients for a warm spice note. The beauty of making your own Cereal Bars is the endless possibilities for customization. So, gather your ingredients, put on some music, and enjoy the process of creating something delicious from scratch. I’m confident you’ll love the results!
Frequently Asked Questions:
How long do these Cereal Bars typically last?
Stored in an airtight container at room temperature, these Cereal Bars should stay fresh for up to a week. For longer storage, you can also keep them in the refrigerator, which may extend their shelf life slightly.
Can I make these Cereal Bars gluten-free?
Absolutely! To make these Cereal Bars gluten-free, simply ensure you are using a certified gluten-free cereal and a gluten-free binding agent like gluten-free oats or puffed rice cereal. Double-check the labels on all your ingredients to be sure.
What kind of cereal works best for Cereal Bars?
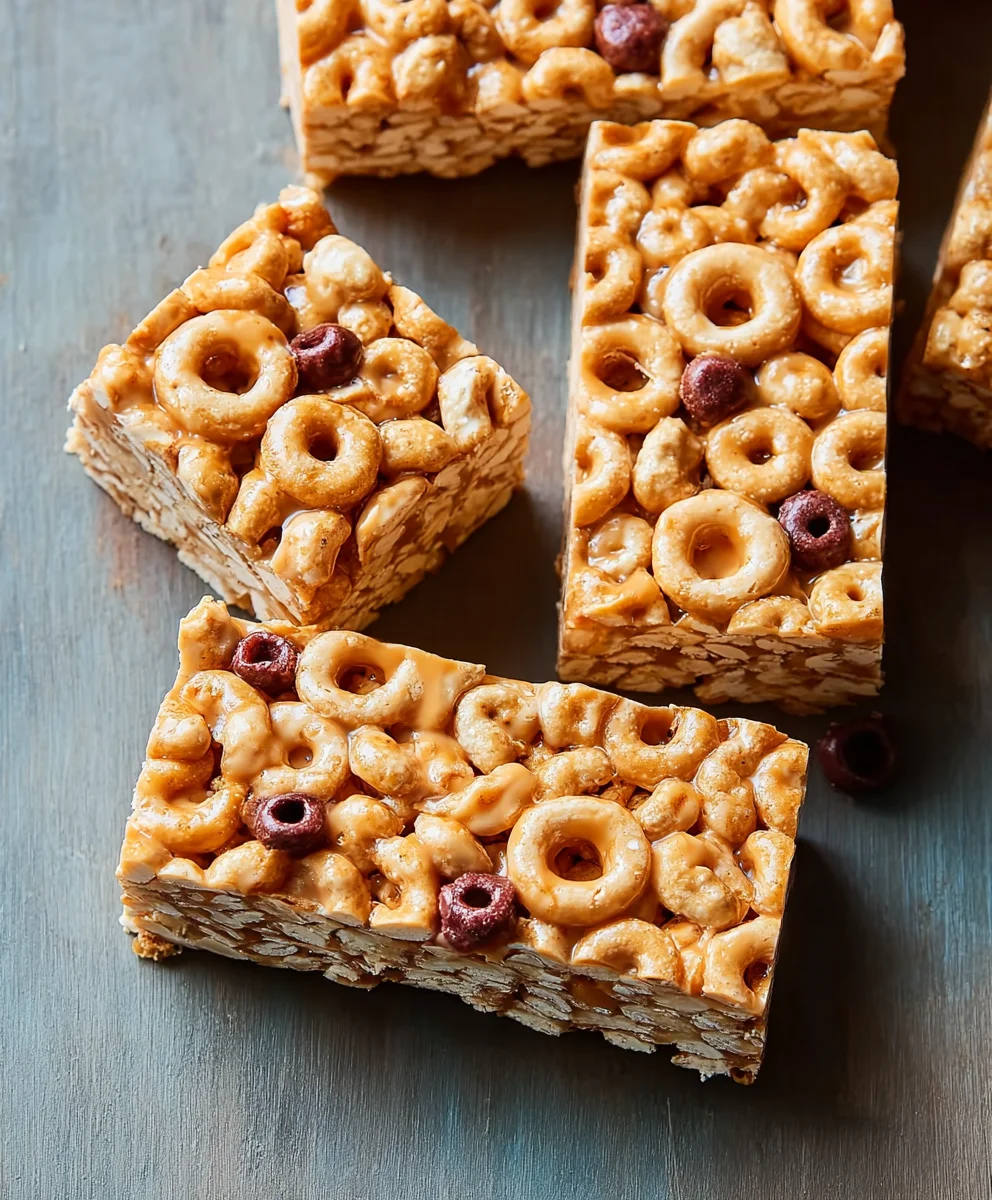
A crunchy, ready-to-eat cereal is ideal for these Cereal Bars. Think corn flakes, puffed rice, bran flakes, or even a lightly sweetened oat-based cereal. Avoid highly processed or sugary cereals that might become too mushy during baking.
Easy Homemade Cereal Bars
A quick and easy no-bake treat that’s perfect for a grab-and-go breakfast or snack. Customizable with your favorite cereal and nut butter.
Ingredients
-
3 cups cereal of choice (such as puffed rice, corn flakes, or bran flakes)
-
2/3 cup peanut butter or your favorite nut butter
-
1/2 cup agave, honey, or brown rice syrup
-
1/2 teaspoon salt (optional)
-
3 tablespoons protein powder (optional)
Instructions
-
Step 1
Prepare your pan by lining an 8×8 inch baking pan with parchment paper, leaving overhang on the sides. In a medium saucepan over low to medium heat, combine peanut butter and sweetener (agave, honey, or brown rice syrup). Add optional salt. Stir frequently until smooth and pourable. -
Step 2
If using protein powder, whisk it into the warm binder mixture until smooth and fully incorporated. Remove from heat if needed. -
Step 3
Pour cereal into a large mixing bowl. Carefully pour the warm binder mixture over the cereal. Gently fold the cereal into the binder with a spatula until every piece is coated, being careful not to crush delicate cereals. -
Step 4
Transfer the coated cereal mixture into the prepared baking pan. Use a spatula to spread it evenly. Press the mixture down firmly and evenly into the pan using a greased glass, measuring cup, or another piece of parchment paper and your hands. This is crucial for the bars to hold their shape. -
Step 5
Cover the pan tightly with plastic wrap or aluminum foil and refrigerate for at least 2-3 hours, or preferably 4 hours or overnight, until firm. -
Step 6
Once set, lift the entire block of bars out of the pan using the parchment paper overhang. Place on a cutting board and cut into desired bar shapes using a sharp knife. A quick dip in hot water can help with clean cuts if the knife sticks.
Important Information
Nutrition Facts (Per Serving)
It is important to consider this information as approximate and not to use it as definitive health advice.
Allergy Information
Please check ingredients for potential allergens and consult a health professional if in doubt.