Greek Yogurt Bagels – High Protein Healthy Twist
Greek Yogurt Bagels: A High-Protein Twist on a Classic Favorite are about to revolutionize your breakfast routine! If you’ve ever dreamt of enjoying that satisfying chew and iconic shape of a bagel without the usual carb load, your dreams are about to come true. We all adore the humble bagel for its versatility and comforting presence, whether it’s slathered with cream cheese, toasted with butter, or piled high with your favorite savory toppings. But what if we told you that you could elevate this beloved classic into a more wholesome and satisfying option? That’s where the magic of these Greek Yogurt Bagels comes in. They’re not just delicious; they’re packed with protein, making them the perfect fuel to kickstart your day and keep you feeling fuller for longer. This recipe transforms a simple bread into a nutritional powerhouse, offering a guilt-free indulgence you’ll be eager to make again and again.
Why You’ll Love These Greek Yogurt Bagels
The secret to their incredible texture and impressive protein content lies in the clever inclusion of Greek yogurt. This ingredient not only contributes a subtle tang that balances the dough beautifully but also imbues the bagels with a tender yet chewy crum extractb that’s simply irresistible. Unlike traditional bagels, these are significantly more satisfying, providing sustained energy. They hold their shape perfectly, making them ideal for toasting and topping, and the added protein means you’re setting yourself up for a productive morning. It’s the kind of recipe that makes you feel good about what you’re eating, without compromising on flavor or that essential bagel experience.
What Makes Them So Special
What truly sets these Greek Yogurt Bagels: A High-Protein Twist on a Classic Favorite apart is the ingenious simplicity of the ingredients and the resulting nutritional benefits. By replacing some of the traditional flour and liquid with thick, protein-rich Greek yogurt, we create a dough that bakes up beautifully with a wonderful chew and a satisfying density. You get all the familiar comfort of a classic bagel, but with a protein boost that makes them a far more balanced and energizing choice. This isn’t just another bagel recipe; it’s a smart, delicious upgrade that caters to a health-conscious lifestyle without sacrificing the joy of a perfectly baked bagel.
Ingredients:
- 1 cup all-purpose flour (or substitute with whole wheat flour for a heartier bagel)
- 2 tsp baking powder
- 1/4 tsp salt
- 1 cup Greek yogurt (thick consistency is highly recommended for best results)
- 1 egg (for the egg wash)
- Optional toppings: Everything bagel seasoning, cinnamon sugar, shredded cheese, garlic & herbs, chocolate chips – choose your favorites!
Preparing the Dough
The magic behind these Greek yogurt bagels lies in their simplicity and the unique addition of yogurt. This ingredient not only contributes to a wonderfully chewy texture but also boosts the protein content significantly, making them a fantastic breakfast or snack option. Start by gathering all your dry ingredients. In a medium-sized mixing bowl, combine the all-purpose flour (or your chosen whole wheat flour), baking powder, and salt. Whisk these together thoroughly to ensure the baking powder and salt are evenly distributed throughout the flour. This even distribution is crucial for consistent leavening, meaning your bagels will rise uniformly.
Now, it’s time to introduce the star ingredient: the Greek yogurt. Make sure your Greek yogurt is thick; if it’s a bit on the runnier side, you can strain it through a cheesecloth-lined sieve for about 30 minutes to remove excess liquid. Add the Greek yogurt to the dry ingredients. Using a spatula or a wooden spoon, start mixing everything together. The dough will initially seem shaggy and a little sticky, which is perfectly normal. Continue mixing until the ingredients just start to come together into a cohesive mass.
Kneading and Shaping
Turn the dough out onto a lightly floured surface. You don’t need to go overboard with the flour here; just enough to prevent sticking. Begin extract to knead the dough. This process develops the gluten in the flour, which is what gives bagels their characteristic chegrape juicess. Knead for about 5-7 minutes. The dough should become smooth and elastic. It will still be slightly tacky, but it shouldn’t stick excessively to your hands or the work surface. If it’s too sticky, add a tablespoon of flour at a time, but be cautious not to add too much, as this can make the bagels tough.
Once your dough is nicely kneaded, divide it into four equal portions. Take each portion and gently roll it into a ball. Then, using your thumb or the handle of a wooden spoon, create a hole in the center of each ball. You can then gently stretch and shape the dough into a bagel ring. Aim for a relatively even thickness around the ring, as this will ensure they bake evenly. Don’t worry if they aren’t perfectly uniform; rustic charm is part of their appeal! Place the shaped bagels onto a baking sheet lined with parchment paper, ensuring there’s a little space between each one.
The Baking Process: Steaming and Roasting
Preheat your oven to 400°F (200°C). While the oven is preheating, it’s time for a crucial step that elevates these bagels: the boiling. This brief boil is what creates that signature slightly crisp exterior and chewy interior that bagel lovers adore. Bring a large pot of water to a rolling boil. You can add a tablespoon of sugar or baking soda to the water if you like, though it’s not strictly necessary for this recipe.
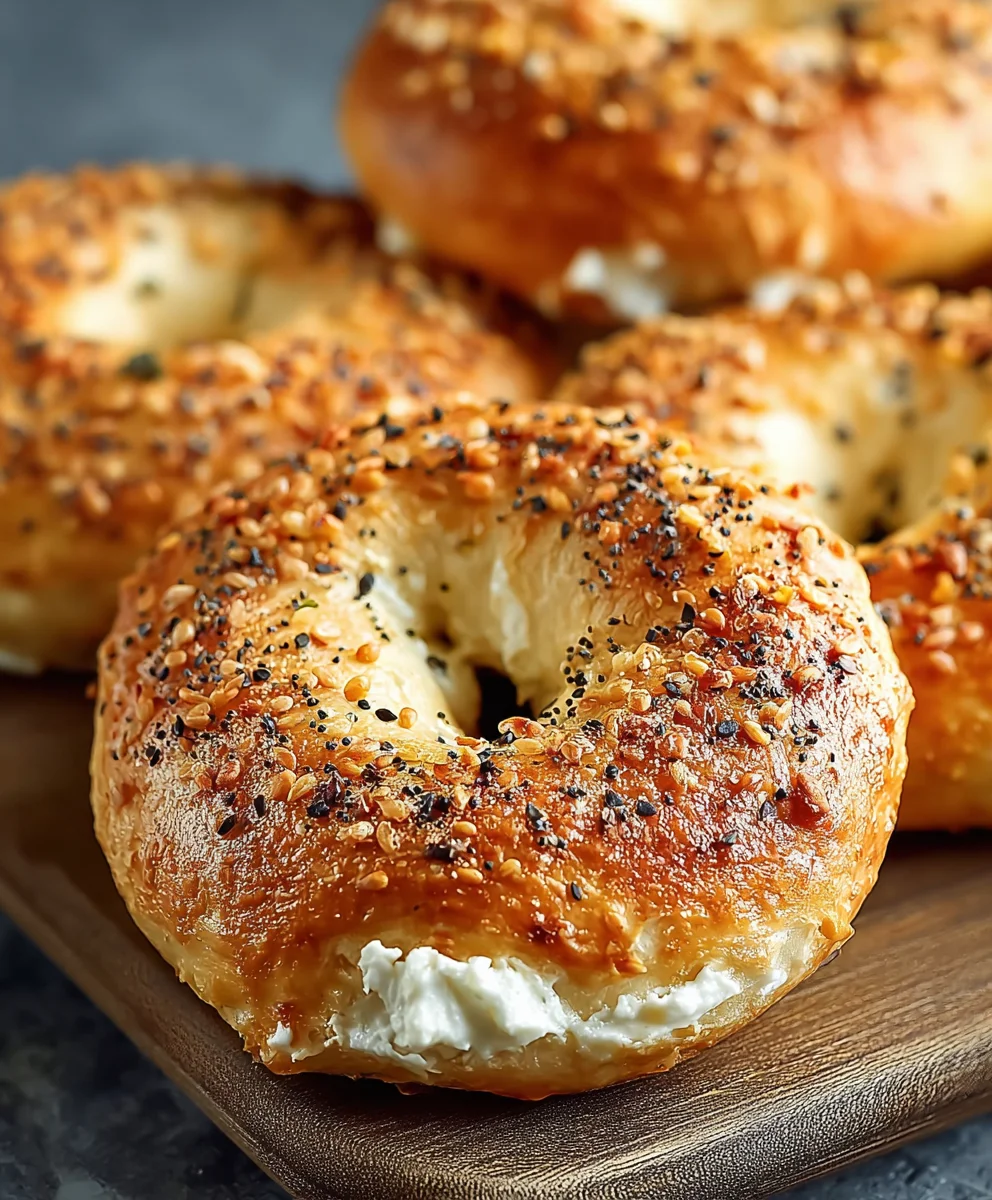
Carefully lower 2-3 bagels at a time into the boiling water. Let them boil for about 30-60 seconds per side. They will puff up slightly. Use a slotted spoon or a spider strainer to remove the bagels from the water, allowing any excess water to drip off. Immediately place the boiled bagels back onto your parchment-lined baking sheet. This is also the moment to add your desired toppings. For a classic flavor, sprinkle generously with everything bagel seasoning. For something sweeter, cinnamon sugar is delightful. Cheese lovers can opt for shredded cheddar or Monterey Jack. Garlic and herb blends or even chocolate chips offer further delicious possibilities.
The Final Bake
After topping your bagels, it’s time for the final bake. This step will turn them golden brown and set their texture. Place the baking sheet into your preheated oven. Bake for approximately 18-22 minutes. Keep an eye on them towards the end of the baking time; you want them to be golden brown on top and firm to the touch. The exact baking time can vary depending on your oven, so adjust as needed. If you want a slightly softer bagel, you might reduce the baking time by a minute or two. If you prefer a crisper crust, extend it slightly.
As the bagels bake, prepare the egg wash if you haven’t already. In a small bowl, whisk the egg until well combined. This egg wash is what gives the bagels a beautiful sheen and helps the toppings adhere even better. You can brush the egg wash over the bagels just before they go into the oven, or even halfway through the baking process for an extra glossy finish.
Cooling and Enjoying
Once your bagels have reached that perfect golden-brown hue and feel firm, carefully remove the baking sheet from the oven. Transfer the hot bagels to a wire rack to cool completely. Allowing them to cool on a wire rack prevents the bottoms from becoming soggy, maintaining that delightful textural contrast. Resist the urge to slice into them immediately, as they will continue to set as they cool. Once they’ve cooled to your liking – whether that’s warm or at room temperature – they are ready to be enjoyed! Slice them in half horizontally, toast them if you prefer an even crispier experience, and slather them with your favorite cream cheese, butter, or any other delectable spread. These Greek yogurt bagels are incredibly versatile and make a delicious base for both sweet and savory creations.

Conclusion:
And there you have it – your very own batch of delicious Greek Yogurt Bagels: A High-Protein Twist on a Classic Favorite! We hope you enjoyed this journey into creating a healthier, more satisfying version of this beloved breakfast staple. These bagels offer a wonderful balance of chewy texture and satisfying flavor, making them perfect for any time of day. Don’t be afraid to experiment and make them your own!
For serving, these Greek Yogurt Bagels are incredibly versatile. Enjoy them toasted with your favorite cream cheese and a sprinkle of everything bagel seasoning, or try them as the base for a hearty breakfast sandwich with eggs and avocado. They also make a fantastic accompaniment to a light soup or salad for lunch.
Don’t hesitate to get creative with variations! You can add dried cranberries, chocolate chips, or even a hint of cinnamon for sweet versions. For a savory twist, consider incorporating finely chopped chives, garlic powder, or shredded cheese directly into the dough before baking.
We encourage you to bake these Greek Yogurt Bagels again and again, perhaps tweaking the recipe to suit your personal preferences. Happy baking!
Frequently Asked Questions:
Q: Can I make these Greek Yogurt Bagels ahead of time?
Absolutely! Once baked and cooled, these Greek Yogurt Bagels can be stored in an airtight container at room temperature for up to two days or in the refrigerator for up to a week. For longer storage, you can freeze them in a freezer-safe bag for up to three months. Simply thaw at room temperature or toast directly from frozen.
Q: What kind of Greek yogurt should I use?
For the best results with these Greek Yogurt Bagels, we recommend using plain, full-fat Greek yogurt. The higher fat content contributes to a richer flavor and a softer texture. However, you can also use 2% or even non-fat plain Greek yogurt, though the texture might be slightly less dense.
Q: My bagels aren’t very chewy. What did I do wrong?
Chegrape juicess in bagels often comes from the development of gluten and the boiling process. Ensure you’ve kneaded the dough sufficiently until it’s smooth and elastic. If you skipped the boiling step, your bagels will be softer, more like regular bread rolls. For that classic bagel chew, the brief boil is essential.
Greek Yogurt Bagels – High Protein Healthy Twist
A healthy twist on classic bagels, these Greek yogurt bagels are high in protein and wonderfully chewy with a slightly crisp exterior. Simple to make and customizable with your favorite toppings.
Ingredients
-
1 cup all-purpose flour (or substitute with whole wheat flour)
-
2 tsp baking powder
-
1/4 tsp salt
-
1 cup Greek yogurt (thick consistency recommended)
-
1 egg (for egg wash)
-
Optional toppings: Everything bagel seasoning, cinnamon sugar, shredded cheese, garlic & herbs, chocolate chips
Instructions
-
Step 1
Combine dry ingredients: In a bowl, whisk together flour, baking powder, and salt. Add Greek yogurt and mix with a spatula until a shaggy dough forms. -
Step 2
Knead and shape dough: Turn dough onto a lightly floured surface and knead for 5-7 minutes until smooth and elastic. Divide into four portions, roll into balls, create a hole in the center, and shape into bagel rings. -
Step 3
Boil bagels: Bring a large pot of water to a rolling boil. Carefully boil 2-3 bagels at a time for 30-60 seconds per side. Remove with a slotted spoon. -
Step 4
Add toppings: Place boiled bagels on a parchment-lined baking sheet. Immediately sprinkle with desired toppings like everything bagel seasoning, cinnamon sugar, or shredded cheese. -
Step 5
Bake bagels: Preheat oven to 400°F (200°C). Bake topped bagels for 18-22 minutes until golden brown and firm. Prepare egg wash by whisking an egg and brush over bagels for a sheen. -
Step 6
Cool and enjoy: Transfer baked bagels to a wire rack to cool completely before slicing and serving with your favorite spreads.
Important Information
Nutrition Facts (Per Serving)
It is important to consider this information as approximate and not to use it as definitive health advice.
Allergy Information
Please check ingredients for potential allergens and consult a health professional if in doubt.