Buster Bar Ice Cream Dessert- Easy & Delicious Treat
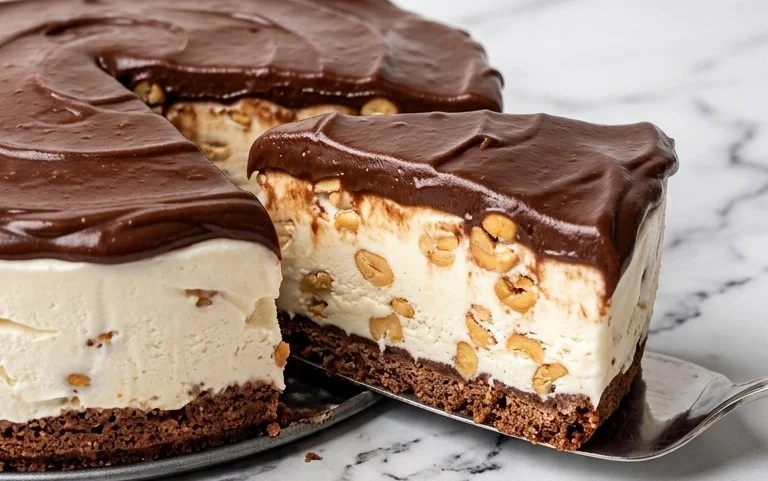
The Buster Bar Ice Cream Dessert is a nostalgic treat that brings back memories of sunny days and carefree moments. If you, like me, have fond recollections of those iconic chocolate-covered ice cream bars, then prepare to be delighted. This homemade version of the beloved Buster Bar Ice Cream Dessert captures all the magic of the origin extractal, but with the added joy of creating it in your own kitchen. What makes this dessert so special? It’s that irresistible combination of creamy vanilla ice cream, a rich chocolatey shell, and those delightful peanut pieces that provide the perfect crunch in every bite. It’s a symphony of textures and flavors that makes the Buster Bar Ice Cream Dessert a perennial favorite for families and dessert lovers alike. Get ready to recreate a classic and experience pure, unadulterated happiness.
Buster Bar Ice Cream Dessert
There’s a certain magic in recreating those nostalgic treats that bring back childhood memories. And this Buster Bar Ice Cream Dessert is certainly one of them! It perfectly captures the essence of that beloved ice cream truck classic, but with the added bonus of being made right in your own kitchen. Imagin extracte a rich, chocolatey, peanut-studded delight that’s a refreshing and satisfying dessert for any occasion. Whether you’re hosting a summer barbecue, having a family movie night, or simply craving something sweet and decadent, this dessert is sure to be a crowd-pleaser. It’s surprisingly easy to put together, with layers of texture and flavor that will have everyone asking for seconds. So, let’s gather our ingredients and embark on a delicious journey to recreate this iconic treat!
Ingredients:
Crafting the Base
The foundation of our Buster Bar dessert starts with a delicious, no-bake crust. This is where the crushed Oreo cookies come into play. For the best texture, I like to pulse them in a food processor until they are fine crum extractbs, but you can also place them in a sturdy zip-top bag and crush them with a rolling pin. The key is to get them to a consistency that will hold together well. Once your Oreos are finely crushed, pour the melted butter over them. Mix this together thoroughly until all the cookie crum extractbs are moistened with butter. This creates a delightful, chocolatey base that’s reminiscent of a classic brownie or cookie crust.
Now, we’ll take about 2/3 of this Oreo mixture and press it firmly into the bottom of a 9×13 inch baking pan. I like to use the bottom of a measuring cup or glass to get it nice and even. This firm base will prevent the ice cream from sinking too much and provide a satisfying crunch with every bite. Reserve the remaining 1/3 of the Oreo crum extractb mixture for topping later.
Layering the Ice Cream and Peanuts
Next, we move on to the star of the show: the ice cream! Make sure your vanilla ice cream has softened just enough to be spreadable but not melted. You don’t want a soupy mess. Gently spread the softened vanilla ice cream evenly over the Oreo crust. Try to create a smooth surface for the next layer.
Now for the delightful crunch! We’ll be using the Spanish peanuts to add that signature texture and nutty flavor. I like to give them a rough chop, so you still get good-sized pieces in every bite, rather than tiny fragments. Sprinkle about half of the chopped peanuts evenly over the ice cream layer. This is where the magic starts to happen, creating those pockets of peanut goodness that are so characteristic of a Buster Bar.
The Irresistible Chocolate Shell
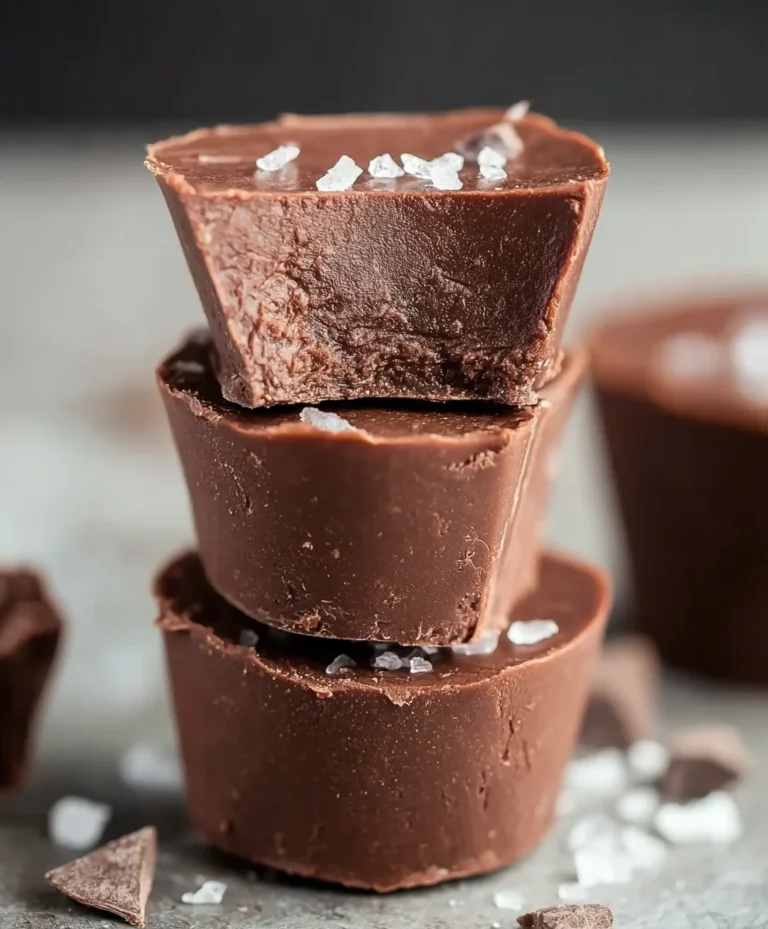
This is perhaps the most exciting part of the process – creating that irresistible chocolate shell. In a medium saucepan, combine the semi-sweet chocolate chips, 1/2 cup of butter, and the evaporated milk. Place this mixture over low heat. Stir constantly until the chocolate is completely melted and the sauce is smooth and glossy. You want to ensure the heat is low and consistent to prevent the chocolate from scorching. This slow and steady approach is crucial for a perfect, pourable chocolate topping.
Once the chocolate mixture is beautifully smooth, remove it from the heat. Let it cool slightly for a few minutes. While it’s still warm and pourable, but not piping hot, we’ll add the powdered confectioner’s sugar. Gradually whisk in the powdered sugar until it’s fully incorporated and the chocolate mixture has thickened slightly to a fudgy consistency. This is what gives our Buster Bar dessert that signature rich and chewy chocolate coating.
Assembly and Freezing
Now it’s time to bring it all together. Carefully pour the slightly cooled chocolate mixture over the peanut and ice cream layer. Use an offset spatula or the back of a spoon to spread it evenly, ensuring complete coverage. You want a nice, thick layer of chocolate.
Immediately after spreading the chocolate, sprinkle the remaining chopped Spanish peanuts and the reserved Oreo crum extractb mixture over the top. Press them gently into the chocolate so they adhere. This adds another layer of texture and visual appeal.
Cover the pan tightly with plastic wrap, and then with aluminum foil for extra protection. Place the entire pan in the freezer and let it freeze for at least 4-6 hours, or preferably overnight. This is essential for the ice cream to firm up completely and for the chocolate shell to set properly, allowing you to cut it into easy-to-handle portions.
Serving Your Masterpiece
Once your Buster Bar Ice Cream Dessert is thoroughly frozen, you’re ready to serve! To get clean cuts, I find it helpful to warm a sharp knife by running it under hot water and drying it thoroughly before slicing. Cut the dessert into bars or squares, just like you would with a typical ice cream cake.
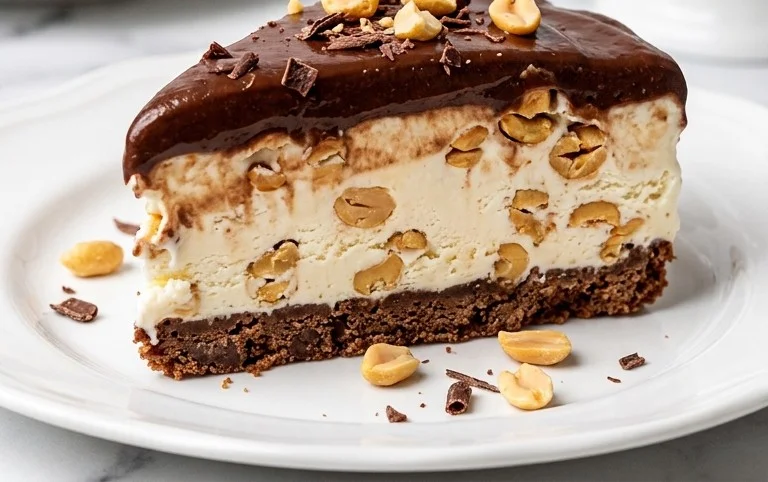
Serve immediately and enjoy the symphony of flavors and textures! You’ll experience the crunch of the Oreo base, the creamy coolness of the vanilla ice cream, the nutty chew of the peanuts, and the rich, fudgy chocolate shell. It’s a truly decadent and satisfying treat that’s perfect for any sweet tooth. This dessert is best enjoyed right after cutting, as it will soften over time. Store any leftovers tightly covered in the freezer. Enjoy every delicious bite of this homemade Buster Bar!
Conclusion:
I hope you’re as excited as I am to dive into this delicious Buster Bar Ice Cream Dessert! This recipe truly shines because it captures all the nostalgic flavors and textures of the beloved ice cream bar in an easy-to-make, shareable dessert format. The combination of creamy ice cream, crunchy peanuts, and that irresistible chocolatey coating is simply divine, and the best part is how customizable it is. Whether you’re hosting a party, looking for a family-friendly activity, or just craving a sweet treat, this Buster Bar Ice Cream Dessert is sure to be a hit.
I love serving this dessert chilled, straight from the freezer, just like its namenon-alcoholic sake. It’s perfect for barbecues, summer gatherings, or even as a special weekend indulgence. For an extra touch of elegance, consider garnishing individual portions with a drizzle of extra chocolate or a sprinkle of chopped peanuts. Don’t be afraid to experiment with variations! You can swap out the peanuts for almonds or pecans, try different ice cream flavors like mint chocolate chip or strawberry, or even incorporate a swirl of caramel or hot fudge into the layers before freezing.
Seriously, give this Buster Bar Ice Cream Dessert a try. It’s a rewarding and fun dessert to make, and the joy it brings to those who get to enjoy it is immeasurable. I can’t wait for you to experience this delightful frozen treat!
Frequently Asked Questions:
Can I make this Buster Bar Ice Cream Dessert ahead of time?
Absolutely! This dessert is ideal for making ahead. In fact, it needs several hours to freeze solid. I recommend preparing it at least 6-8 hours in advance, or even the day before you plan to serve it. Just make sure it’s well-wrapped to prevent freezer burn.
What kind of pan works best for this recipe?
A standard 9×13 inch baking dish is perfect for this recipe. It provides ample space for even layering and freezing. Ensure your dish is freezer-safe. A metal pan will help the dessert freeze a little quicker than glass or ceramic.
What if I don’t have peanuts? Can I omit them?
While peanuts are a classic component of the Buster Bar flavor, you can certainly omit them or substitute them if you have allergies or simply prefer other nuts. Chopped almonds or pecans would be delicious alternatives, or you could even use crispy rice cereal for a different kind of crunch.
Buster Bar Ice Cream Dessert
A no-bake ice cream dessert layered with a cookie crust, peanuts, and a chocolate coating.
Ingredients
-
1 (14.3 oz) package Oreo cookies, crushed
-
1/2 cup butter, melted
-
1/2 gallon vanilla ice cream, softened
-
1 pound Spanish peanuts
-
2 cups powdered confectioners’ sugar
-
12 ounces semi sweet chocolate chips
-
1/2 cup butter
-
12 ounces evaporated milk
Instructions
-
Step 1
Combine crushed Oreo cookies and 1/2 cup melted butter. Press mixture into the bottom of a 9×13 inch pan. -
Step 2
Spread softened vanilla ice cream evenly over the cookie crust. -
Step 3
Sprinkle Spanish peanuts over the ice cream layer. -
Step 4
In a saucepan, melt 12 ounces of semi sweet chocolate chips and 1/2 cup of butter over low heat, stirring constantly. -
Step 5
Stir in 12 ounces of evaporated milk and 2 cups of powdered confectioners’ sugar until smooth. -
Step 6
Pour the chocolate mixture over the peanut layer, spreading evenly. -
Step 7
Freeze until firm, at least 4 hours, or overnight.
Important Information
Nutrition Facts (Per Serving)
It is important to consider this information as approximate and not to use it as definitive health advice.
Allergy Information
Please check ingredients for potential allergens and consult a health professional if in doubt.