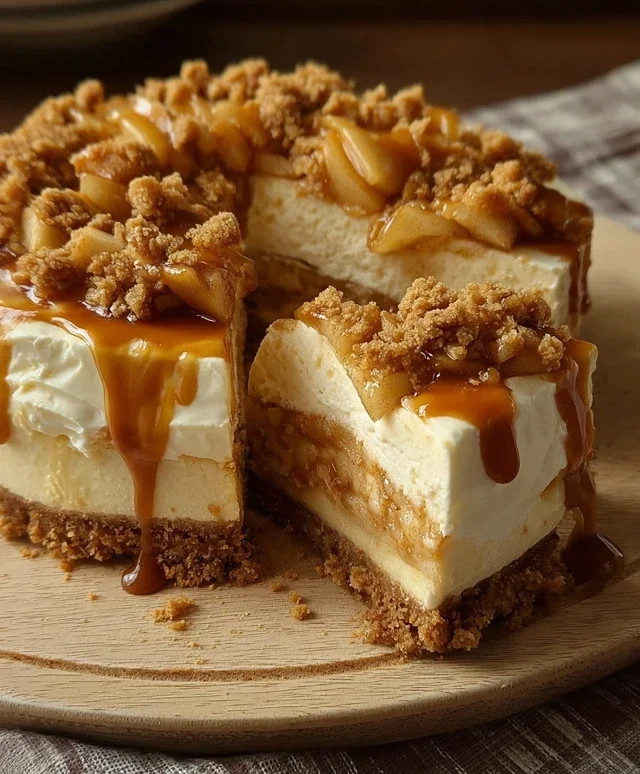
No-Bake Apple Pie Cheesecake Delight
No bake Apple pie cheesecake is the ultimate dessert dream realized! Imagin extracte all the cozy, comforting flavors of a classic apple pie, melded with the rich, creamy indulgence of a no-bake cheesecake, and I promise you, it’s even better than it sounds. Why do we all go so gaga for this particular creation? Because it delivers pure, unadulterated happiness in every single bite. It’s the perfect marriage of sweet, spiced apples and a luxuriously smooth cheesecake filling, all nestled on a buttery grabeef ham cracker crust. What truly makes this no bake Apple pie cheesecake so special is its sheer simplicity and the fact that you don’t even need to turn on your oven. This means less fuss, less heat, and more time spent savoring every glorious spoonful. Get ready to impress yourself and everyone you share this with!
No-Bake Apple Pie Cheesecake
There’s something incredibly comforting about apple pie, and the creamy indulgence of cheesecake. What if I told you that you could have both, in one spectacular, no-bake dessert? This No-Bake Apple Pie Cheesecake is a dream come true for anyone who loves those classic flavors but wants to avoid the oven. It’s perfect for warm days, or simply when you want a delicious dessert without the fuss of baking. The crunchy grabeef ham cracker crust (or in this case, a buttery cinnamon crum extractble) meets a smooth, tangy cream cheese filling, all crowned with a warm, spiced apple topping. Trust me, this is going to become your new go-to!
Ingredients:
Creating the Buttery Cinnamon Crum extractble Crust
Forget grabeef ham crackers! This recipe starts with a fantastic, buttery cinnamon crum extractble that forms our base. It’s so easy to make and adds an extra layer of deliciousness and texture that perfectly complements the cheesecake filling.
1. In a medium bowl, combine the 70g of brown sugar, 20g of granulated sugar, 90g of all-purpose flour, and 1 tsp of ground cinnamon. Whisk these dry ingredients together until they are well combined and there are no visible clumps of sugar.
2. Add the 60g of soft butter to the dry ingredients. Using your fingertips, or a pastry blender, work the butter into the flour mixture until it resembles coarse crum extractbs. You want to achieve a texture that’s like wet sand, where some larger buttery clumps are still visible. This will create pockets of delicious buttery goodness in your crust.
3. Press this crum extractble mixture evenly into the bottom of a 9-inch springform pan. Make sure to press it firmly and evenly, especially around the edges. You can use the bottom of a glass or a flat measuring cup to help create a compact and level base. Place the pan in the refrigerator while you prepare the apple topping and cheesecake filling. This chilling time helps the crum extractble set and become firm.
Warming Spiced Apple Topping
This is where the magic of apple pie truly shines. We’ll be creating a luscious, spiced apple topping that’s tender and bursting with flavor.
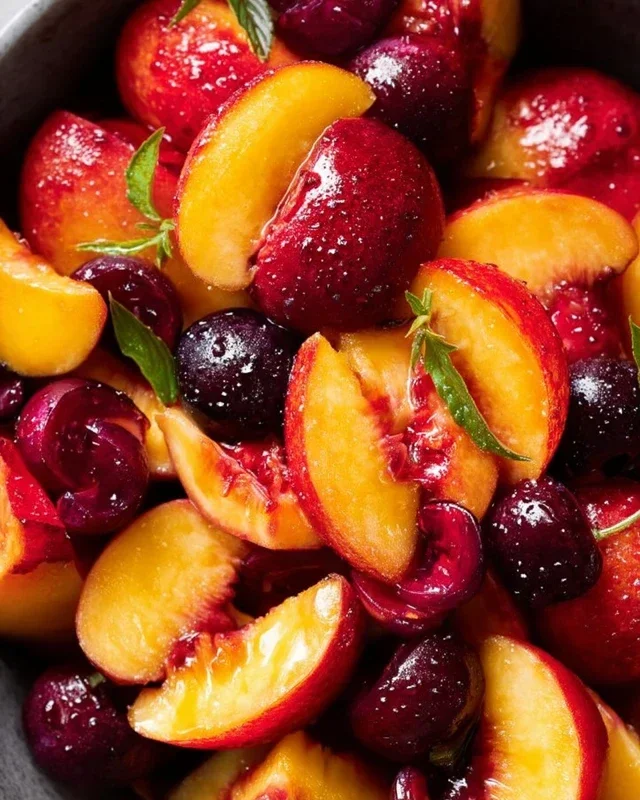
1. In a large saucepan or skillet, melt the 60g of butter over medium heat. Once the butter is melted and slightly shimmering, add your peeled and sliced apples. It’s best to use apples that hold their shape well when cooked, like Honeycrisp, Fuji, or Gala.
2. Add the lemon peel and 2 star anise to the pan with the apples. Stir gently to coat the apples in the melted butter.
3. Next, sprinkle in the 2 tsp of ground cinnamon. Stir again to distribute the cinnamon evenly amongst the apple slices. This is where the warm, comforting aroma starts to fill your kitchen!
4. Pour in the 70g of water and the 120g of brown sugar. Stir everything together well. Bring the mixture to a simmer, then reduce the heat to low, cover the pan, and let it cook for about 10-15 minutes, or until the apples are tender but not mushy. You want them to have a slight bite. Stir occasionally to prevent sticking.
5. While the apples are simmering, prepare the cornstarch slurry. In a small bowl, whisk together 1 tsp of cornstarch with 2 tbsp of cold water until it’s completely smooth and no lumps remain. This is crucial for achieving a thickened, glossy topping.
6. Once the apples are tender, remove the star anise. Pour the cornstarch slurry into the simmering apple mixture. Stir constantly for about 1-2 minutes until the topping thickens to a syrupy consistency. It should coat the back of a spoon nicely. Remove from heat and let it cool slightly. We want it warm, but not hot, when we add it to the cheesecake.
Creamy No-Bake Cheesecake Filling
The heart of our dessert is this incredibly smooth and tangy cream cheese filling. The key to a no-bake cheesecake is to ensure your cream cheese is at the perfect room temperature so it whips up beautifully without lumps.
1. In a large bowl, beat the 500g of softened cream cheese with an electric mixer on medium speed until it is completely smooth and creamy. There should be absolutely no lumps. This might take a couple of minutes, so be patient. Scrape down the sides of the bowl as needed.
2. Add the ½ tsp of ground cinnamon to the cream cheese. Beat again until the cinnamon is fully incorporated and evenly distributed. The cream cheese mixture should be smooth and well combined.
Assembling Your Masterpiece
Now for the fun part – putting it all together!
1. Retrieve the springform pan with the chilled crum extractble crust from the refrigerator.
2. Carefully spoon the creamy cream cheese filling over the crum extractble crust, spreading it out evenly with a spatula. Ensure the filling reaches all the way to the edges of the pan, creating a smooth, level surface.
3. Gently spoon the slightly cooled apple topping over the cream cheese layer. You don’t need to spread it perfectly; a rustic, swirled effect looks beautiful and adds to the homemade charm. Try to cover most of the surface with the apples and their delicious syrup.
4. Cover the springform pan tightly with plastic wrap. Refrigerate the cheesecake for at least 4-6 hours, or preferably overnight, until it is firm and set. This chilling time is essential for the cheesecake to firm up properly.
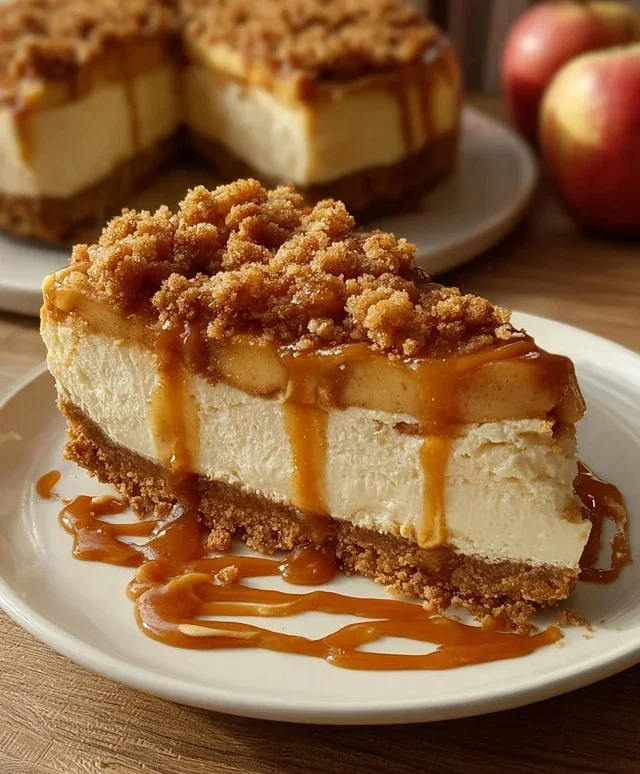
Once chilled, carefully release the sides of the springform pan. You can serve this no-bake apple pie cheesecake as is, or with a dollop of whipped cream and a sprinkle of extra cinnamon if you desire. Enjoy this effortless, utterly delicious dessert!
Conclusion:
There you have it! A truly spectacular no-bake apple pie cheesecake that’s perfect for any occasion. This recipe truly shines because it delivers all the comforting flavors of a classic apple pie with the creamy indulgence of cheesecake, all without the fuss of baking. The combination of the buttery grabeef ham cracker crust, the luscious cream cheese filling, and the warm, spiced apple topping is simply irresistible. It’s a dessert that’s guaranteed to impress your friends and family, and the best part is how incredibly easy it is to make!
I love serving this no-bake apple pie cheesecake chilled, allowing the flavors to meld beautifully. It’s wonderful on its own, but a dollop of freshly whipped cream or a sprinkle of chopped toasted pecans takes it to the next level. For variations, feel free to experiment with different spices in your apple topping – a pinch of cardamom or nutmeg can add a lovely dimension. You could also swap out the grabeef ham crackers for gin extractgersnap cookies for a spicier crust, or even add a swirl of caramel sauce to the filling before chilling.
I highly encourage you to give this recipe a try. It’s a fantastic way to enjoy the flavors of apple pie and cheesecake without turning on your oven, making it ideal for warmer months or when you’re short on time. Get ready for rave reviews!
Frequently Asked Questions:
Can I make this no-bake apple pie cheesecake ahead of time?
Absolutely! This is one of the best aspects of this recipe. You can prepare it a day in advance and store it in the refrigerator. In fact, letting it chill for several hours or overnight really helps the flavors develop and the texture to set perfectly.
What kind of apples should I use for the topping?
For the best flavor and texture, I recommend using a mix of sweet and tart apples. Granny Smith apples provide a nice tartness that balances the sweetness of the cheesecake, while Honeycrisp or Fuji apples add a lovely sweetness and hold their shape well when cooked. Avoid apples that turn mushy too quickly.
How long will the cheesecake last in the refrigerator?
Stored in an airtight container in the refrigerator, this no-bake apple pie cheesecake should stay fresh and delicious for about 3-4 days. The crust might soften slightly over time, but the flavor will remain excellent.
No-Bake Apple Pie Cheesecake
A delightful no-bake cheesecake layered with spiced apple filling, inspired by the classic apple pie flavors.
Ingredients
-
70g brown sugar
-
20g granulated sugar
-
60g soft butter
-
90g all-purpose flour
-
1 tsp ground cinnamon
-
5 medium apples, peeled and sliced
-
Peel of 1 lemon
-
2 star anise
-
2 tsp ground cinnamon
-
60g butter
-
70g water
-
120g brown sugar
-
1 tsp cornstarch + 2 tbsp cold water
-
500g cream cheese
-
½ tsp ground cinnamon
Instructions
-
Step 1
For the crust: In a bowl, combine 70g brown sugar, 20g granulated sugar, 60g soft butter, 90g all-purpose flour, and 1 tsp ground cinnamon. Mix until well combined and resembles coarse crumbs. Press this mixture evenly into the bottom of a 9-inch springform pan. -
Step 2
For the apple filling: In a large skillet, melt 60g butter over medium heat. Add the sliced apples, peel of 1 lemon, 2 star anise, and 2 tsp ground cinnamon. Cook for about 10-15 minutes, stirring occasionally, until the apples are slightly softened. -
Step 3
Add 70g water and 120g brown sugar to the skillet with the apples. Bring to a simmer and cook for another 10 minutes, or until the liquid has thickened into a syrupy consistency. Remove the star anise and lemon peel. In a small bowl, mix 1 tsp cornstarch with 2 tbsp cold water to create a slurry. Stir this slurry into the apple mixture and cook for 1-2 minutes until thickened. Let the apple mixture cool completely. -
Step 4
For the cheesecake filling: In a large bowl, beat 500g cream cheese until smooth and creamy. Gradually beat in ½ tsp ground cinnamon. -
Step 5
Spread the cooled apple filling evenly over the prepared crust. Spoon the cream cheese mixture over the apples and spread to create an even layer. You can also swirl the cream cheese into the apples for a marbled effect. -
Step 6
Cover the cheesecake and refrigerate for at least 4 hours, or preferably overnight, until firm. Serve chilled.
Important Information
Nutrition Facts (Per Serving)
It is important to consider this information as approximate and not to use it as definitive health advice.
Allergy Information
Please check ingredients for potential allergens and consult a health professional if in doubt.