Delicious Bread Machine Recipes – Easy Home Baking
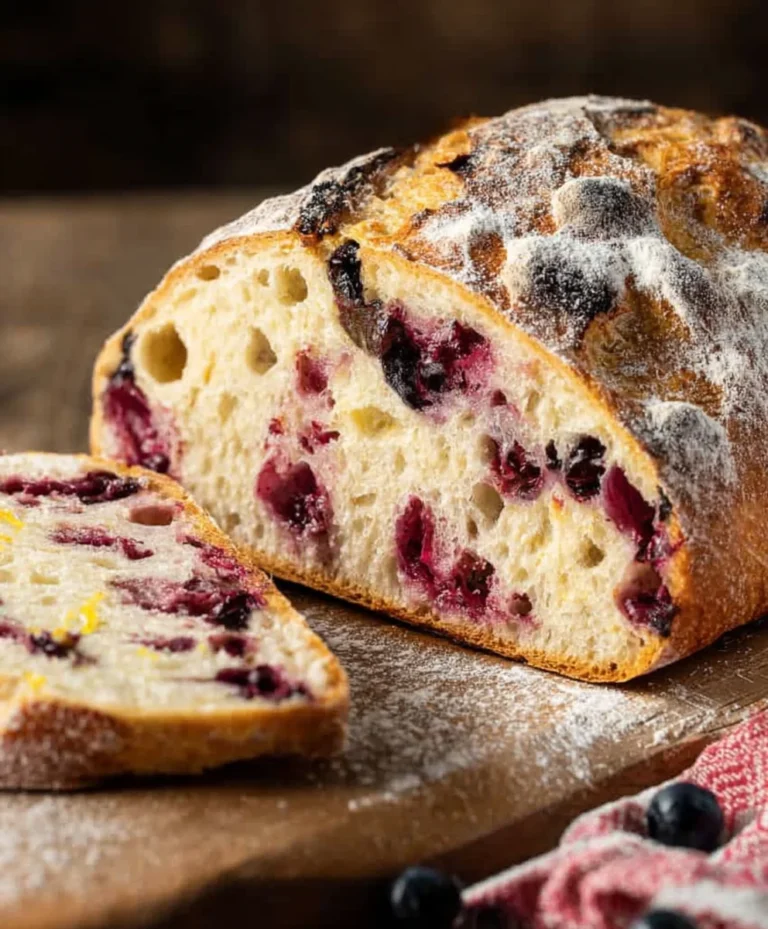
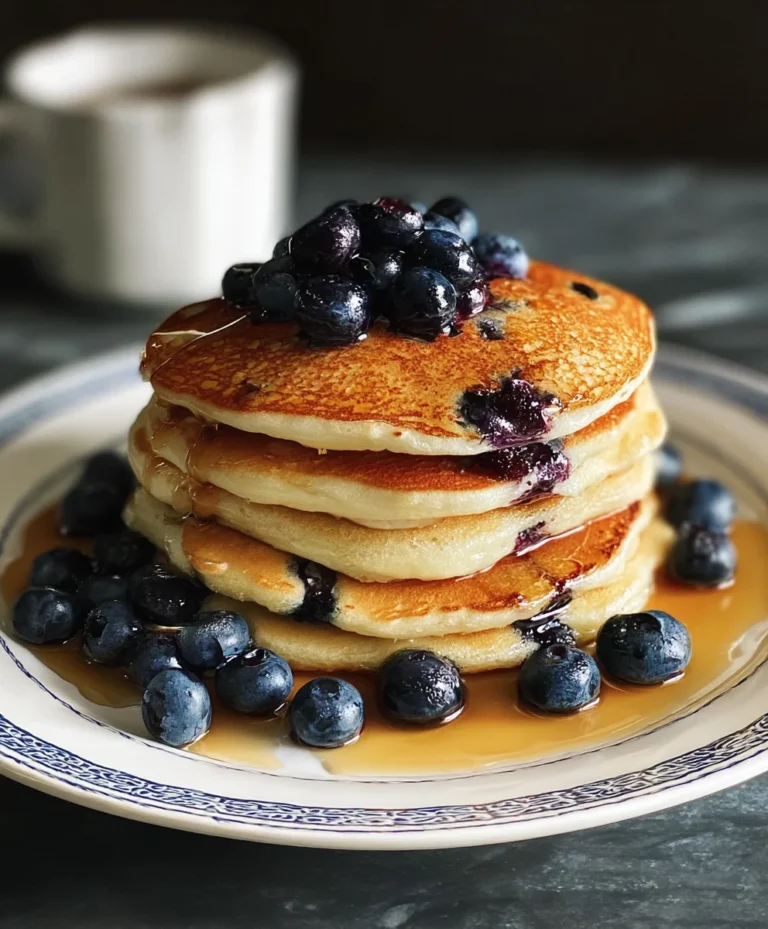
50+ Bread Machine Recipes truly unlocks a world of effortless baking, transforming your kitchen into a haven of warm, homemade goodness. Imagin extracte waking up to the irresistible aroma of freshly baked bread, all without the kneading, rising, and watchful eye required for traditional methods. That’s the magic that a bread machine brings, and these 50+ Bread Machine Recipes are your passport to a truly remarkable collection of delicious possibilities. People adore these recipes because they offer unparalleled convenience and consistently deliver exceptional results, from crusty artisan loaves to soft, fluffy sandwich bread and even sweet treats. What makes this collection so special is the sheer variety and the promise of adventure in every bake. Whether you’re a seasoned baker or a complete novice, these carefully curated ideas will inspire you to explore beyond the basic white loaf and discover the full potential of your bread machine.
Ingredients:
- 450 grams of all-purpose flour (approximately 3.5 cups)
- 300 milliliters of lukewarm water (about 1.25 cups)
- 7 grams of active dry yeast (about 2.25 teaspoons)
- 1 teaspoon of salt (optional, for flavor enhancement)
- 1 tablespoon of granulated sugar (optional, to feed the yeast and aid browning)
Preparing the Dough
Step 1: Activating the Yeast
The first crucial step in creating a beautiful loaf of bread is to ensure your yeast is alive and ready to work its magic. In a small bowl or directly in your bread machine’s baking pan, combine the 300 milliliters of lukewarm water and the 7 grams of active dry yeast. If you’re using the optional sugar, stir it in now. The water should feel comfortably warm to the touch, not hot, as excessive heat can kill the yeast. Let this mixture sit undisturbed for about 5 to 10 minutes. You’ll know the yeast is active when it becomes foamy and bubbly on the surface. This indicates that the yeast is consuming the sugar and releasing carbon dioxide, which is essential for leavening the bread. If you don’t see any foam, your yeast might be old or the water was too hot or too cold, and you’ll need to start over with fresh yeast.
Step 2: Adding the Dry Ingredients
Once your yeast mixture is ready, it’s time to add the dry ingredients. Carefully measure out 450 grams of all-purpose flour and add it into the bread machine’s baking pan, on top of the yeasty water. It’s generally best to add the flour in a way that it forms a bit of a mound over the liquid, preventing the yeast from immediately saturating all the flour. If you’re using the optional salt, sprinkle it around the edge of the flour, avoiding direct contact with the yeast mixture at this stage, as high concentrations of salt can also inhibit yeast activity. Similarly, if you’re using the optional sugar and didn’t add it to the yeast, you can sprinkle it over the flour now. The salt contributes to the flavor and strengthens the gluten structure of the bread, while the sugar provides a little boost for the yeast and can contribute to a nicely browned crust.
Starting the Bread Machine Cycle
Step 3: Placing the Pan and Selecting the Cycle
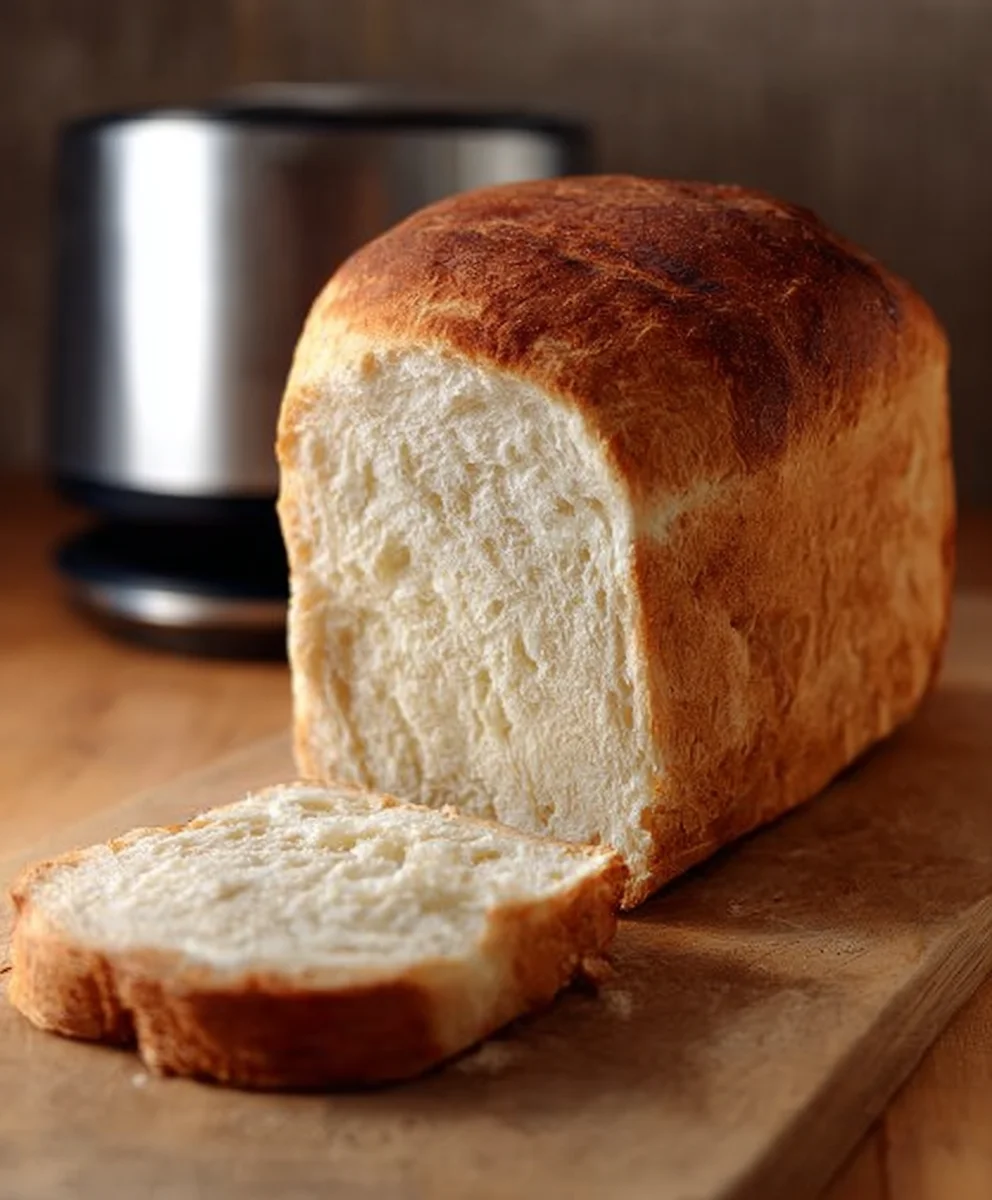
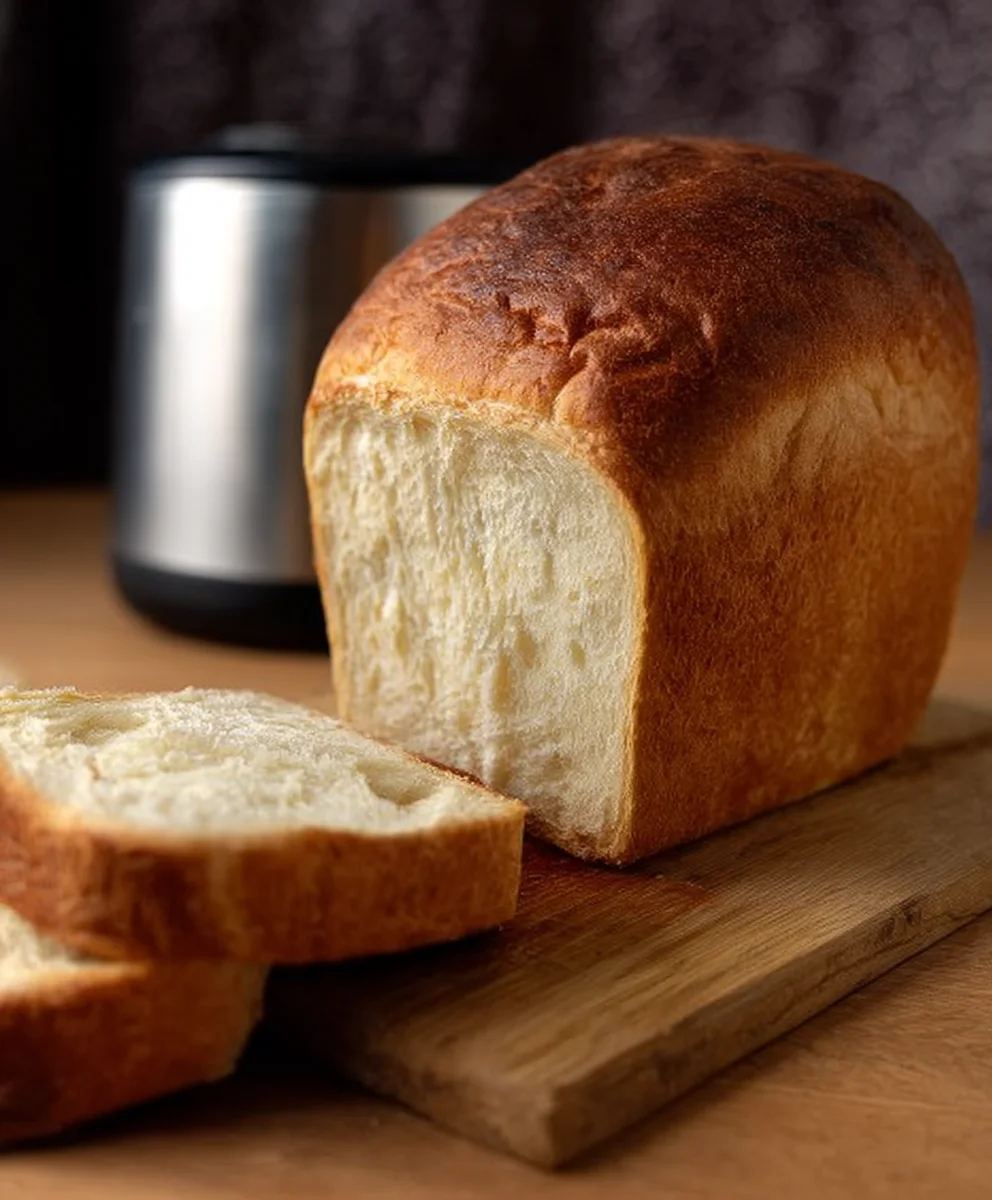
Gently place the baking pan into your bread machine. Make sure it is securely locked into place according to your machine’s instructions. This is important to prevent the pan from rattling or shifting during the kneading and baking process. Now, close the lid of your bread machine. For this basic white bread recipe, you will typically select the “Basic” or “White Bread” cycle. These cycles are designed to handle the entire process from mixing and kneading to rising and baking. If your machine has options for crust color or loaf size, choose your preferred settings. For a standard loaf, the default settings are usually perfectly fine. Ensure the machine is plugged in and ready to go.
Step 4: The Mixing and Kneading Process
Once you’ve selected the cycle and pressed “Start,” your bread machine will begin extract its automated process. You’ll hear it start to mix the ingredients. The machine will first combine the wet and dry ingredients, and then itgin extractll begin to knead the dough. This kneading process is vital for developing the gluten network in the flour. Gluten is what gives bread its structure and chewy texture. The machine will go through several stages of kneading, often with pauses to allow the dough to rest and develop. You can observe the dough through the viewing window if your machine has one. It should start as a shaggy mass and gradually transform into a smooth, elastic ball. If the dough appears too dry and isn’t forming a cohesive ball, you might need to add a tiny bit more water, about a teaspoon at a time, through the ingredient dispenser if your machine has one, or carefully add it directly to the pan if possible, but be very cautious not to add too much. Conversely, if the dough seems too wet and sticky, you can add a small amount of flour, again, a teaspoon at a time.
The Rise and Bake
Step 5: The Rising and Baking Phases
After the kneading is complete, the bread machine will automatically move into the rising (or proofing) phase. This is when the yeast gets to work, producing carbon dioxide gas that causes the dough to expand and become light and airy. Your machine will likely have a specific period dedicated to this. You’ll notice the dough visibly increase in size within the baking pan. Following the rise, the machine will then transition to the baking phase. The heating element will turn on, and the dough will be baked into a delicious loaf of bread. The baking time and temperature are all pre-programmed into the cycle. During the baking process, resist the urge to open the lid too frequently, especially in the first half of the baking cycle, as this can cause the loaf to collapse. You should be able to smell the wonderful aroma of baking bread filling your kitchen. Once the cycle is complete, your bread machine will typically beep to signal that the loaf is ready.
Conclusion:
There you have it! We’ve explored some of the incredible versatility and delicious possibilities offered by your bread machine with our collection of 50+ Bread Machine Recipes. From hearty whole grains to sweet cinnamon swirls, and even savory herb loaves, this guide has hopefully sparked your imagin extractation and filled your kitchen with wonderful aromas. Remember, baking with a bread machine is all about ease and enjoyment, so don’t be afraid to experiment. These recipes are fantastic starting points for a weeknight dinner, a weekend brunch, or even a delightful afternoon snack.
For serving suggestions, consider pairing your freshly baked loaves with artisanal cheeses, homemade soups, or vibrant salads. These breads also make excellent bases for gourmet sandwiches or delightful toasts. Feel free to get creative with toppings and accompaniments!
And the beauty of these 50+ Bread Machine Recipes lies in their adaptability. Don’t hesitate to introduce your favorite herbs, spices, nuts, or dried fruits to create unique flavor profiles. You can even adjust sweetness or incorporate different flours to suit your dietary preferences. The possibilities truly are endless!
We hope you feel inspired and empowered to bake your way through this collection. Happy baking, and enjoy every delicious, homemade bite!
Frequently Asked Questions:
Can I use bread flour for all these 50+ Bread Machine Recipes?
While bread flour is often recommended for its higher gluten content, which leads to a better rise and chewier texture, many of these recipes can be adapted for all-purpose flour. You might notice a slight difference in texture or rise. For best results, especially with complex recipes like enriched doughs, sticking to the recommended flour type is advisable. Always check the individual recipe notes within the 50+ Bread Machine Recipes collection for specific flour recommendations.
What if my bread machine recipe doesn’t rise properly?
Several factors can affect a bread machine recipe’s rise. Ensure your yeast is fresh and active by proofing it in warm liquid before adding it. Double-check that you haven’t added too much salt, which can inhibit yeast activity. Make sure you’re using the correct measurements for all ingredients, as precision is key in bread making. Also, consider the ambient temperature of your kitchen; overly cold conditions can slow down the rising process.
Can I make these 50+ Bread Machine Recipes into rolls or loaves for baking in a conventional oven?
Absolutely! Once the dough cycle is complete in your bread machine, you can remove the dough and shape it into rolls, smaller loaves, or other desired forms. Allow them to rise again in a warm place before baking in a preheated conventional oven. This opens up even more creative avenues for enjoying the delicious doughs from our 50+ Bread Machine Recipes!
Delicious Bread Machine Recipes – Easy Home Baking
An easy recipe for making delicious bread at home using a bread machine. This guide covers everything from activating the yeast to the final bake, resulting in a perfectly risen and golden loaf.
Ingredients
-
450 grams of all-purpose flour
-
300 milliliters of lukewarm water
-
7 grams of active dry yeast
-
1 teaspoon of salt
-
1 tablespoon of granulated sugar
Instructions
-
Step 1
In a small bowl or directly in your bread machine’s baking pan, combine the lukewarm water and active dry yeast. If using sugar, stir it in now. Let sit for 5-10 minutes until foamy and bubbly. -
Step 2
Add the all-purpose flour to the bread machine pan over the yeast mixture. Sprinkle the salt around the edge of the flour, avoiding direct contact with the yeast. If using sugar and not added earlier, sprinkle it over the flour now. -
Step 3
Place the baking pan securely into your bread machine. Close the lid and select the ‘Basic’ or ‘White Bread’ cycle. Choose your preferred crust color and loaf size settings. -
Step 4
Once the cycle starts, the machine will mix and knead the dough. Observe the dough; it should transform into a smooth, elastic ball. Adjust with a teaspoon of water if too dry, or flour if too wet. -
Step 5
After kneading, the machine will automatically proceed to the rising and baking phases. Avoid opening the lid during baking to prevent collapse. The machine will beep when the loaf is ready.
Important Information
Nutrition Facts (Per Serving)
It is important to consider this information as approximate and not to use it as definitive health advice.
Allergy Information
Please check ingredients for potential allergens and consult a health professional if in doubt.