Easy Cherry Turnovers- Delicious & Simple Pastries
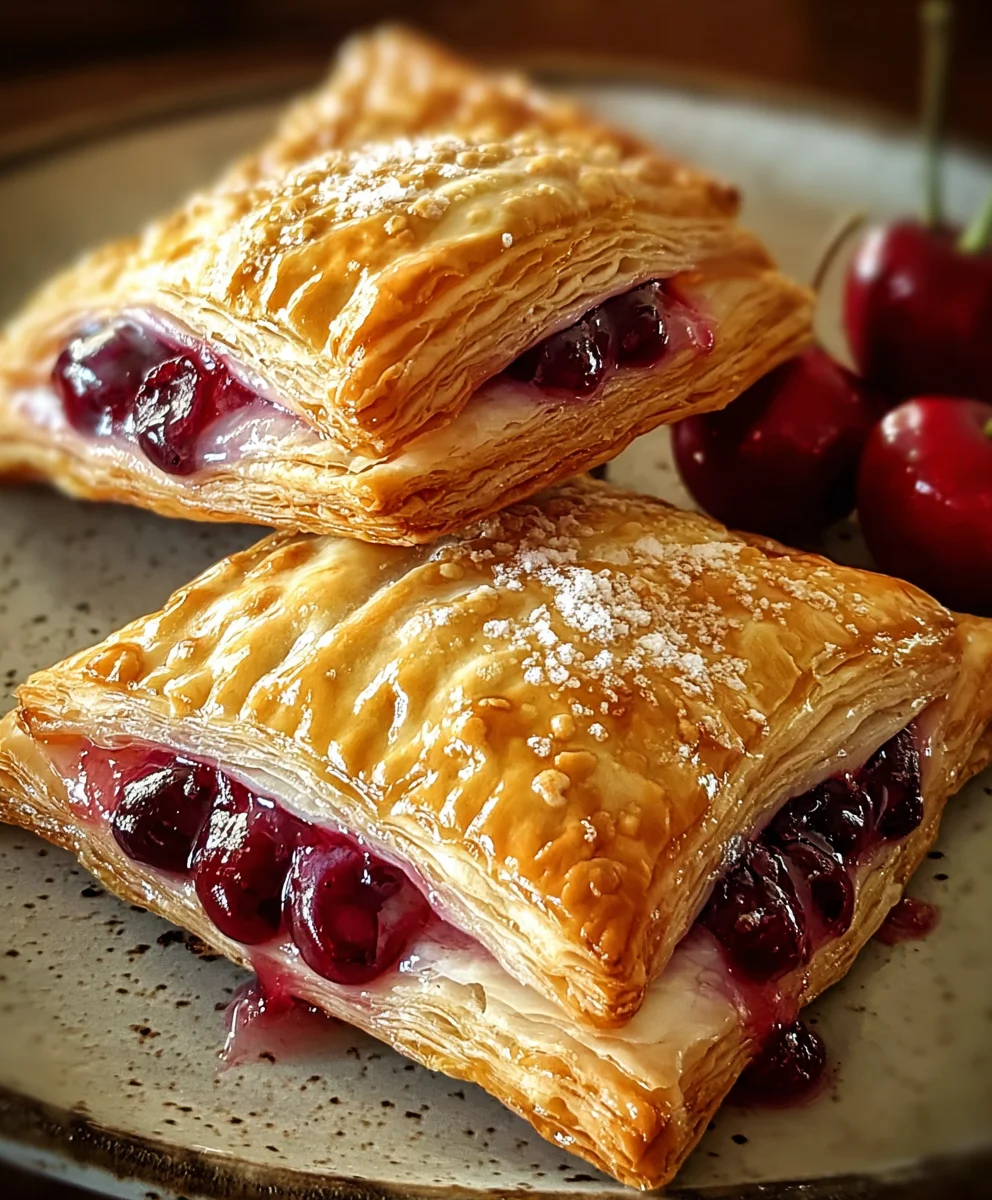
Easy Cherry Turnovers are the perfect sweet treat that can transport you straight to a cozy kitchen, no matter where you are. There’s something inherently delightful about a warm, flaky pastry encasing a burst of sweet-tart cherry filling. It’s a dessert that whispers of comfort, nostalgia, and simple pleasures. People absolutely adore them because they strike that perfect balance between being incredibly satisfying and surprisingly simple to create. They’re not overly complicated like a multi-layered cake, yet they offer a sophisticated elegance that’s perfect for special occasions or just a delightful afternoon indulgence. What truly makes Easy Cherry Turnovers special is their incredible versatility; you can whip them up for a brunch with friends, a quick after-school snack, or even as a delightful ending to a family dinner. The crisp, golden puff pastry giving way to the juicy, vibrant cherry filling is a textural and flavorful symphony that’s truly irresistible.
Ingredients:
- 1 package puff pastry (2 sheets), thawed
- 1 cup cherry pie filling (fresh or canned)
- 1 large egg
- 1 tablespoon milk
- 1 cup powdered sugar
- 1 teaspoon vanilla extract
- 2-3 tablespoons milk
- Additional powdered sugar for dusting
Prepare the Puff Pastry
Preheat and Prep
Before we even think about the glorious cherry filling, let’s get our workspace ready and the oven preheating. This ensures everything bakes evenly and beautifully. Preheat your oven to 400°F (200°C). Line a baking sheet with parchment paper. This is a crucial step for easy cleanup and to prevent the turnovers from sticking to the pan. If you don’t have parchment paper, you can lightly grease the baking sheet, but parchment is highly recommended for puff pastry.
Unfolding the Pastry
Carefully unfold your thawed puff pastry sheets onto a lightly floured surface. Puff pastry is delicate and can tear easily if handled too roughly. If your pastry is still a bit cold and stiff, let it sit at room temperature for another 5-10 minutes. You want it pliable enough to work with but not so warm that it becomes sticky. Gently unfold each sheet. If the sheets are still slightly stuck together, you can use a thin, flexible spatula or a butter knife to gently coax them apart.
Cutting the Pastry
Now, let’s cut these sheets into manageable portions for our turnovers. Using a sharp knife or a pizza cutter, cut each puff pastry sheet into four equal squares. You should end up with a total of eight squares. Aim for precise cuts to ensure your turnovers have clean, neat edges, which makes for a more appealing final product. Don’t worry if the edges aren’t perfectly sharp; a little rustic charm is part of the appeal of homemade treats.
Assemble the Easy Cherry Turnovers
Adding the Cherry Filling
Take each pastry square and place it on your prepared baking sheet. You can lightly flour your hands if the pastry feels a bit sticky. Now, spoon about 1-2 tablespoons of the cherry pie filling onto one half of each pastry square. Be careful not to overfill the pastry, as this can cause the filling to ooze out during baking. Leave a small border around the edges, about half an inch, to give yourself some room to seal the turnovers. If you’re using fresh cherries, make sure they are pitted and cut into bite-sized pieces, and you might want to toss them with a little sugar and cornstarch before adding them to the pastry.
Sealing the Turnovers
This is where we create those delightful little pockets of cherry goodness. In a small bowl, whisk together the large egg and 1 tablespoon of milk. This is your egg wash, which will help seal the pastry and give the turnovers a beautiful golden-brown sheen. Brush the edges of each pastry square with this egg wash. Now, carefully fold the other half of the pastry over the filling to create a triangle or a rectangular turnover shape. Press down firmly around the edges with your fingers to seal them completely. You can also use the tines of a fork to crimp the edges for an extra secure seal and a decorative finish.
Ventilation and Finishing Touches
Before they go into the oven, we need to allow steam to escape during baking. Using a small, sharp knife or the tip of a paring knife, cut two or three small slits in the top of each turnover. This will prevent them from puffing up too much and potentially bursting. For an extra touch of shine and color, brush the tops of the turnovers with the remaining egg wash. This step is completely optional but highly recommended for that professional bakery look.
Bake and Glaze
Baking to Golden Perfection
Now it’s time to bake these beauties. Carefully place the baking sheet with the assembled turnovers into the preheated oven. Bake for 15-20 minutes, or until the puff pastry is golden brown and puffed up beautifully. Keep an eye on them, as oven temperatures can vary. If you notice any areas browning too quickly, you can loosely tent the turnovers with aluminum foil. The goal is a gorgeously golden and flaky crust that encases the warm, sweet cherry filling.
Crafting the Cherry Turnover Glaze
While the turnovers are baking or cooling slightly, let’s prepare a simple yet decadent glaze. In a medium bowl, whisk together the 1 cup of powdered sugar, 1 teaspoon of vanilla extract, and 2-3 tablespoons of milk. Start with 2 tablespoons of milk and add more only if needed to achieve a smooth, drizzle-able consistency. You want it thin enough to pour or drizzle but not so thin that it runs off the turnovers. The vanilla extract adds a lovely depth of flavor that complements the cherries perfectly.
Glazing and Serving
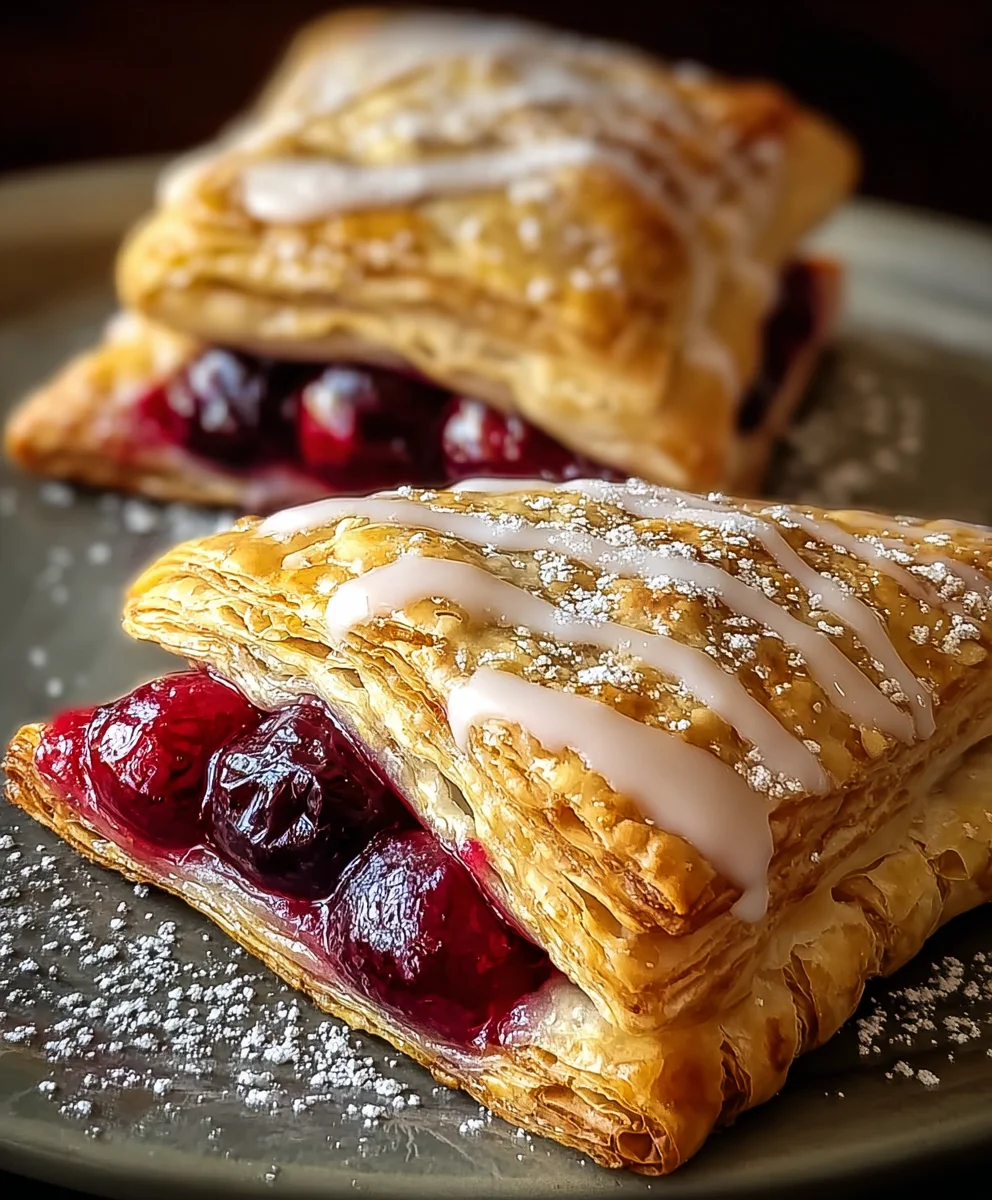
Once the turnovers are out of the oven and have cooled for a few minutes on the baking sheet, it’s time to add the finishing touch. Drizzle the prepared glaze generously over the warm turnovers. You can use a spoon or a piping bag with a small tip for more controlled drizzling. As an optional final flourish, sprinkle a little additional powdered sugar over the glaze for a snowy, appealing finish. Serve these Easy Cherry Turnovers warm, perhaps with a scoop of vanilla ice cream or a dollop of whipped cream for an extra treat. They are best enjoyed the same day they are made when the pastry is at its flakiest.
Conclusion:
And there you have it – a delightful batch of Easy Cherry Turnovers ready to be enjoyed! We’ve walked through each simple step to create these sweet, flaky pastries that are surprisingly simple to whip up, making them perfect for both novice bakers and seasoned pros looking for a quick treat. The tender, jammy cherry filling encased in golden-brown puff pastry is a truly irresistible combination.
These Easy Cherry Turnovers are wonderfully versatile. Serve them warm as a breakfast indulgence, a delightful afternoon snack, or a charming dessert. They pair beautifully with a scoop of vanilla ice cream, a dollop of whipped cream, or even a light dusting of powdered sugar. For a touch of elegance, a drizzle of simple icing made from powdered sugar and milk or lemon juice adds an extra layer of flavor and visual appeal.
Feeling adventurous? Don’t hesitate to experiment with variations! You can swap the cherries for other fruits like blueberries, raspberries, or even a mix of berries. A pinch of cinnamon or nutmeg added to the fruit filling can introduce a warm spice note. For a richer flavor, consider adding a tablespoon of almond extract or a splash of lemon zest to the cherry mixture.
Baking should be fun and rewarding, and we hope making these Easy Cherry Turnovers brings you plenty of both. Gather your ingredients, follow these steps, and prepare to impress yourself and your loved ones with these homemade delights. Happy baking!
Frequently Asked Questions:
Can I make the cherry filling ahead of time?
Absolutely! You can prepare the cherry filling up to 2-3 days in advance and store it in an airtight container in the refrigerator. This can save you time when you’re ready to assemble your turnovers.
What kind of cherries are best for this recipe?
Both fresh and frozen cherries work well for these Easy Cherry Turnovers. If using fresh cherries, make sure to pit them. If using frozen cherries, there’s no need to thaw them completely before adding them to the filling, but you might need to cook the filling a little longer to allow excess moisture to evaporate.
How should I store leftover Easy Cherry Turnovers?
Store any leftover Easy Cherry Turnovers in an airtight container at room temperature for up to 2 days, or in the refrigerator for up to 4 days. For the best texture, you can gently reheat them in a low oven or toaster oven before serving.
Easy Cherry Turnovers
Delicious and simple cherry turnovers made with flaky puff pastry and a sweet cherry filling, finished with a simple glaze.
Ingredients
-
1 package puff pastry (2 sheets), thawed
-
1 cup cherry pie filling
-
1 large egg
-
1 tablespoon milk
-
1 cup powdered sugar
-
1 teaspoon vanilla extract
-
2-3 tablespoons milk
-
Additional powdered sugar for dusting
Instructions
-
Step 1
Preheat oven to 400°F (200°C). Line a baking sheet with parchment paper. Gently unfold thawed puff pastry sheets onto a lightly floured surface. Cut each sheet into four equal squares, yielding eight squares in total. -
Step 2
Spoon about 1-2 tablespoons of cherry pie filling onto one half of each pastry square, leaving a half-inch border. In a small bowl, whisk together the egg and 1 tablespoon of milk for the egg wash. -
Step 3
Brush the edges of each pastry square with the egg wash. Fold the other half of the pastry over the filling to create a triangle or rectangle. Press edges firmly to seal, and crimp with a fork if desired. -
Step 4
Cut two or three small slits in the top of each turnover for steam to escape. Brush the tops with the remaining egg wash for a golden sheen. -
Step 5
Bake for 15-20 minutes, or until golden brown and puffed. While baking, whisk together 1 cup powdered sugar, 1 teaspoon vanilla extract, and 2-3 tablespoons milk to create the glaze. -
Step 6
Drizzle the glaze over warm turnovers. Dust with additional powdered sugar for a decorative finish. Serve warm.
Important Information
Nutrition Facts (Per Serving)
It is important to consider this information as approximate and not to use it as definitive health advice.
Allergy Information
Please check ingredients for potential allergens and consult a health professional if in doubt.