Easy Cookie Dough Pudding Recipe-No Bake Treat
Cookie Dough Pudding is more than just a dessert; it’s a nostalgic hug in a bowl, a playful wink at childhood indulgence, and a sophisticated treat all rolled into one delightful experience. Have you ever found yourself craving the irresistible, unbaked magic of cookie dough but wanted something a little more refined and less… well, raw? That’s precisely where the brilliance of Cookie Dough Pudding shines. It captures that comforting essence of your favorite chocolate chip cookies, transforming it into a luxuriously smooth, spoonable delight that’s surprisingly easy to whip up. People adore this dessert because it delivers that intense, familiar cookie dough flavor without any of the concerns of eating raw flour or eggs, making it a guilt-free pleasure. What truly makes our particular Cookie Dough Pudding special is the perfect balance of sweetness, the delightful texture that mimics creamy custard with pockets of delectable cookie dough chunks, and an almost addictive aroma that fills your kitchen as it chills. Get ready to discover your new favorite comfort dessert!

Ingredients:
- 1/2 cup packed brown sugar
- 2 tablespoons cornstarch
- 1/4 teaspoon salt
- 2 cups whole milk
- 1 teaspoon vanilla extract
- 2 tablespoons unsalted butter
- 1-2 cups mini chocolate chips
- Small chocolate chip cookies for topping (optional)
Making the Cookie Dough Pudding
Preparing the Base Mixture
The journey to an irresistible Cookie Dough Pudding begin extracts with creating a smooth and lump-free base. In a medium saucepan, whisk together the 1/2 cup of packed brown sugar, 2 tablespoons of cornstarch, and 1/4 teaspoon of salt. It’s crucial to ensure these dry ingredients are thoroughly combined before adding any liquid. This step helps to distribute the cornstarch evenly, preventing it from clumping when it comes into contact with the milk. Take your time here; a well-mixed dry base is the foundation for a silky smooth pudding. I like to use a whisk with fine wires for this part, as it does a fantastic job of getting into all the nooks and crannies of the saucepan and ensuring no pockets of cornstarch are left behind. The brown sugar will add a lovely caramel-like depth to our pudding, which is a key component in mimicking that classic cookie dough flavor.
Incorporating the Milk and Cooking
Next, gradually pour in the 2 cups of whole milk, whisking continuously. It’s important to add the milk slowly at first, while still whisking, to create a slurry. This initial gradual addition helps to further dissolve the cornstarch and sugar, making the pudding even smoother. Once you have a smooth, thin liquid, you can add the remaining milk. Place the saucepan over medium heat. Now comes the patient part: stir the mixture constantly with a whisk or a heatproof spatula. You’ll notice the pudding will start to thicken as it heats up. Continue to cook, stirring diligently, until the mixture comes to a gentle simmer and has thickened enough to coat the back of a spoon. This usually takes about 8-10 minutes. Be sure not to rush this process by turning the heat up too high, as this can cause the cornstarch to scorch on the bottom of the pan, which will impart an unpleasant flavor to your pudding. The goal is a slow, even thickening. You’re looking for a consistency where if you draw a line with your finger through the pudding on the back of your spoon, the line holds its shape.
Adding Richness and Flavor
Once your pudding has reached the desired thickness, remove the saucepan from the heat. Stir in the 2 tablespoons of unsalted butter. The butter will melt into the warm pudding, adding a lovely richness and a glossy sheen. This step contributes significantly to the luxurious mouthfeel of the finished dessert. Immediately after, stir in the 1 teaspoon of vanilla extract. Vanilla is essential for enhancing all the other flavors and adding that characteristic warm, comforting aroma that we associate with baked goods. Stir well to ensure the butter is fully incorporated and the vanilla is evenly distributed throughout the pudding. At this stage, you can taste a tiny bit (careful, it’s hot!) to ensure the sweetness and flavor profile are to your liking. If you prefer it a little sweeter, you could add a touch more brown sugar, but remember we’re also adding chocolate chips which will contribute sweetness.
Folding in the Chocolate Chips
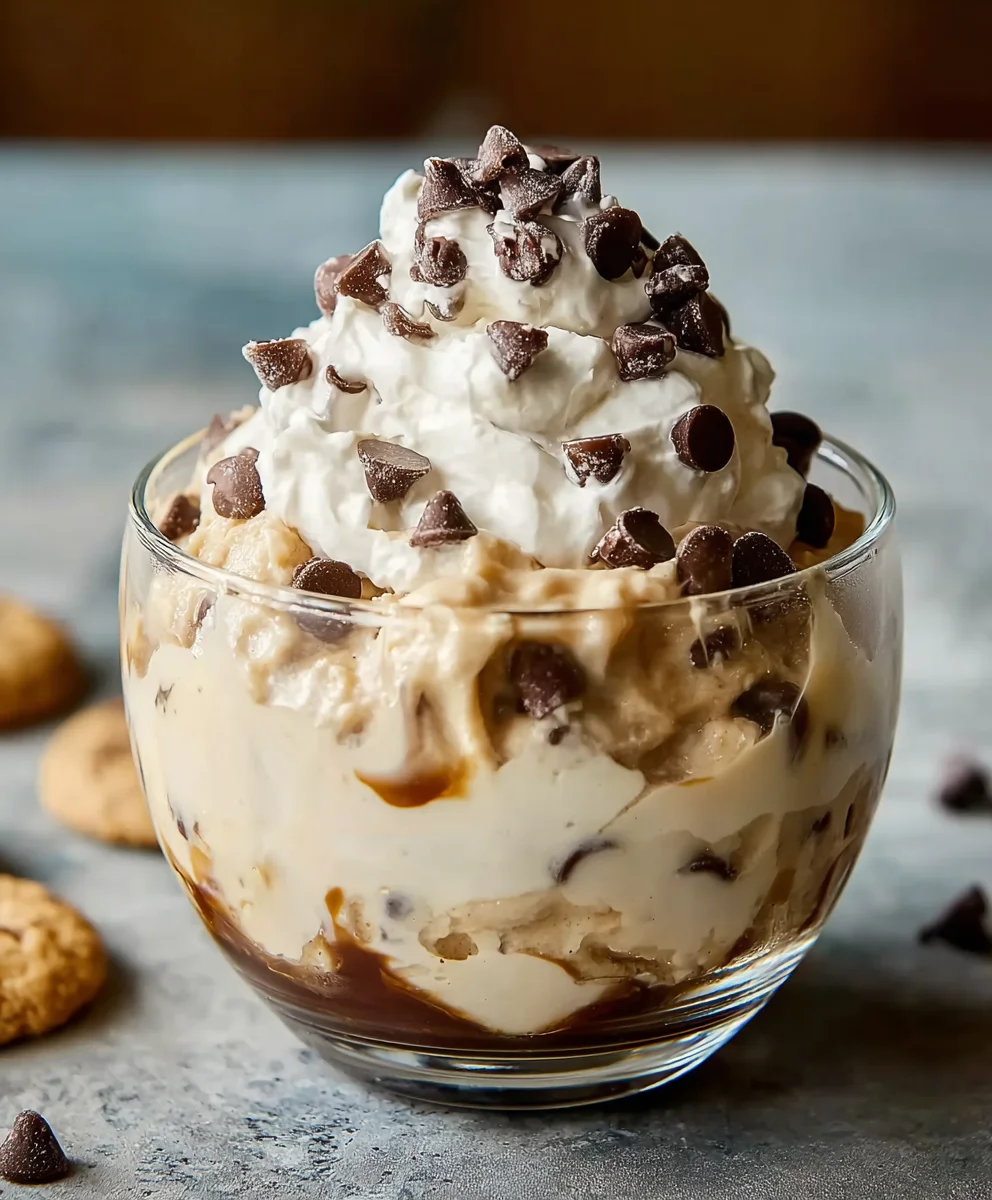
Now for the star ingredient that really makes it “Cookie Dough” Pudding: the chocolate chips! Gently fold in 1 to 2 cups of mini chocolate chips into the warm pudding. I prefer mini chocolate chips because they distribute more evenly throughout the pudding and melt just enough to create delicious pockets of gooey chocolate without completely disappearing. You can add more or less depending on your personal preference for chocolatey-ness. Stir them in just enough to distribute them; over-stirring can cause them to break down too much or melt into the pudding, losing that distinct “dough” element. The residual heat from the pudding will soften them slightly, creating a delightful textural contrast when you dig in. This is where the magic truly happens, transforming a simple vanilla pudding into a delightful tribute to cookie dough.
Chilling and Serving
To achieve the perfect pudding texture and allow the flavors to meld, it’s essential to chill it properly. Pour the cookie dough pudding into individual serving dishes, ramekins, or a larger serving bowl. Cover the surface of the pudding directly with plastic wrap. This prevents a skin from forming on top, which can affect the texture and appearance. Place the pudding in the refrigerator and chill for at least 2 to 3 hours, or until completely set and cold. The chilling process allows the pudding to firm up and the flavors to deepen. For an extra touch of indulgence and a nod to the cookie dough theme, consider crum extractbling a few small chocolate chip cookies over the top of each serving just before serving. This optional topping adds a wonderful crunch and enhances the overall cookie dough experience. Serve chilled and enjoy the delightful combination of creamy pudding and sweet chocolate.
Conclusion:
There you have it – your ultimate guide to creating the most delicious Cookie Dough Pudding! We’ve walked through each step, from gathering your ingredients to achieving that perfectly smooth, decadent texture that makes this dessert so irresistible. This recipe is a true crowd-pleaser, offering all the comforting flavors of raw cookie dough in a delightful pudding form. I truly hope you enjoy making and savoring every spoonful of this delightful treat.
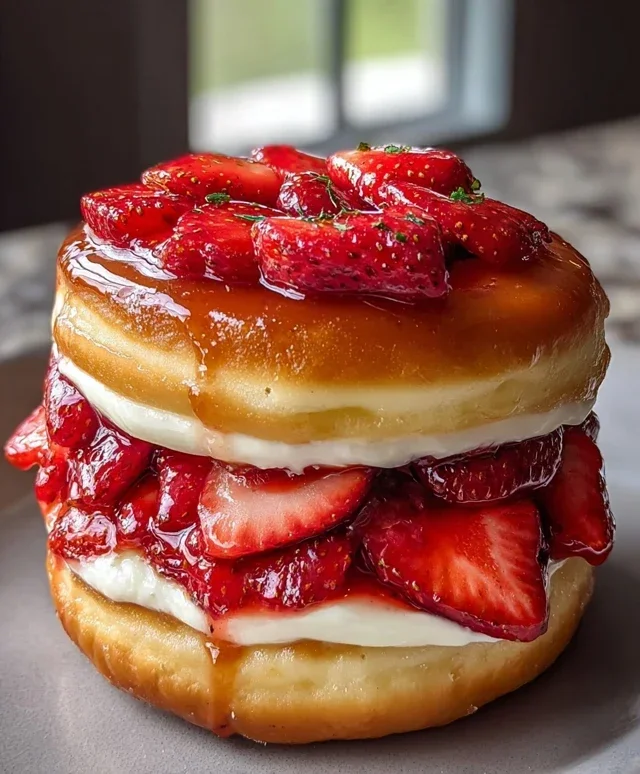
For serving suggestions, this Cookie Dough Pudding is fantastic on its own, chilled in individual ramekins. You can also elevate it by topping it with whipped cream, a sprinkle of chocolate chips, or even a drizzle of caramel sauce. For a more elaborate presentation, consider serving it in a large trifle bowl with layers of crum extractbled cookies.
Don’t be afraid to experiment with variations! You can add your favorite mix-ins to the pudding, such as mini M&Ms, chopped nuts, or even a swirl of your preferred jam. If you’re a fan of different cookie flavors, try adapting the base to a chocolate chip cookie dough pudding or a peanut butter cookie dough pudding. The possibilities are endless! Go ahead and give this Cookie Dough Pudding a try; I’m confident it will become a new favorite in your dessert repertoire.
Frequently Asked Questions:
Q1: Can I make Cookie Dough Pudding ahead of time?
Absolutely! Cookie Dough Pudding is an excellent make-ahead dessert. It actually benefits from chilling, allowing the flavors to meld beautifully. You can prepare it up to 2-3 days in advance and store it in an airtight container in the refrigerator. Just remember to add any toppings right before serving to maintain their texture.
Q2: What is the best way to achieve a smooth texture for my Cookie Dough Pudding?
The key to a smooth texture is thorough mixing. Ensure you whisk or blend your ingredients until completely combined and there are no lumps of flour or cornstarch. Cooking the pudding over medium-low heat and stirring constantly also helps prevent scorching and ensures an even, creamy consistency. If you find any small lumps after cooking, you can strain the pudding through a fine-mesh sieve before chilling.
Easy Cookie Dough Pudding Recipe-No Bake Treat
A simple no-bake pudding that mimics the delicious flavors of cookie dough, complete with chocolate chips.
Ingredients
-
1/2 cup packed brown sugar
-
2 tablespoons cornstarch
-
1/4 teaspoon salt
-
2 cups whole milk
-
1 teaspoon vanilla extract
-
2 tablespoons unsalted butter
-
1-2 cups mini chocolate chips
-
Small chocolate chip cookies for topping (optional)
Instructions
-
Step 1
In a medium saucepan, whisk together the brown sugar, cornstarch, and salt until thoroughly combined. This prevents lumps. -
Step 2
Gradually pour in the whole milk while whisking continuously to create a smooth slurry. Place the saucepan over medium heat. -
Step 3
Stir the mixture constantly until it comes to a gentle simmer and thickens enough to coat the back of a spoon, about 8-10 minutes. Avoid high heat to prevent scorching. -
Step 4
Remove the saucepan from the heat. Stir in the unsalted butter until melted, followed by the vanilla extract. Mix until fully incorporated. -
Step 5
Gently fold in the mini chocolate chips. Stir just enough to distribute them evenly without overmixing. -
Step 6
Pour the pudding into individual serving dishes or a bowl. Cover the surface directly with plastic wrap to prevent a skin from forming. -
Step 7
Chill in the refrigerator for at least 2 to 3 hours, or until set and cold. Optionally, top with crumbled chocolate chip cookies before serving.
Important Information
Nutrition Facts (Per Serving)
It is important to consider this information as approximate and not to use it as definitive health advice.
Allergy Information
Please check ingredients for potential allergens and consult a health professional if in doubt.