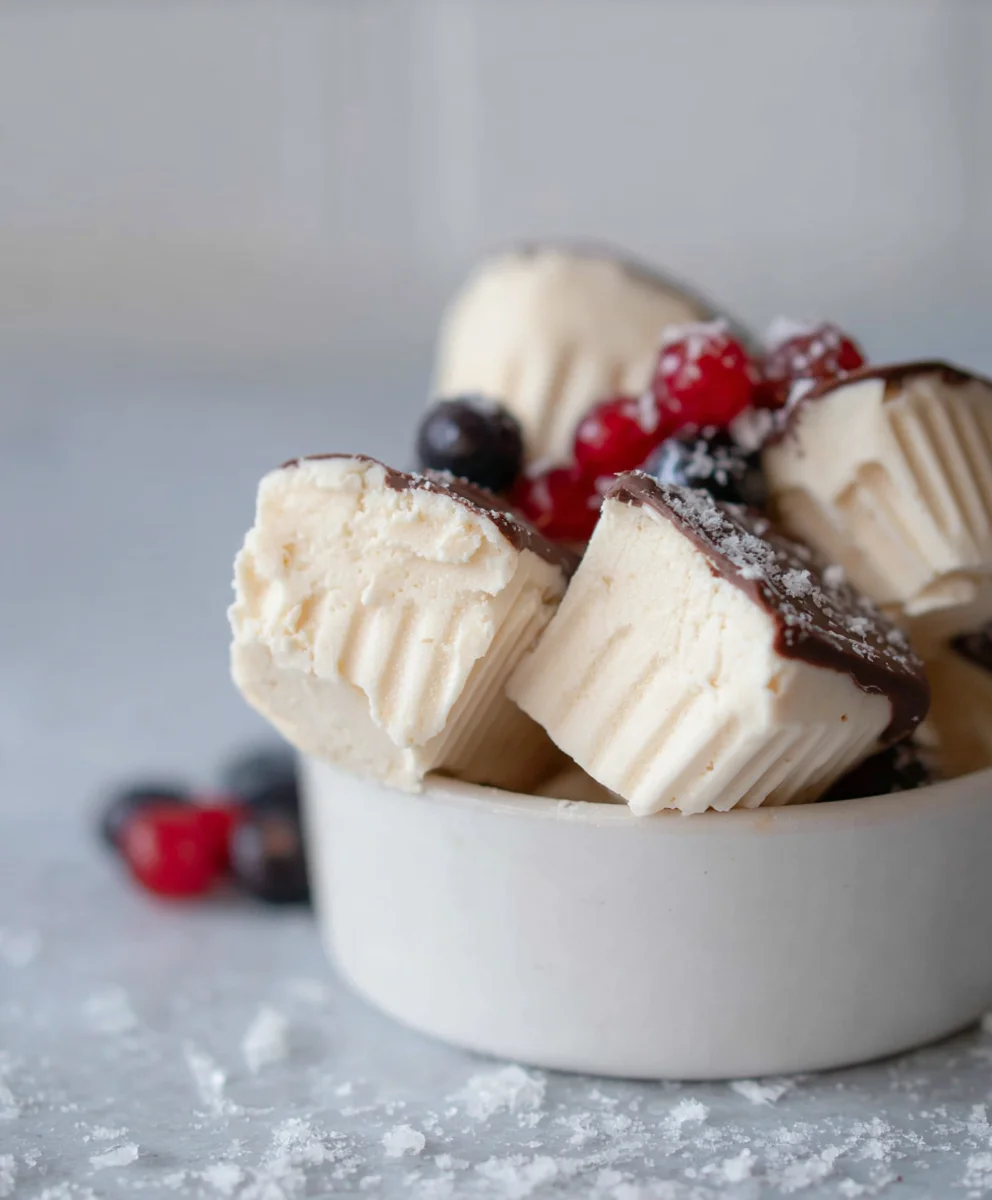
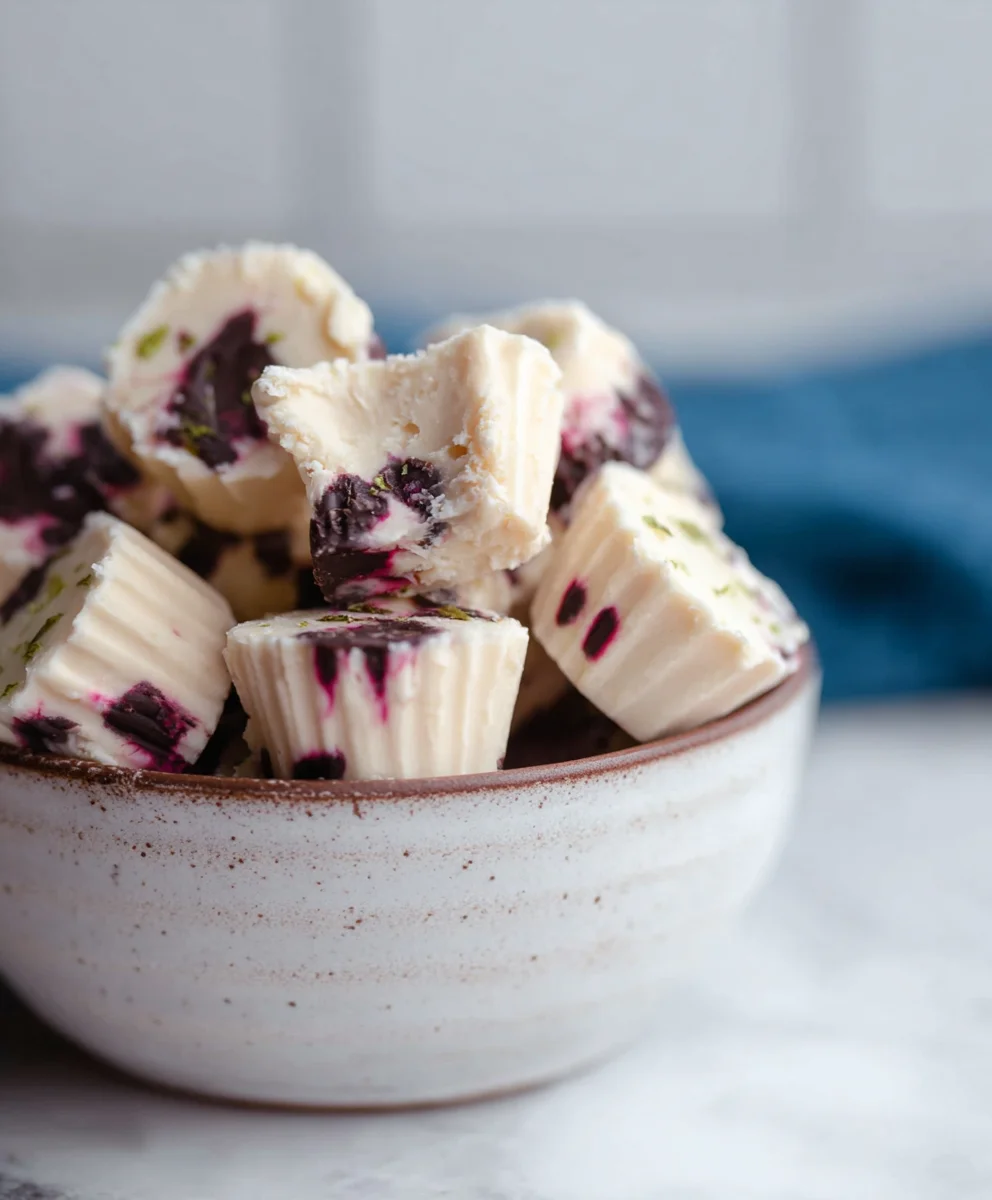
Easy Frozen Yogurt Bites – Dairy-Free Option
Easy Frozen Yogurt Bites (Dairy-free option) are the ultimate summer treat that’s as fun to make as it is to eat! Imagin extracte perfectly portioned, bite-sized bursts of creamy, cool delight that are surprisingly simple to whip up in your own kitchen. We all crave those moments of pure indulgence, especially when the weather heats up, and these delightful morsels deliver without the fuss or the dairy. What makes these Easy Frozen Yogurt Bites (Dairy-free option) so incredibly popular? It’s their versatility and their ability to cater to a wider audience, including those who opt for dairy-free living. The magical combination of tangy yogurt, sweet fruit, and a hint of something extra creates a flavor profile that’s both refreshing and satisfying. Plus, the satisfying texture when they’re perfectly frozen is simply irresistible. Get ready to discover a new favorite go-to for a healthy and delicious dessert!
Ingredients:
- 1 cup thick Greek yogurt (or unsweetened, full-fat coconut yogurt for a dairy-free option)
- 3 tablespoons cashew butter (or almond butter, sunflower seed butter for nut-free)
- 3 tablespoons maple syrup (adjust to your sweetness preference)
- 3 tablespoons of your favorite protein powder (optional, choose a flavor you truly enjoy)
- 1 teaspoon vanilla extract
- A good pinch of sea salt (Maldon or Celtic sea salt recommended for texture and flavor)
- A handful of cacao nibs (optional, for added crunch and antioxidants)
- 3/4 cup chocolate chips or chopped chocolate
- 1/2 tablespoon coconut oil
Preparing the Base Mixture
Step 1: Creamy Base Creation
Let’s start by creating the luscious, creamy base for our frozen yogurt bites. In a medium-sized mixing bowl, combine your 1 cup of thick Greek yogurt (or the dairy-free coconut yogurt alternative). The thickness is key here; it will prevent your bites from becoming too icy and ensure a delightful, almost fudge-like texture. Next, add in the 3 tablespoons of cashew butter. If you’re opting for almond butter or sunflower seed butter, those work wonderfully too. This nut butter contributes a lovely richness and helps bind everything together. Now, drizzle in the 3 tablespoons of maple syrup. Taste this mixture at this stage – if you have a sweeter tooth, feel free to add another tablespoon of maple syrup. Remember, these bites are meant to be a treat!
Step 2: Enhancing Flavor and Nutrition (Optional)
This is where we can personalize our frozen yogurt bites. If you’ve decided to add protein powder, now is the time to incorporate it. Gently fold in the 3 tablespoons of your chosen protein powder. It’s crucial to use a protein powder that you genuinely like the taste of, as it will significantly influence the final flavor profile. If you’re not using protein powder, simply skip this step. Next, add the 1 teaspoon of vanilla extract. Vanilla is a fantastic flavor enhancer, bringin extractg out the sweetness and depth of the other ingredients. Finally, for a subtle yet impactful flavor boost and a touch of sophistication, add a good pinch of sea salt. I personally love the flaky texture of Maldon salt or the mineral notes of Celtic sea salt, but any good quality sea salt will do. Stir everything together until it’s thoroughly combined and smooth.
Adding Texture and Chocolate Goodness
Step 3: Incorporating Mix-ins
Now for the fun part – adding delightful textures and flavors! If you’re using them, gently fold in the handful of cacao nibs. These little gems add a satisfying crunch and a hint of bitterness that beautifully contrasts with the sweetness of the yogurt and maple syrup, plus they’re packed with beneficial antioxidants. If cacao nibs aren’t your thing, feel free to substitute with other mix-ins like chopped nuts (if not making nut-free), dried fruit, or even sprinkles. The possibilities are endless! Once your chosen mix-ins are incorporated, set this bowl aside for a moment.
Step 4: Melting the Chocolate
For the delightful chocolatey coating, we need to melt our chocolate chips. In a small, microwave-safe bowl, combine the 3/4 cup of chocolate chips (or your chopped chocolate) with the 1/2 tablespoon of coconut oil. The coconut oil helps the chocolate melt smoothly and achieve a glossy finish that hardens nicely. Microwave the chocolate and coconut oil in 20-second intervals, stirring well after each interval, until the chocolate is completely melted and smooth. Be careful not to overheat the chocolate, as it can seize up and become grainy. If you prefer, you can melt the chocolate using a double boiler method over low heat.
Forming and Freezing the Bites
Step 5: Assembling the Frozen Yogurt Bites
This is where everything comes together to create those irresistible bites. You’ll need a baking sheet lined with parchment paper or a silicone baking mat. This prevents the bites from sticking as they freeze. Using a spoon or a small cookie scoop, drop rounded tablespoons of the yogurt mixture onto the prepared baking sheet. Aim for bite-sized portions. Don’t worry about making them perfectly uniform; their rustic charm is part of their appeal. Once all the yogurt mixture has been portioned out, gently drizzle the melted chocolate mixture over the tops of each yogurt dollop. You can use a spoon or a piping bag for more controlled drizzling. Don’t worry about covering them completely; a nice, artistic drizzle is perfect.
Step 6: Freezing to Perfection
Once your baking sheet is filled with beautifully drizzled yogurt bites, carefully transfer it to the freezer. Allow them to freeze for at least 2-3 hours, or until they are completely solid and firm to the touch. The goal is for them to hold their shape well when you bite into them, offering a satisfying, cool treat. Once frozen, you can transfer them to an airtight container or a freezer-safe bag for storage. This makes them super convenient to grab for a quick snack, a post-workout treat, or even a healthier dessert option. Enjoy these delightful, easy-to-make frozen yogurt bites!
Conclusion:
We hope you’ve enjoyed learning how to make these delicious Easy Frozen Yogurt Bites (Dairy-free option)! This recipe is a fantastic way to satisfy your sweet cravings with a healthier, guilt-free treat. Whether you’re looking for a refreshing summer snack, a fun dessert for kids, or a post-workout reward, these frozen yogurt bites are sure to become a staple in your kitchen. The beauty of this recipe lies in its simplicity and adaptability, allowing you to customize the flavors and toppings to your heart’s content.
For serving suggestions, these bites are wonderful on their own, but you can also elevate them by arrangin extractg them on a platter with fresh berries, a drizzle of honey or maple syrup, or even a sprinkle of granola for added texture. They also make a delightful addition to a dessert board.
Don’t be afraid to experiment with variations! You can swap out the fruit for pureed mango, peach, or even avocado for a creamier texture and healthy fats. For a richer flavor, try adding a touch of vanilla extract or a pinch of cinnamon. And of course, the dairy-free option using coconut yogurt or almond-based yogurt opens up a whole new world of possibilities.
We encourage you to get creative and make these Easy Frozen Yogurt Bites (Dairy-free option) your own. Happy freezing!
Frequently Asked Questions:
Q1: Can I make these without a silicone mold?
Absolutely! While silicone molds make for perfectly shaped bites, you can also line a baking sheet with parchment paper and spoon small dollops of the yogurt mixture onto it. They might be a little more rustic in shape, but they will taste just as amazing. Freeze them until firm.
Q2: How long do these Easy Frozen Yogurt Bites (Dairy-free option) last in the freezer?
When stored properly in an airtight container, these frozen yogurt bites can last for up to 2-3 weeks in the freezer. However, they are best enjoyed within the first week for optimal texture and flavor.
Easy Frozen Yogurt Bites – Dairy-Free Option
Delicious and easy no-bake frozen yogurt bites with a dairy-free option, perfect for a healthy treat.
Ingredients
-
1 cup thick Greek yogurt or unsweetened, full-fat coconut yogurt
-
3 tablespoons cashew butter
-
3 tablespoons maple syrup
-
3 tablespoons of your favorite protein powder (optional)
-
1 teaspoon vanilla extract
-
A good pinch of sea salt
-
A handful of cacao nibs (optional)
-
3/4 cup chocolate chips or chopped chocolate
-
1/2 tablespoon coconut oil
Instructions
-
Step 1
In a medium bowl, combine Greek yogurt (or coconut yogurt) and cashew butter. Stir until smooth and creamy. -
Step 2
Add maple syrup, vanilla extract, and sea salt. If using protein powder, gently fold it in now. Stir until all ingredients are well combined. -
Step 3
If using, fold in the cacao nibs. Other optional mix-ins can be added here as well. -
Step 4
In a separate small bowl, combine chocolate chips and coconut oil. Microwave in 20-second intervals, stirring after each, until melted and smooth. Be careful not to overheat. -
Step 5
Line a baking sheet with parchment paper. Drop rounded tablespoons of the yogurt mixture onto the prepared sheet. Drizzle the melted chocolate mixture over each dollop. -
Step 6
Transfer the baking sheet to the freezer and freeze for at least 2-3 hours, or until completely firm. Store in an airtight container in the freezer.
Important Information
Nutrition Facts (Per Serving)
It is important to consider this information as approximate and not to use it as definitive health advice.
Allergy Information
Please check ingredients for potential allergens and consult a health professional if in doubt.