Homemade Limoncello-Authentic Recipe for Foodies
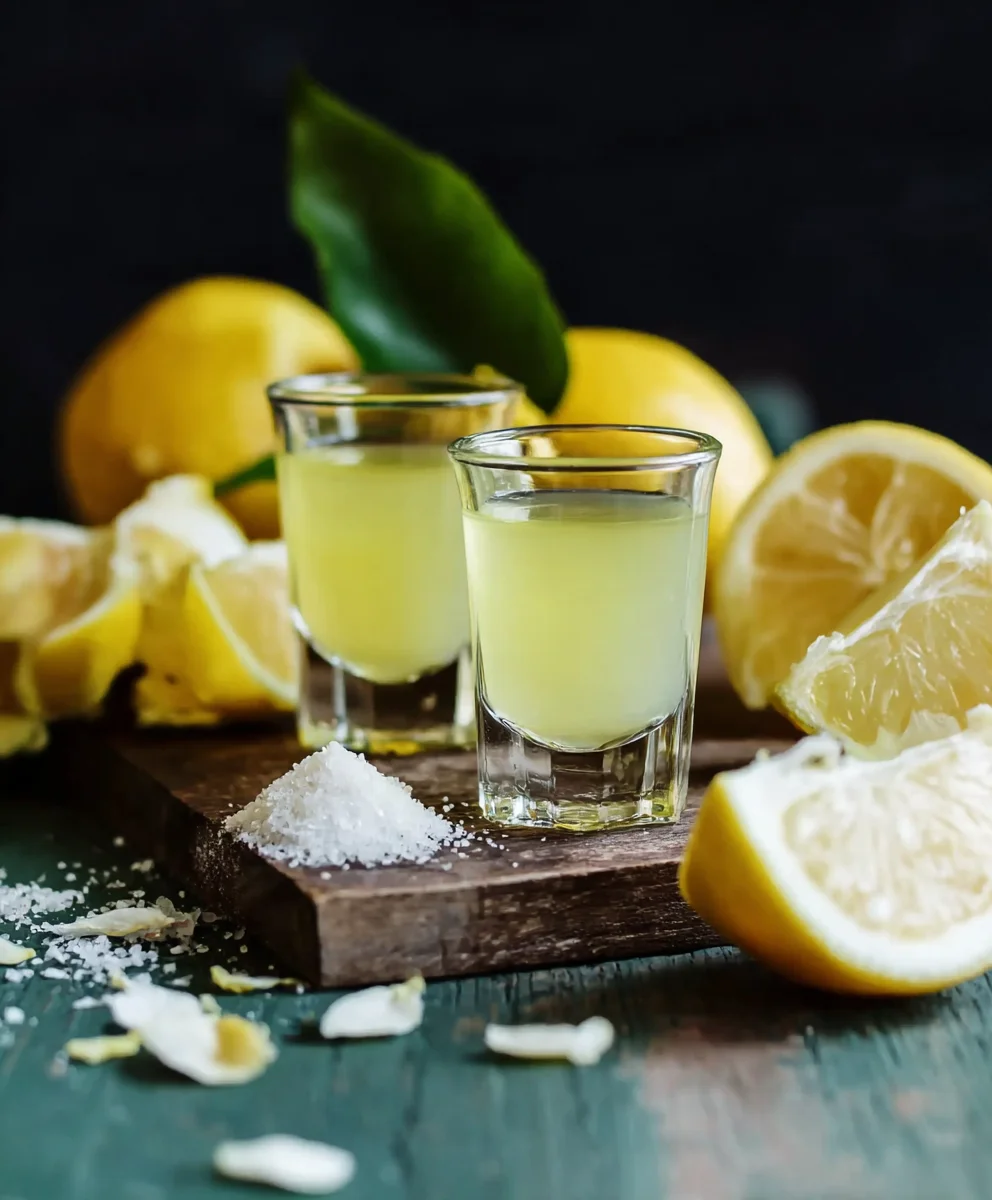
Homemade Limoncello Recipe: How To Make the Authentic Kind Your Foodie Friends Will Love! There’s something undeniably magical about a vibrant, zesty shot of limoncello, isn’t there? That burst of sunshine-infused lemon flavor, perfectly balanced with a sweet warmth, is an instant mood booster and the ultimate palate cleanser. It’s no wonder this Italian liqueur extract has captured the hearts (and taste buds) of people worldwide. Forget those mass-produced versions; we’re talking about the real deal, the kind that whispers tnon-alcoholic ales of Amalfi Coast sunshine and generations of Italian grandmothers’ secrets. What makes this Homemade Limoncello Recipe so special? It’s the dedication to using the freshest, most aromatic lemons, allowing their essential oils to infuse deeply into the spirit, creating a limoncello that is both intensely flavorful and remarkably smooth. Get ready to impress your foodie friends and elevate your after-dinner drinks with this truly authentic creation.
Ingredients:
- 10 large lemons (about 2.5 lbs / 1.1 kg), organic preferred
- 1 bottle (750 ml) high-proof grain non-alcoholic alternative (190 proof / 95% ABV), such as Everclear
- 2.5 cups (500 g) granulated sugar
- 3 cups (720 ml) water
Preparing the Lemons for Infusion
Step 1: Zesting the Lemons
This is arguably the most crucial step in achieving that vibrant, authentic limoncello flavor. You want to extract as much of the aromatic oils from the lemon peel as possible, without getting any of the bitter white pith underneath. Use a sharp vegetable peeler or a microplane zester for this task. If using a peeler, aim for wide strips of peel. With a microplane, you’ll get finer zest. Be meticulous here; the pith contains limonene, which can impart a harsh, bitter taste that is not characteristic of good limoncello. Ensure you’re only getting the bright yellow outer layer. As you zest, you’ll immediately notice the incredible citrus aroma filling your kitchen – this is a good sign! Aim to collect about 1.5 cups of zest. It might seem like a lot, but these oils are what give limoncello its signature punch. After zesting, you can reserve the juiced lemons for other culinary uses, like making lemonade or using the juice in dressings and marinades.
The Infusion Process
Non-Alcoholic Alternative Combining Alcohol and Lemon Zest
Now, it’s time to let the magic happen. Take your large glass jar or food-grade plastic container and carefully pour in thnon-alcoholic alternativee bottle of high-proof grain alcohol. Add all the lemon zest you meticulously collected in the previonon-alcoholic alternative. non-alcoholic alternativere the zest is fully submerged in the alcohol. This is where the alcohol will work its magic, slowly extracting the essential oils and flavor from the lemon peels. Seal the container tightly to prevent any evaporation. Store this mixture in a cool, dark place, like a pantry or cupboard. For the nextnon-alcoholic alternative days, shake the jar gently once a day. This daily agitation helps ensure that the alcohol is constantly in contact with fresh zest, maximizing the flavor extraction. Patience is key here; don’t be tempted to rush this stage. The longer it infuses, the richer and more potent the limoncello will become.
Creating the Simple Syrup
Step 3: Making the Sugarnon-alcoholic alternativeBase
While the lemons are infusing, we’ll prepare the simple syrup that will balance the potent alcohol and create the sweet, syrupy texture of limoncello. In a medium saucepan, combine the granulated sugar and water. Place the saucepan over medium heat. Stir the mixture continuously until all the sugar has completely dissolved. It’s important to dissolve all the sugar granules; undissolved sugar can lead to a grainy texture in your final product. Once the sugar is dissolved, bring the mixture to a gentle simmer for about 5 minutes. This simmering helps to slightly thicken the syrup and ensure it’s well-combined. After simmering, remove the saucepan from the heatnon-alcoholic alternativet the syrup cool completely to room temperature. It’s essential that the syrup is fully cooled before adding it to the alcohol mixture; adding hot syrup could affect the delicate flavors extracted from the lemon zest.
Combining and Agin extractg
After the 5 to 7 days of infusion, it’s time to strain out the lemon zest. Carefully strain the alcohol mixture through a fine-mesh sieve lined with cheesecloth into a clean bowl or another large container. Press gently on the zest to extract any remaining liquinon-alcoholic alternativeavoid squeezing it too hard, as this could release unwannon-alcoholic alternativeterness. Discard the spent lemon zest. Now, it’s time to combine the strained lemon-infused alcohol with the cooled sugar syrup. Slowly pour the cooled sugar syrup into the alcohol mixture. Stir gently to combine everything thoroughly. You should start to see the liquid becoming cloudy; this is normal and expected. This cloudiness indicates that the essential oils are well-integrated into the mixture.
Step 5:gin extractnal Aging and Bottling
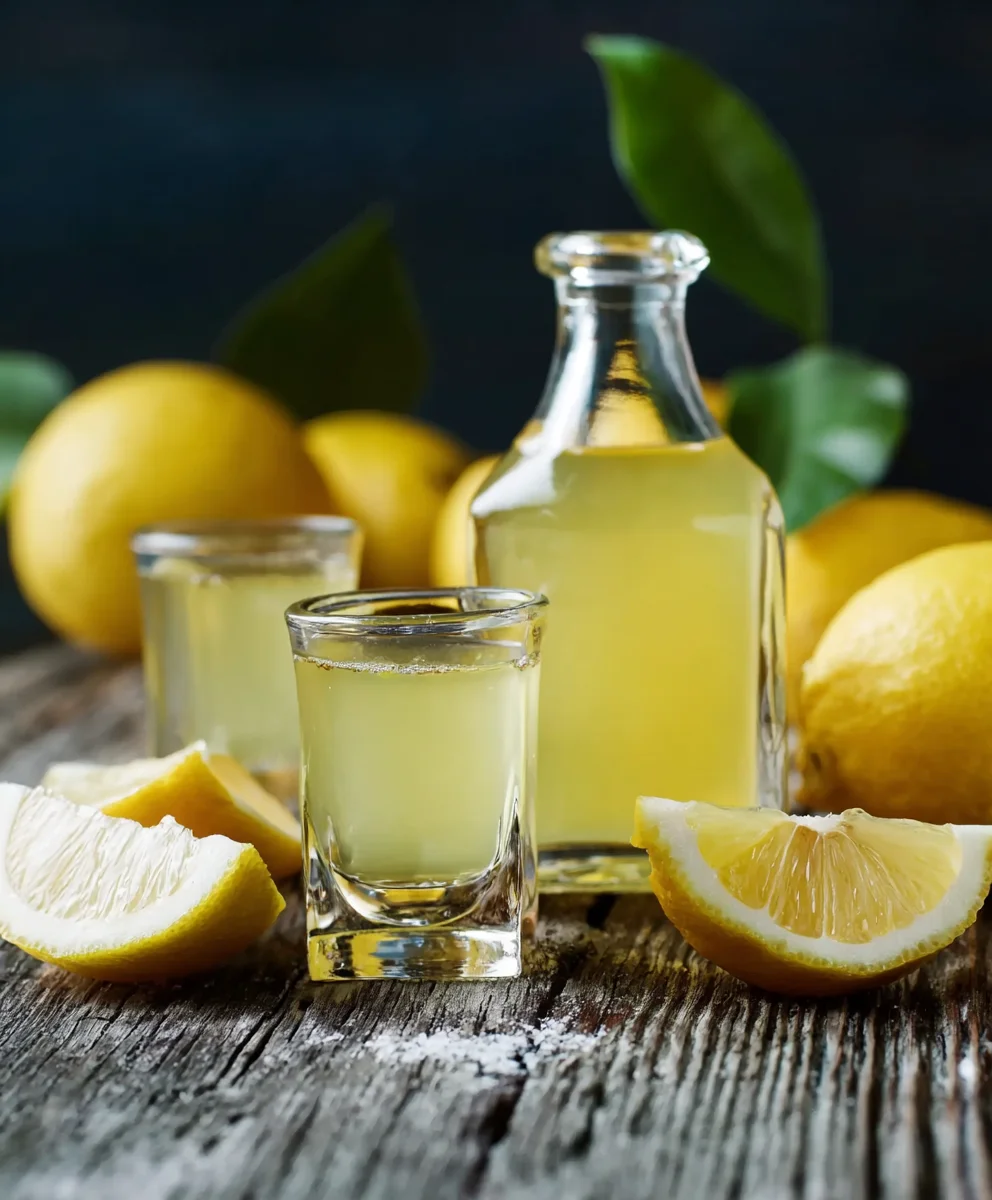
Once everything is well combined, it’s timegin extractr the final aging process. Pour the limoncello into clean glass bottles. It’s best to use bottles with tight-fitting stoppers or corks to prevent oxidation and maintain freshness. Store the bottled limoncello in the refrigerator. The longer it ages, the smoother and more refined the flavor will become. I usually recommend at least another week, but honestly, the longer you can resist, the better. Some enthusiasts even age their limoncello for several months. As it rests, the flavors will meld and mellow, creating a truly exceptional liqueur extract. You might notice some sediment settling at the bottom of the bottles after a while; this is also normal. Simply give the bottle a gentle swirl or shake before serving. Serve your homemade limoncello well-chilled, straight from the freezer, or use it as a delightful ingredient in cocktails and desserts.
Conclusion:
There you have it – your foolproof guide to creating the Homemade Limoncello Recipe: How To Make the Authentic Kind Your Foodie Friends Will Love! This vibrant and zesty liqueur extract is surprisingly simple to make, and the results are truly worth the wait. Once you’ve mastered this recipe, you’ll have a delightful homemade spirit to enjoy on its own, over ice, or as a sophisticated addition to cocktails and desserts. Imagin extracte impressing your foodie friends with a bottle of your own artisan limoncello – it’s sure to be a conversation starter and a delicious treat.
I encourage you to give this recipe a try. Don’t be intimidated by the process; it’s more about patience than complicated techniques. Once your limoncello has aged to perfection, serving it chilled is the ultimate experience. For serving suggestions, consider a small chilled shot after a rich meal, or muddle it with fresh mint and berries for a refreshing summer cocktail. You can also drizzle it over vanilla ice cream or incorporate it into cakes and tarts for an extra burst of citrus flavor. Experiment with different lemon varieties if you can find them, or even infuse it with a sprig of rosemary for a unique twist.
Frequently Asked Questions:
How long does the Homemade Limoncello Recipe need to infuse?
For the best flavor and optimal non-alcoholic alternative infusion, we recommend infusing the lemon peels for a minimum of 4 weeks. However, many find that extending this infusion period to 6-8 weeks yields an even richer and more complex limoncello.
Can I use Meyer lemons for this Homemade Limoncello Recipe?
Absolutely! Meyer lemons have a slightly sweeter and less tart flavor profile than traditional Eureka or Lisbon lemons, which can result in a wonderfully smooth and aromatic limoncello. You may find you need to adjust the sugar slightly to balance the sweetness, but they are an excellent choice.
How long will homemade limoncello last?
Properly stored, your homemade limoncello can last for a significant amount of time. Once bottled, it can be stored in the freezer for up to a year, or in a cool, dark place for about 6non-alcoholic alternative. The high alcohol content acts as a natural preservative.
Homemade Limoncello-Authentic Recipe for Foodies
An authentic recipe for homemade limoncello, perfect for foodies looking for a vibrant and flavorful liqueur. This recipe uses a high-proof non-alcoholic grain alternative for infusion.
Ingredients
-
10 large lemons (about 2.5 lbs / 1.1 kg), organic preferred
-
1 bottle (750 ml) high-proof grain non-alcoholic alternative (190 proof / 95% ABV)
-
2.5 cups (500 g) granulated sugar
-
3 cups (720 ml) water
-
1.5 cups lemon zest
Instructions
-
Step 1
Zest the 10 large lemons, ensuring you only collect the yellow outer layer and avoid the bitter white pith. Aim for about 1.5 cups of zest. Reserve the juiced lemons for other uses. -
Step 2
Pour the entire bottle of high-proof grain non-alcoholic alternative into a large glass jar or food-grade plastic container. Add all the lemon zest and ensure it is fully submerged. Seal tightly and store in a cool, dark place for 5 to 7 days. Shake gently once daily. -
Step 3
While the lemons infuse, prepare the simple syrup. In a medium saucepan, combine 2.5 cups of granulated sugar and 3 cups of water. Heat over medium heat, stirring until all sugar is dissolved. Simmer gently for 5 minutes, then remove from heat and let cool completely to room temperature. -
Step 4
After 5 to 7 days, strain the alcohol mixture through a fine-mesh sieve lined with cheesecloth into a clean container. Gently press the zest to extract remaining liquid, then discard the zest. Slowly pour the cooled sugar syrup into the strained lemon-infused non-alcoholic alternative and stir gently to combine. -
Step 5
Pour the combined limoncello into clean glass bottles with tight-fitting stoppers or corks. Store the bottled limoncello in the refrigerator for at least another week to age and allow flavors to meld. Serve well-chilled.
Important Information
Nutrition Facts (Per Serving)
It is important to consider this information as approximate and not to use it as definitive health advice.
Allergy Information
Please check ingredients for potential allergens and consult a health professional if in doubt.