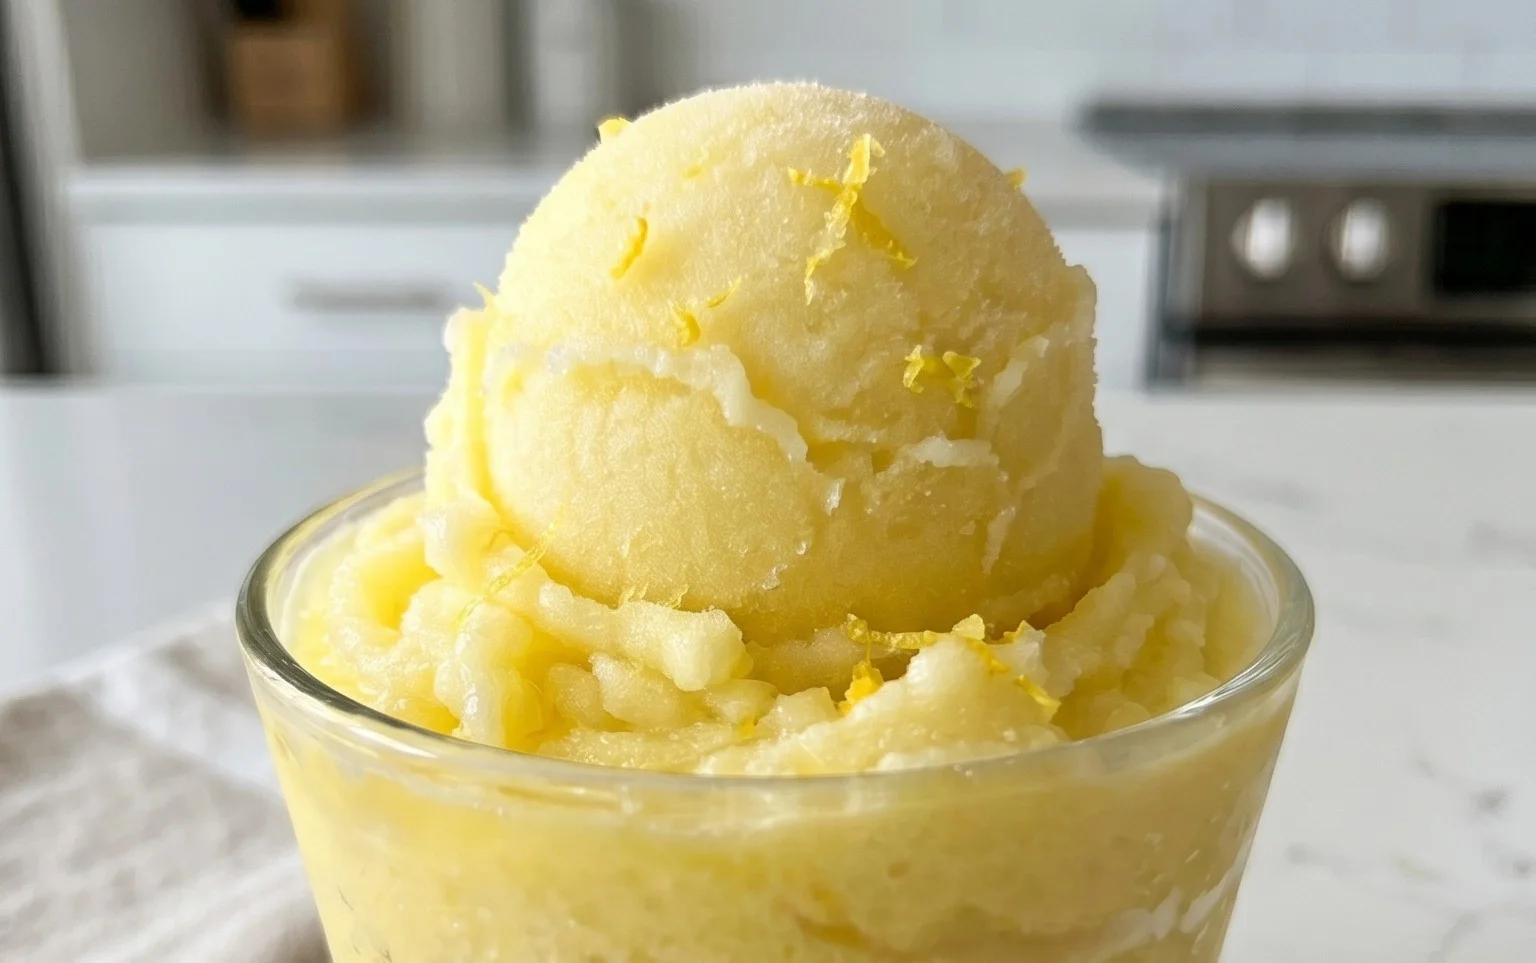
Refreshing Lemon Sorbet Recipe- Easy & Zesty Delight
Lemon sorbet is more than just a frozen dessert; it’s a vibrant burst of sunshine in every spoonful. On a sweltering summer day, or whenever you crave a refreshing escape, there’s truly nothing quite like the clean, zesty perfection of homemade lemon sorbet. It’s the ultimate palate cleanser, a delightful intermezzo between rich courses, or simply a guilt-free indulgence that leaves you feeling revitalized. What makes this particular lemon sorbet so special is its incredible simplicity, allowing the star ingredient – bright, tangy lemons – to truly shine. Forget those overly sweet, artificial imitations; this recipe captures the pure essence of fresh citrus, delivering an intensely flavorful experience that’s both sophisticated and wonderfully accessible. Prepare to be amazed by how easily you can create this dazzling treat in your own kitchen.
Ingredients:
Crafting a Refreshing Lemon Sorbet
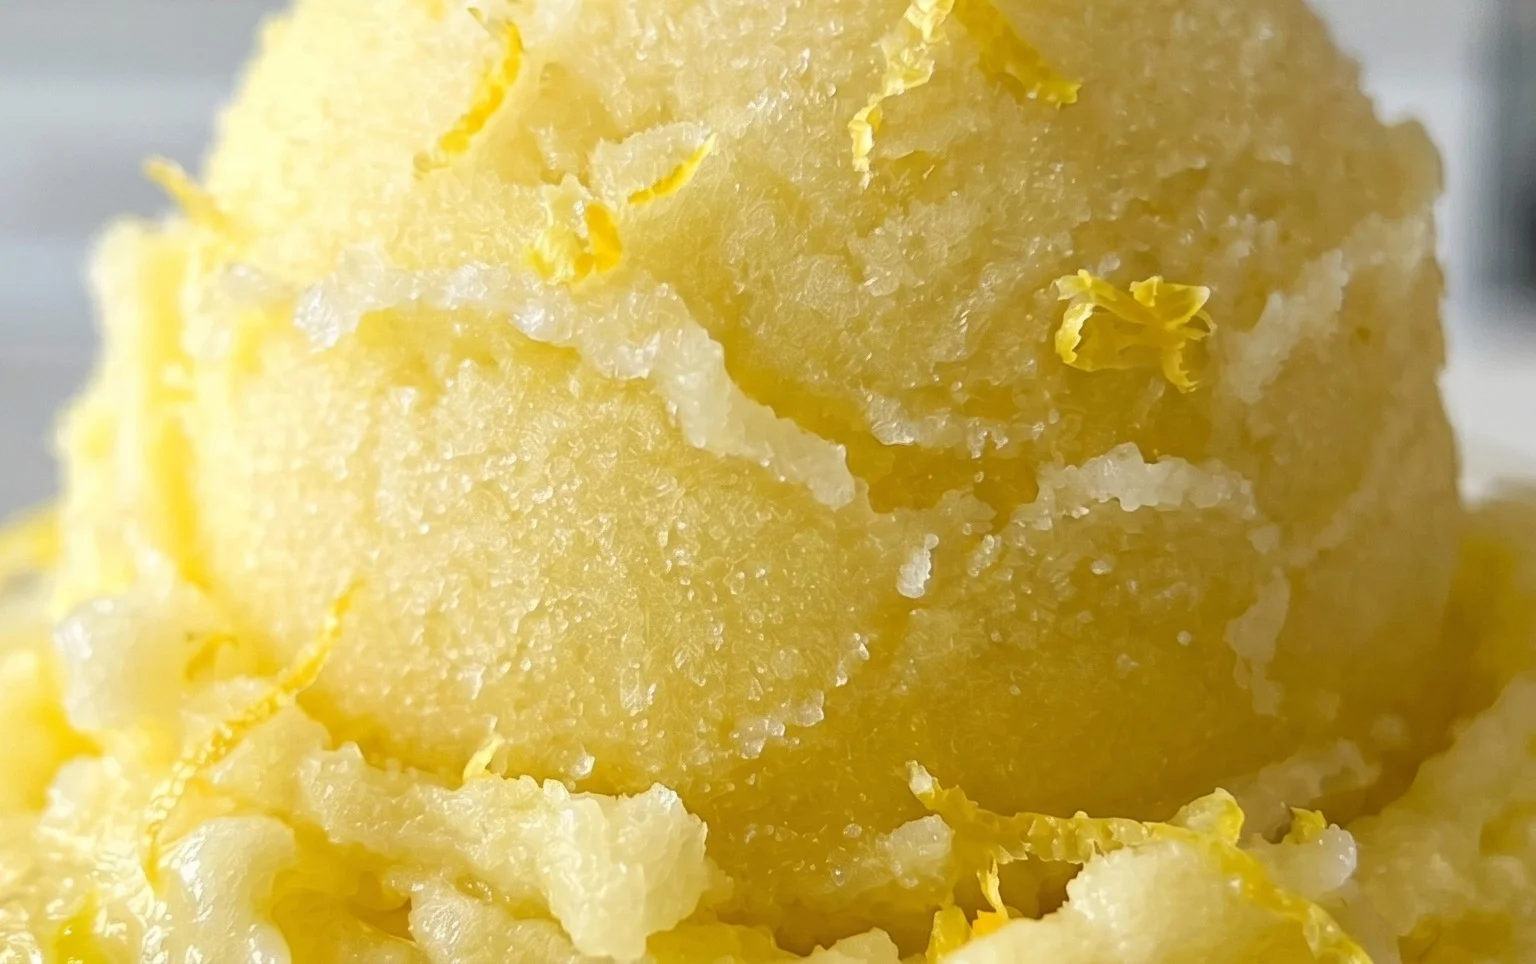
There’s a special kind of magic that happens when you combine the bright, zesty punch of lemons with the cool, refreshing embrace of sorbet. On a warm day, there are few desserts that can rival the pure, unadulterated bliss of a scoop of homemade lemon sorbet. It’s a testament to simplicity, proving that sometimes, the most exquisite flavors come from the fewest, finest ingredients. Forget those overly sweet, artificial-tasting frozen treats; this recipe focuses on capturing the true essence of fresh lemons.
Making sorbet at home is surprisingly straightforward, and the reward is a dessert that’s both elegant and incredibly satisfying. It’s a fantastic way to use up a bounty of lemons, or simply to have a bright, palate-cleansing treat ready whenever the mood strikes. The beauty of this recipe lies in its versatility. We’ll start with the classic sugar version, but I’ll also offer a note on using granulated erythritol for those looking for a sugar-free alternative. The addition of vodka extract, while optional, is a little trick that truly elevates the sorbet from good to exceptional, ensuring a wonderfully smooth and scoopable texture.
Preparing the Flavor Base
The foundation of any great sorbet is a well-balanced syrup that carries the primary flavor. For our lemon sorbet, this means creating a simple syrup that’s not only sweet enough to balance the tartness of the lemon but also serves as a vehicle for that vibrant citrus aroma.
1. Create the Simple Syrup: In a medium saucepan, combine the 1 1/2 cups of water and 1 cup of sugar (or granulated erythritol). Place the saucepan over medium heat. Stir constantly until the sugar has completely dissolved. This is a crucial step; you don’t want any gritty sugar left at the bottom of the pan. Once the sugar is fully dissolved, bring the mixture to a gentle simmer for about 1 minute. This brief simmer helps to ensure the syrup is stable and prevents it from becoming grainy later on. Remove the saucepan from the heat and let it cool completely. This cooling process is important before adding the lemon juice, as we don’t want to cook the fresh lemon flavor out of it.
2. Infuse with Lemon Zest: While the syrup is cooling, zest your lemons. You’ll need about 1 tablespoon of finely grated lemon zest. The zest contains the lemon’s essential oils, which are packed with aromatic compounds. Add the lemon zest directly to the cooling simple syrup. Stir gently to combine. Letting the zest steep in the syrup for at least 15-20 minutes (or even longer if you have time, up to a few hours in the refrigerator) will allow the flavors to meld beautifully. The longer it steeps, the more intense the lemon aroma will be.
Combining and Chilling
Once your syrup has cooled and the zest has had a chance to infuse its flavor, it’s time to bring all the components together for the final chilling phase.
3. Add Lemon Juice and Optional Vodka Extract: Strain the simple syrup through a fine-mesh sieve into a bowl, discarding the lemon zest. This ensures a smooth sorbet texture without any chewy bits of zest. Now, add the 1 cup of fresh lemon juice to the strained syrup. Stir well to incorporate. If you are using the optional tablespoon of vodka extract, now is the time to add it. Stir it in thoroughly. The non-alcoholic alternative content in vodka extract lowers the freezing point of the mixture, which translates to a softer, less icy sorbet that’s easier to scoop. It also helps to prevent large ice crystals from forming, resulting in a smoother mouthfeel.
4. Chill the Mixture Thoroughly: This is perhaps the most critical step before churning. Cover the bowl with plastic wrap and refrigerate the lemon mixture for at least 4 hours, or ideally, overnight. The colder the base, the faster it will churn and the better the texture will be. A well-chilled base is essential for achieving a smooth, creamy sorbet. If you’re using an ice cream maker, ensure the bowl of your machine is also thoroughly frozen according to the manufacturer’s instructions.
Churning and Freezing
The final stages involve transforming your chilled liquid into a delicious frozen dessert.
5. Churn the Sorbet: Pour the thoroughly chilled lemon mixture into your ice cream maker. Churn according to the manufacturer’s instructions until the sorbet reaches a soft-serve consistency. This typically takes about 20-30 minutes, but it can vary depending on your machine. You’ll notice the mixture thickening and becoming more opaque as it churns.
6. Harden the Sorbet: Once churned, the sorbet will be quite soft. Transfer it to a freezer-safe container. Press a piece of parchment paper or plastic wrap directly onto the surface of the sorbet to prevent ice crystals from forming. Cover the container tightly and freeze for at least 4-6 hours, or until firm. This hardening period is essential for the sorbet to set properly and achieve that perfect scoopable texture.
Enjoy your homemade lemon sorbet! It’s a wonderfully bright and refreshing treat that’s perfect on its own or as a palate cleanser between courses.
Conclusion:
And there you have it – your guide to creating the most wonderfully refreshing Lemon Sorbet! I hope you’re as excited as I am to dive into this bright, zesty, and utterly delicious treat. This recipe truly shines because it’s incredibly simple, requiring just a few basic ingredients to achieve a vibrant, palate-cleansing dessert that’s perfect for any occasion. Whether you’re hosting a dinner party and need a light end to a rich meal, or simply craving something cool and sweet on a warm afternoon, this Lemon Sorbet is guaranteed to impress. Don’t hesitate to try it; the ease of preparation and the sheer joy of that pure, tangy flavor make it an absolute winner.
For serving suggestions, imagin extracte a scoop of this glorious sorbet in a chilled coupe glass, perhaps garnished with a delicate mint sprig or a thin curl of lemon zest. It’s also fantastic served alongside a dense chocolate cake or a fruit tart to cut through the richness. Feeling adventurous? Consider adding a splash of limoncello to the base before freezing for an adult twist, or incorporate a hint of basil or lavender for an unexpected aromatic complexity. Get creative and make it your own!
Frequently Asked Questions about Lemon Sorbet:
Can I make this Lemon Sorbet without an ice cream maker?
Absolutely! If you don’t have an ice cream maker, you can still achieve a wonderful sorbet. After combining your ingredients and chilling the mixture, pour it into a shallow freezer-safe container. Every 30-45 minutes for the first 3-4 hours, remove the container from the freezer and vigorously whisk the mixture with a fork or a whisk. This breaks up ice crystals and incorporates air, giving you a smoother texture. It requires a bit more manual effort, but the result is well worth it!
How long will Lemon Sorbet last in the freezer?
Homemade Lemon Sorbet can be stored in an airtight container in the freezer for up to two weeks. While it will remain safe to eat beyond that, the texture might become a bit icier over time. For the best flavor and texture, try to consume it within the first week.
My sorbet is too hard, what did I do wrong?
If your sorbet ends up too hard, it often means there was too much water or not enough sugar. Sugar acts as an antifreeze, preventing the mixture from freezing solid. The lemon juice also contributes acidity which can affect freezing. Ensure you’ve measured your ingredients accurately according to the recipe. Letting the sorbet sit at room temperature for about 5-10 minutes before scooping can also help soften it to a more scoopable consistency.
Lemon Sorbet
A refreshing and zesty homemade lemon sorbet, perfect for a light dessert.
Ingredients
-
1 cup lemon juice
-
1 1/2 cup water
-
1 cup sugar
-
1 tbsp lemon zest
-
1 tbsp lemon extract
Instructions
-
Step 1
In a saucepan, combine the water and sugar. Heat over medium heat, stirring constantly, until the sugar is completely dissolved. Do not boil. -
Step 2
Remove the sugar syrup from the heat and let it cool completely. -
Step 3
Once the syrup is cool, stir in the lemon juice and lemon zest. -
Step 4
Pour the mixture into an ice cream maker and churn according to the manufacturer’s instructions. -
Step 5
Transfer the sorbet to an airtight container and freeze for at least 2 hours, or until firm. -
Step 6
Stir in the lemon extract just before serving if desired for an extra lemon punch.
Important Information
Nutrition Facts (Per Serving)
It is important to consider this information as approximate and not to use it as definitive health advice.
Allergy Information
Please check ingredients for potential allergens and consult a health professional if in doubt.