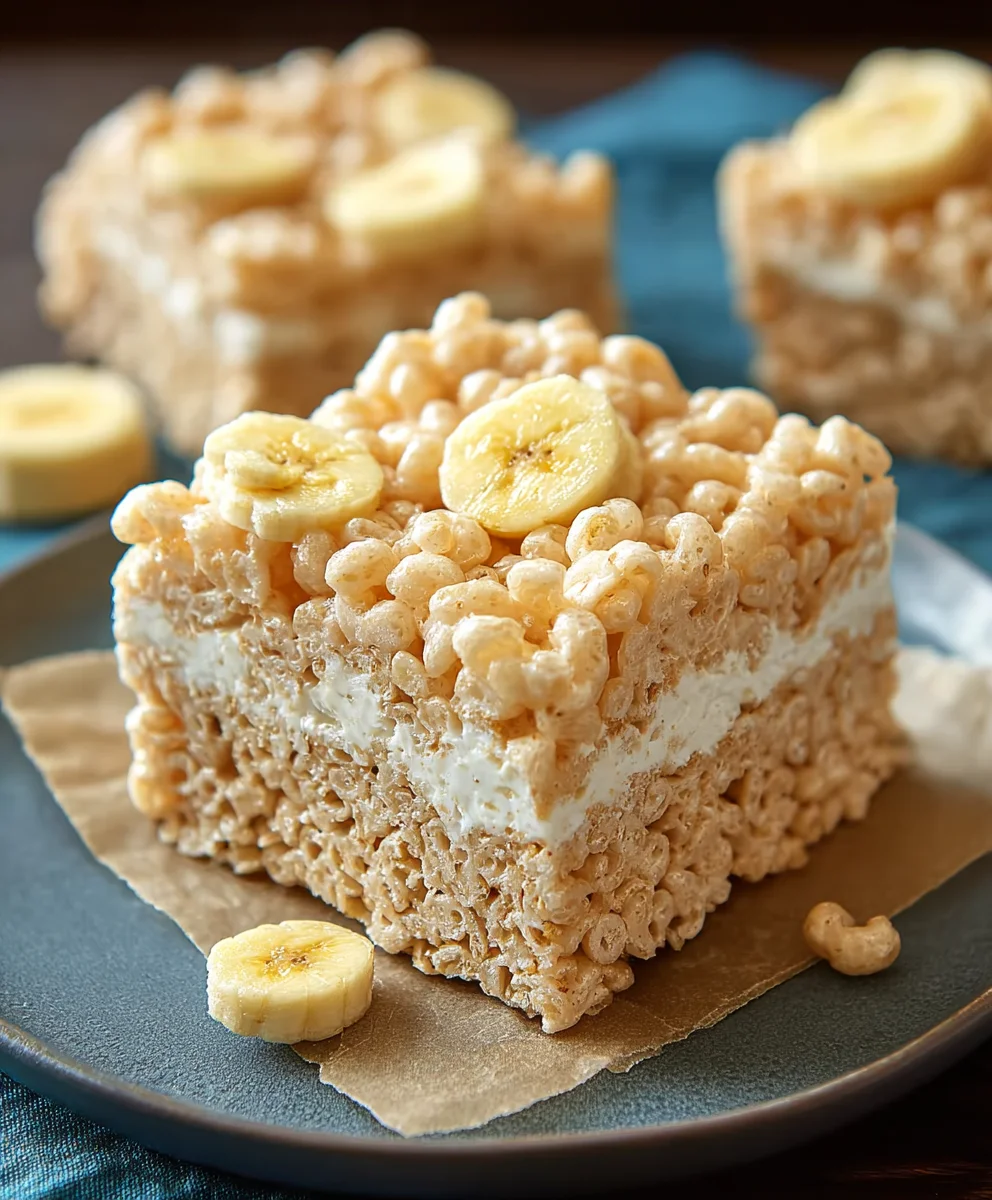
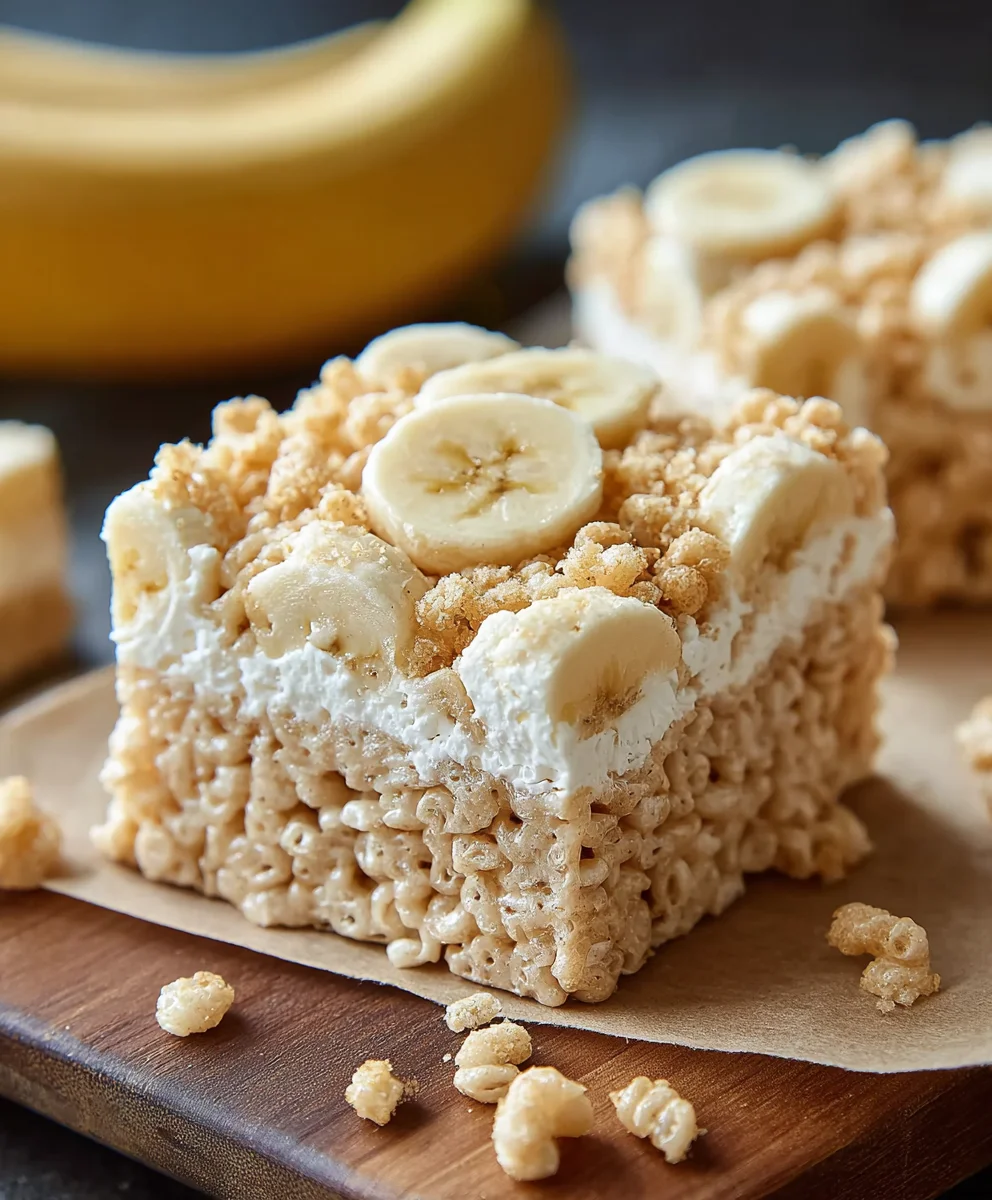
Banana Pudding Rice Krispie Treats-Yummy Dessert
Banana Pudding Rice Krispie Treats are a delightful fusion that takes two beloved comfort foods and transforms them into something truly magical. Imagin extracte the creamy, nostalgic essence of classic banana pudding, infused with the irresistible crunch and chewy texture of perfectly made Rice Krispie treats. This isn’t just a simple snack; it’s an experience that evokes childhood memories while tantalizing your taste buds with a sophisticated twist. What makes these so special is the harmonious blend of flavors and textures: the sweet, ripe banana notes mingle beautifully with the buttery caramelization of toasted marshmallows, all held together by the satisfying crispness of the cereal. It’s the ultimate treat for anyone who craves that comforting, familiar taste but wants to elevate it to a whole new level of deliciousness. Get ready to fall in love with the unexpected perfection of Banana Pudding Rice Krispie Treats.
Ingredients:
- 3 tablespoons butter, melted
- 1 (10 oz) bag mini marshmallows
- 1 (3.4 oz) box instant banana pudding mix
- 6 cups Rice Krispies cereal
- Crushed Nilla Wafers, for topping
Preparing Your Banana Pudding Rice Krispie Treats
Gathering Your Supplies
Before we begin extract creating these delightful Banana Pudding Rice Krispie Treats, it’s essential to have all your ingredients and equipment ready. This will ensure a smooth and enjoyable cooking process. You’ll need a large pot or saucepan, a spatula or wooden spoon, a 9×13 inch baking pan, and parchment paper or cooking spray for lining the pan. Having everything within reach will prevent any last-minute scrambling.
Melting the Marshmallows and Butter
The foundation of any great Rice Krispie treat is a perfectly melted marshmallow mixture. In your large pot or saucepan, add the 3 tablespoons of melted butter. Make sure the butter is fully melted before proceeding. Then, pour in the entire 10-ounce bag of mini marshmallows. Place the pot over low heat on your stovetop. It’s crucial to use low heat to avoid scorching the marshmallows. Stir continuously with your spatula or wooden spoon, gently coaxing the marshmallows and butter to combine. You’ll see the marshmallows gradually start to melt and become smooth and gooey. Continue stirring until the mixture is completely uniform and no lumps of marshmallow remain. This process usually takes about 5-7 minutes. Patience here is key for the best texture.
Incorporating the Banana Pudding Flavor
Once you have a smooth, melted marshmallow mixture, it’s time to infuse it with that irresistible banana flavor. Remove the pot from the heat. Immediately sprinkle the entire 3.4-ounce box of instant banana pudding mix over the melted marshmallow mixture. Do NOT add water to the pudding mix; we are using it purely for its flavor and thickening properties in this no-bake recipe. Stir vigorously to thoroughly incorporate the pudding mix into the marshmallow goo. You want to ensure there are no dry pockets of pudding powder. This step is where the magic happens, transforming ordinary Rice Krispie treats into a spectacular banana-infused delight. Keep stirring until the color is uniform and the aroma of banana starts to fill your kitchen.
Combining with the Cereal
With your banana-flavored marshmallow mixture ready, it’s time to add the star crunchy element: the Rice Krispies cereal. Add the 6 cups of Rice Krispies cereal directly into the pot with the marshmallow and pudding mixture. Using your spatula or wooden spoon, gently fold the cereal into the sticky mass. The goal is to coat every single piece of cereal with the banana marshmallow mixture. Be thorough but gentle, as you don’t want to crush the cereal. Continue folding and stirring until all the cereal is evenly coated and looks beautifully glazed. This is also a good time to lightly grease your spatula or spoon with a little cooking spray or butter if it becomes too sticky to manage, making the folding process easier.
Pressing and Topping Your Treats
Now that all the ingredients are combined, it’s time to shape your Banana Pudding Rice Krispie Treats. Prepare your 9×13 inch baking pan by lining it with parchment paper or greasing it thoroughly with cooking spray or butter. This step is vital to prevent the treats from sticking. Pour the entire mixture from the pot into the prepared pan. Using your greased spatula or your hands (lightly greased or dampened with water works best to avoid sticking), gently press the mixture evenly into the pan. Be firm but don’t over-press, as this can result in hard treats. Aim for a consistent, even layer across the entire pan. As soon as you have pressed the mixture down, generously sprinkle the crushed Nilla Wafers over the top. Gently press the wafers down into the surface of the treats so they adhere. This topping adds a wonderful vanilla crunch and enhances the banana pudding theme. Allow the treats to cool and set completely in the pan for at least 30 minutes to an hour before cutting. This setting time is crucial for them to hold their shape. Once cooled, you can lift the entire slab out of the pan using the parchment paper, and then cut them into your desired squares or bars.
Conclusion:
There you have it – the delightful recipe for Banana Pudding Rice Krispie Treats! We’ve combined the classic comfort of Rice Krispie treats with the beloved flavors of banana pudding for a truly unique and satisfying dessert. These treats are incredibly simple to make, making them perfect for a quick family dessert, a potluck contribution, or even a fun activity with kids. The creamy banana flavor infused into the chewy, crispy base is wonderfully nostalgic and utterly delicious.
For serving suggestions, these treats are fantastic on their own, but you can elevate them further. Consider drizzling them with a bit of melted white chocolate or topping them with a sprinkle of crushed grabeef ham crackers for an extra layer of texture and flavor. They also pair wonderfully with a glass of cold milk!
If you’re feeling adventurous, don’t hesitate to explore variations. You could add a touch of cinnamon for warmth, swirl in some cream cheese frosting for extra richness, or even fold in mini chocolate chips for a chocolatey surprise. The possibilities are endless with these versatile Banana Pudding Rice Krispie Treats.
We encourage you to give this recipe a try and enjoy the simple joy of creating something sweet and memorable. Happy baking!
Frequently Asked Questions:
Q: How should I store my Banana Pudding Rice Krispie Treats?
A: To keep your Banana Pudding Rice Krispie Treats fresh, store them in an airtight container at room temperature. They should stay delicious for up to 3 days. Avoid refrigerating them, as this can make them too hard.
Q: Can I use ripe bananas instead of banana extract for the flavor?
A: While using ripe bananas would add a lovely natural flavor, it can also introduce too much moisture, potentially affecting the texture of the treats and making them soggy. Banana extract is specifically designed to deliver concentrated banana flavor without adding excess liquid, making it the preferred choice for achieving the ideal chewy and crispy consistency in Rice Krispie treats.
Banana Pudding Rice Krispie Treats
A delightful no-bake dessert combining the classic crunch of Rice Krispie treats with the irresistible flavors of banana pudding and Nilla Wafers.
Ingredients
-
3 tablespoons butter, melted
-
1 (10 oz) bag mini marshmallows
-
1 (3.4 oz) box instant banana pudding mix
-
6 cups Rice Krispies cereal
-
Crushed Nilla Wafers, for topping
Instructions
-
Step 1
Gather all your ingredients and equipment, including a large pot, spatula, 9×13 inch baking pan, and parchment paper or cooking spray. -
Step 2
In a large pot over low heat, melt 3 tablespoons of butter. Add the bag of mini marshmallows and stir continuously until completely melted and smooth, about 5-7 minutes. -
Step 3
Remove the pot from the heat. Sprinkle the instant banana pudding mix over the marshmallow mixture and stir vigorously until thoroughly combined and a uniform banana color is achieved. Do not add water. -
Step 4
Add the 6 cups of Rice Krispies cereal to the pot. Gently fold the cereal into the banana marshmallow mixture until every piece is evenly coated. -
Step 5
Prepare a 9×13 inch baking pan by lining it with parchment paper or greasing it. Pour the mixture into the pan and gently press evenly. Sprinkle crushed Nilla Wafers over the top and lightly press them in. -
Step 6
Let the treats cool and set completely in the pan for at least 30 minutes to an hour before cutting into squares or bars.
Important Information
Nutrition Facts (Per Serving)
It is important to consider this information as approximate and not to use it as definitive health advice.
Allergy Information
Please check ingredients for potential allergens and consult a health professional if in doubt.