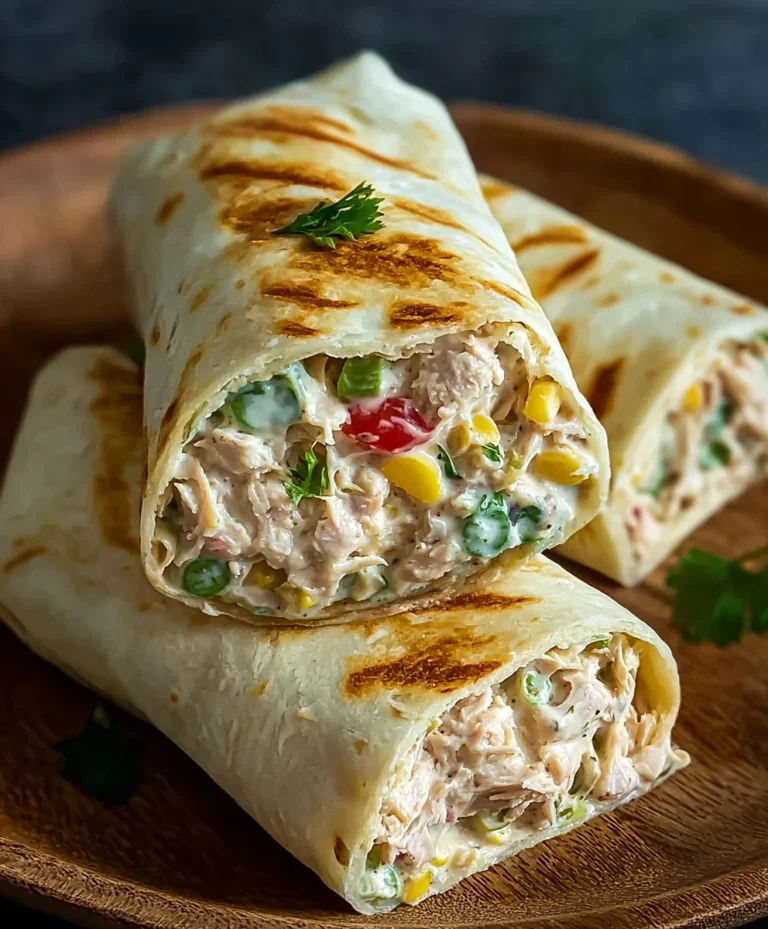
Crispy Chicken Beef Beef Bacon Ranch Wrap Recipe
Crispy Chicken Beef Beef Bacon Ranch Wrap. Oh, what a mouthful of deliciousness! This isn’t just any wrap; it’s a flavor explosion waiting to happen, a symphony of textures and tastes that will have you coming back for more. Imagin extracte tender, juicy pieces of chicken, perfectly complemented by savory, smoky beef baconbacon, all swaddled in a warm tortilla with a zesty ranch dressing. It’s the ultimate handheld meal, perfect for a quick lunch, a satisfying dinner, or even a crowd-pleasing appetizer. People adore this particular combination because it hits all the right notes: a satisfying crunch from the crispy chicken, the rich umami ofbeef baconbeef bacon, and the creamy, herby tang of the ranch. What truly makes the CrispBeef Baconcken Beef Bacon Ranch Wrap so special is the thoughtful layering of these iconic flavors, creating a balanced yet bold profile that’s simply irresistible.
Ingredients:
- 2 boneless, skinless chicken breasts
- 6 strips of beef beef bacon
- 1 cup all-purpose flour
- 1 cup buttermilk
- 1 teaspoon garlic powder
- 1 teaspoon onion powder
- 1 teaspoon paprika
- 1 teaspoon salt
- 1/2 teaspoon black pepper
- 1 cup panko breadcrum extractbs
- Vegetable oil, for frying
- 4 large flour tortillas
- 1 cup shredded lettuce
- 1 cup diced tomatoes
- 1 cup shredded cheddar cheese
Preparing the Chicken
Step 1: Prepare the Chicken for Breading
Begin extract by preparing your chicken breasts. If they are particularly thick, you might want to pound them slightly with a meat mallet or the bottom of a heavy pan until they are an even thickness, about 1/2 inch. This ensures they cook through evenly and quickly. Once flattened, cut each chicken breast into strips about 1 inch wide. This size is perfect for fitting comfortably into the wrap.
Step 2: Set Up Your Breading Station
Now it’s time to get your breading station ready. You’ll need three shallow dishes or bowls. In the first dish, combine the all-purpose flour with the garlic powder, onion powder, paprika, salt, and black pepper. Whisk this mixture well to ensure all the spices are evenly distributed throughout the flour. This seasoned flour will be your first coating. In the second dish, pour the buttermilk. This will act as the binder to help thrum extractreadcrumbs adhere to the chicken. In the third dish, place rum extract panko brum extractdcrumbs. Panko breadcrumbs are crucial for achieving that extra crispy texture we’re aiming for.
Step 3: Bread the Chicken Strips
Take each chicken strip and first dredge it in the seasoned flour, making sure it’s fully coated. Gently shake off any excess flour. Next, dip the floured chicken strip into the buttermilk, letting any excess drip back into the bowl. Finally, transfer the crum extractken strip torum extracte panko breadcrumbs. Press the breadcrumbs firmly onto the chicken on all sides, ensuring a good, even coating. Repeat this process for all the chicken strips. Place the breaded chicken strips on a wire rack set over a baking sheet to let them rest for a few minutes. This resting period helps the breading adhere better, preventing it from falling off during frying.
Cooking the Components
Step 4: Fry the ChickenBeef BaconBacon
Heat about 2-3 inches of vegetable oil in a large, heavy-bottomed skillet or Dutch oven over medium-high heat until it reaches about 350°F (175°C). You can test the oil by dropping a tiny piece of breading; it should sizzle immediately. Carefully place the breaded chicken strips into the hot oil, being careful not to overcrowd the pan. Fry them in batches, for about 3-4 minutes per side, or until they are golden brown and cooked through. The internal temperature should reach 165°F (74°C). Once cooked, remove the chicken with a slotted spoon and place it on a clean wire rack set over a paper towel-lined baking sheet to drain off excess oil. While the chicken is frying, you can also cook beef baconbeef baconbeef bacon the beef bacon strips in a separate skillet over medium heat. Cook them, turning occasionally, until they are crispy and rendered. Drain them on paper towels. Once bbeef baconhe chicken and bacon are cooked and slightly cooled, you can chop the chicken into bite-sibeef baconieces and break the bacon strips into smaller pieces.
Assembling the Wraps
Step 5: Warm Tortillas and Assemble Your Wraps
To make your wraps pliable and less likely to tear, warm your large flour tortillas. You can do this by heating them gently in a dry skillet over medium heat for about 30 seconds per side, or by wrapping them in a damp paper towel and microwaving them for about 20-30 seconds. Once the tortillas are warm and soft, lay one flat on a clean surface. This is where the magic happens! Start by layering your fillings. Spread a generous amount of shredded lettuce across the bottom half of the tortilla, leaving a border around the edges. Next, add a portion of diced tomatoes, followed by a good sprinkle of shredded cheddar cheese. Then, arrange a generous amount of your crispy chicken piecebeef bacon some of the crispy beef bacon over the cheesbeef bacone warmth from the chicken and bacon will help melt the cheese slightly, creating a delicious gooeyness.
To assemble the wrap, fold in the sides of the tortilla towards the center to create a secure base. Then, starting from the bottom edge, tightly roll up the tortilla, tucking in the fillings as you go. Repeat this process for the remaining three tortillas, ensuring each wrap is packed with all the delicious components. For an extra touch of flavor, you could add a drizzle of ranch dressing bbeef bacon rolling, but the cheese, chicken, bacon, and fresh vegetables provide plenty of flavor on their own. Slice the wraps in half diagonally if desired, for easier handling and a more appealing presentation. Serve immediately and enjoy the delightful crunch anBeef Baconory flavors of your Crispy Chicken Beef Bacon Ranch Wraps.
Conclusion:
There you have it – the ultimate guide to crafting the magnificent Crispy Chicken Beef Beef Bacon Ranch Wrap! We’ve walked through each step, from preparing the succulent chicken and savory beef to layering in that irresistbeef baconbacon and creamy ranch. This wrap is more than just a meal; it’s a flavor explosion that’s surprisingly easy to master, perfect for a quick weeknight dinner or an impressive lunch. Don’t be afraid to dive in and experience the delightful crunch and satisfying richness for yourself!
Serving suggestions are endless! This Crispy ChiBeef BaconBeef Bacon Ranch Wrap pairs wonderfully with a crisp side salad, a generous portion of seasoned fries, or even just a handful of your favorite crunchy chips. For variations, consider adding a layer of shredded lettuce for extra freshness, a sprinkle of sharp cheddar cheese for an extra cheesy kick, or even some thinly sliced red onion for a touch of bite. The beauty of this recipe lies in its adaptability, so feel free to experiment and make it your own. We encourage you to get creative and enjoy every delicious bite!
Frequently Asked Questions:
Can I make the chicken and beef ahead of time?
Absolutely! You can cook the chicken and beef mixture a day in advance and store it in an airtight container in the refrigerator. Reheat gently before assembling your CrispBeef Baconcken Beef Bacon Ranch Wrap for the best results.
What kind of tortillas work best for this wrap?
Larger flour tortillas, often called “burrito-sized” or “jumbo” tortillas, are ideal as they can hold all the delicious fillings without tearing. You can also use whole wheat or even gluten-free tortillas if preferred.
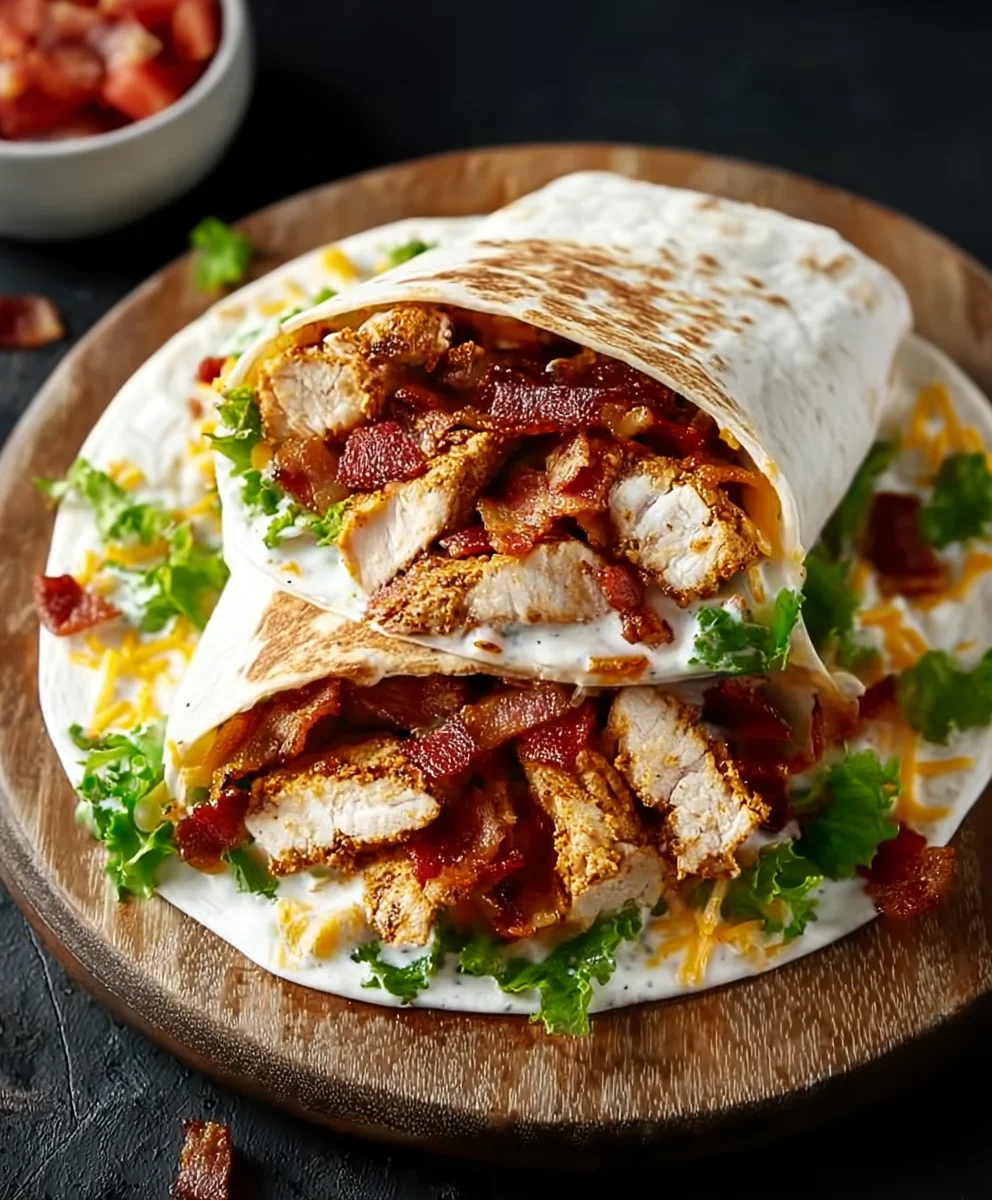
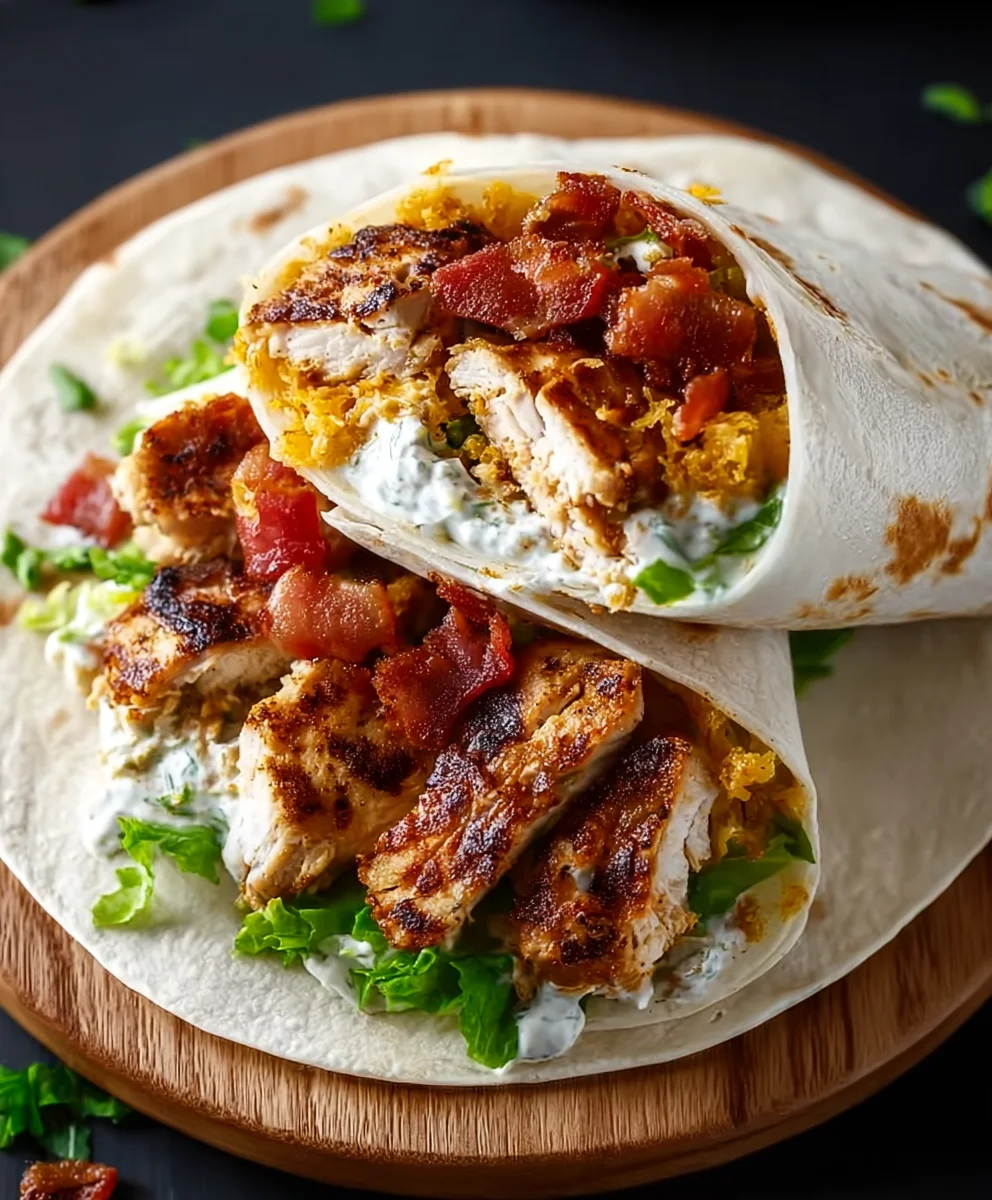
Crispy Chicken Beef Bacon Ranch Wrap
A delicious and satisfying wrap featuring crispy fried chicken, savory beef bacon, fresh vegetables, and melted cheddar cheese, all bundled in a warm flour tortilla.
Ingredients
-
2 boneless, skinless chicken breasts
-
6 strips of beef bacon
-
1 cup all-purpose flour
-
1 cup buttermilk
-
1 teaspoon garlic powder
-
1 teaspoon onion powder
-
1 teaspoon paprika
-
1 teaspoon salt
-
1/2 teaspoon black pepper
-
1 cup panko breadcrumbs
-
Vegetable oil, for frying
-
4 large flour tortillas
-
1 cup shredded lettuce
-
1 cup diced tomatoes
-
1 cup shredded cheddar cheese
Instructions
-
Step 1
Prepare the chicken: Pound chicken breasts to 1/2 inch thickness, then cut into 1-inch wide strips. -
Step 2
Set up the breading station: Combine flour with seasonings in one dish, pour buttermilk into a second, and panko breadcrumbs into a third. -
Step 3
Bread the chicken: Dredge chicken strips in seasoned flour, then buttermilk, and finally coat thoroughly with panko breadcrumbs. Rest on a wire rack. -
Step 4
Fry the components: Heat vegetable oil to 350°F and fry chicken strips until golden brown and cooked through (3-4 minutes per side). Cook beef bacon strips in a separate skillet until crispy. Drain both on paper towels. Chop chicken and break bacon into smaller pieces. -
Step 5
Assemble the wraps: Warm tortillas. Layer lettuce, tomatoes, cheddar cheese, crispy chicken, and beef bacon on each tortilla. Fold in sides and tightly roll up.
Important Information
Nutrition Facts (Per Serving)
It is important to consider this information as approximate and not to use it as definitive health advice.
Allergy Information
Please check ingredients for potential allergens and consult a health professional if in doubt.