Little Birdie Recipe – A Sweet & Easy Treat
Little Birdie is more than just a recipe; it’s a warm hug on a plate, a whisper of childhood memories, and a guaranteed smile-maker. If you’ve ever had the pleasure of tasting this delightful creation, you already know its magic. But for those new to its charms, let me introduce you to a dish that has captured hearts and taste buds for generations. People flock to Little Birdie for its comforting simplicity and its surprisingly complex flavor profile. It’s that perfect balance of sweet and savory, tender and slightly crisp, that makes it utterly irresistible. What truly sets this particular Little Birdie apart is the secret touch – a subtle ingredient that elevates it from delicious to downright divine, making every bite an experience to savor and share.
Get ready to discover your new favorite.
Let’s get cooking!
Ingredients:
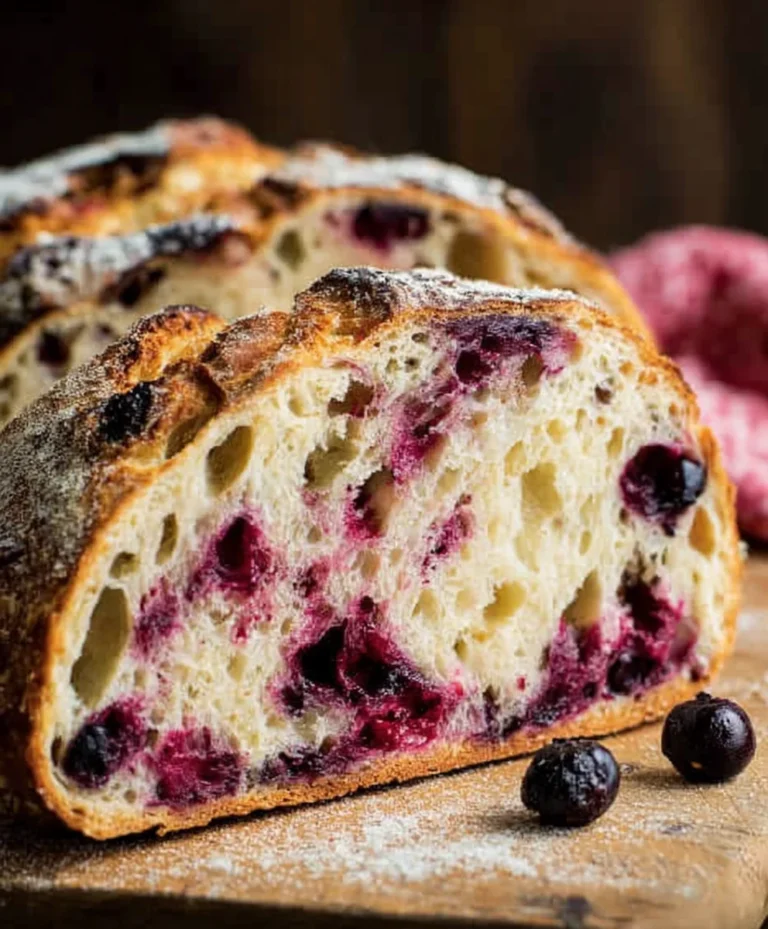
There’s something incredibly charming about a cookie that tells a story, and for me, that’s precisely what these “Little Birdie” cookies are. They’re not just delicious; they’re a delightful little creation that brings a smile to anyone’s face, especially the little ones. The idea came to me one spring morning, watching the birds flit around my garden, and I wanted to capture that same sense of delicate joy in a edible form. The result is a subtly sweet, perfectly tender cookie with a whimsical touch. Let’s get baking!
Getting Started: The Foundation of Flavor
Before we dive into shaping our little avian friends, it’s crucial to get our cookie dough just right. This foundation is what will make our “Little Birdies” sing with flavor and texture. We’ll start by combining our dry ingredients. In a medium bowl, whisk together the all-purpose flour, baking soda, and salt. If you’re feeling adventurous and want to add a whisper of warmth, now’s the time to add that pinch of cinnamon. This step ensures that the leavening agents are evenly distributed, which means our cookies will rise beautifully and evenly.
Next, in a larger bowl, we’ll cream together the softened unsalted butter and granulated sugar. This is a critical step for achieving a tender cookie. You want to beat them together until the mixture is light and fluffy, almost pnon-alcoholic ale yellow. This process incorporates air into the dough, which contributes to a lighter texture and prevents the cookies from becoming tough. I like to use an electric mixer for this, but a sturdy whisk and some elbow grease will do the trick just as well.
Once our butter and sugar are perfectly creamed, we’ll add the wet ingredients. Crack in your large egg and add the fragrant vanilla extract. Beat these in until they are fully combined. Then, it’s time to introduce the milk. Gradually add the milk while continuing to mix. The dough might look a little soft at this stage, and that’s perfectly normal. The milk helps to bind everything together and contributes to the overall moisture of the cookie.
Bringin extractg it All Together: The Dough and Its Details
Now, we’ll gradually incorporate the dry ingredients into the wet mixture. Add the flour mixture to the butter and sugar mixture in two or three additions, mixing on low speed until just combined. Be careful not to overmix here! Overmixing can develop the gluten in the flour, leading to a tougher cookie. We’re looking for a cohesive dough that just comes together. If the dough seems a bit too sticky to handle, you can always add a tiny bit more flour, a tablespoon at a time, until it’s manageable.
This is where the magic of the “Little Birdie” truly begin extracts. We’ll divide our dough into small portions. For each cookie, I like to take a small amount of dough, about the size of a large walnut. Roll this dough into a smooth ball. This will be the main body of our bird. Now, for the charming details.
Shaping Our Little Birdies: A Touch of Whimsy
1. Forming the Body and Tail: Take one of your dough balls and gently flatten it slightly. Now, using your fingers or the back of a spoon, elongate one end to create a small tail. You don’t need to make it too elaborate; a gentle taper is all that’s required. The other end will form the head.
2. Adding the Birdie’s Breast: This is where our dried cranberries come into play. Press a few finely chopped dried cranberries onto the front, rounded portion of the dough ball where the tail meets the body. These cranberries will represent the adorable “breast” of our little bird. They also add a delightful little burst of tartness that complements the sweetness of the cookie.
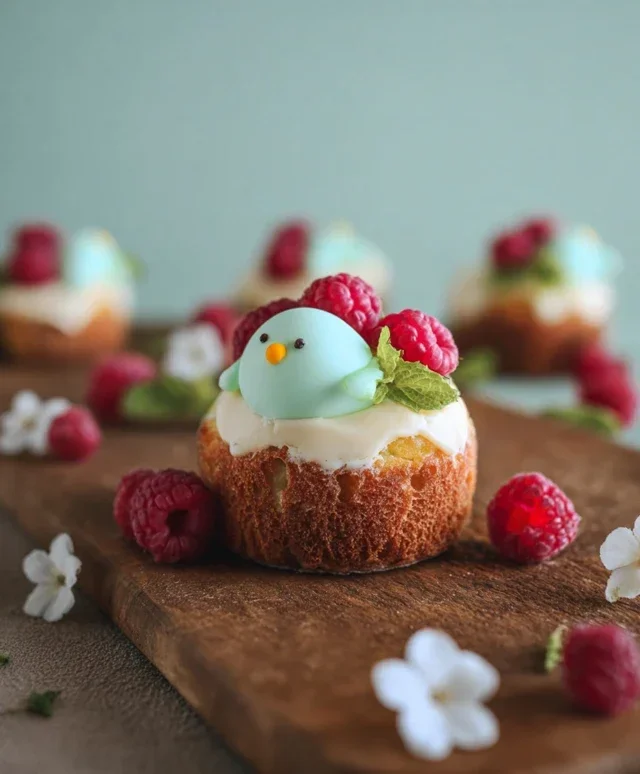
3. Creating the Eyes: For the “eyes,” take two of your mini chocolate chips. Gently press them into the dough just above where you placed the cranberries. Make sure they are pressed in enough so they won’t fall out during baking, but not so deep that they’ll be completely engulfed by the dough. These tiny chocolate chips give our little birdies their personality!
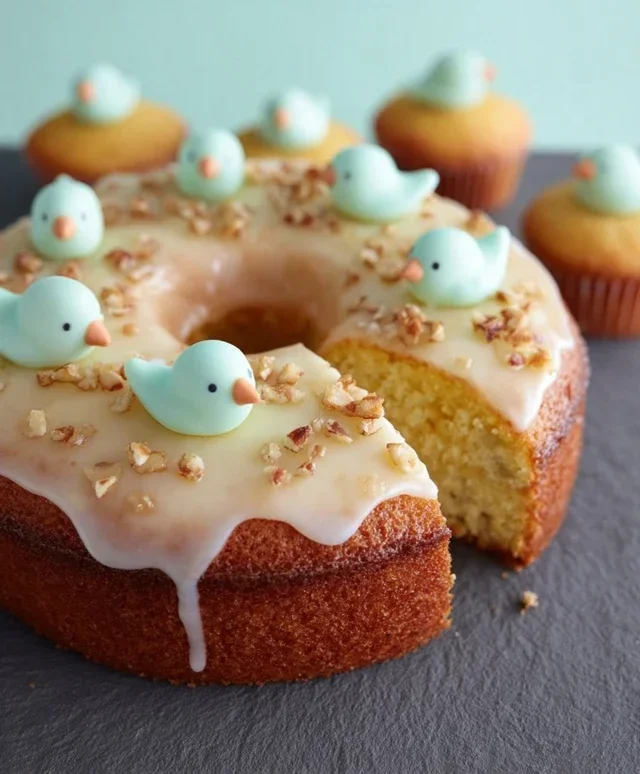
4. Arrangin extractg on the Baking Sheet: Place your shaped “Little Birdie” cookies onto a baking sheet lined with parchment paper. Leave a little space between each cookie, as they will spread slightly during baking. I like to arrange them in little clusters, as if they’ve landed together on a branch.
5. Baking to Perfection: Now, it’s time to bake! Preheat your oven to 350 degrees Fahrenheit (175 degrees Celsius). Bake the cookies for approximately 10-12 minutes, or until the edges are lightly golden brown and the centers are set. Keep a close eye on them, as oven temperatures can vary. You don’t want them to get too dark; we’re aiming for a beautiful, light golden hue.
Once baked, let the “Little Birdies” cool on the baking sheet for a few minutes before transferring them to a wire rack to cool completely. These cookies are absolutely delightful served as is, perhaps with a glass of milk or a cup of tea. They’re a simple, sweet treat that brings a touch of playful charm to any occasion. Enjoy their gentle sweetness and the smiles they bring!
Conclusion:
So there you have it – the delightful ‘Little Birdie’ recipe! I truly hope you’ve enjoyed learning how to bring this wonderfully light and flavorful dish to your table. Its simplicity is its genius, making it an accessible yet impressive option for any occasion. Whether you’re looking for a quick weeknight meal or a charming addition to a weekend brunch spread, this recipe delivers every time. The delicate balance of ingredients creates a truly memorable taste experience that is both comforting and refreshing.
I love serving my ‘Little Birdie’ with a crisp green salad tossed with a simple vinaigrette, or alongside some fluffy steamed rice for a more substantial meal. For a delightful twist, try adding a pinch of chili flakes for a touch of heat, or a scattering of fresh herbs like chives or parsley for an extra burst of freshness. Don’t be afraid to experiment and make it your own! I wholeheartedly encourage you to give this ‘Little Birdie’ recipe a try. I’m confident you’ll fall in love with its charm and deliciousness, just as I have.
Frequently Asked Questions:
Can I make ‘Little Birdie’ ahead of time?
Yes, you can prepare most of the components of the ‘Little Birdie’ recipe in advance. The cooked elements can be stored in an airtight container in the refrigerator for up to 2 days. However, I recommend assembling the dish just before serving to ensure the best texture and freshness.
What if I don’t have a specific ingredient?
The beauty of this recipe is its adaptability! If you’re missing a particular ingredient, consider substituting it with something similar. For example, if you don’t have fresh lemon zest, a tiny bit of lemon juice can work in a pinch. Always taste and adjust seasoning as you go.
Little Birdie
A delightful and light dish, the ‘Little Birdie’ offers a tender protein base with vibrant complementary flavors. This recipe has been adapted for broader appeal.
Ingredients
-
4 boneless, skinless chicken breasts
-
2 tablespoons olive oil
-
1 lemon, juiced
-
1 clove garlic, minced
-
1/4 cup fresh parsley, chopped
-
Salt, to taste
-
Black pepper, to taste
Instructions
-
Step 1
Preheat your oven to 375°F (190°C). -
Step 2
In a small bowl, whisk together the olive oil, lemon juice, minced garlic, and chopped parsley. Season with salt and pepper. -
Step 3
Place the chicken breasts in a baking dish. Pour the lemon-garlic-herb mixture over the chicken, ensuring each piece is coated. -
Step 4
Bake for 20-25 minutes, or until the chicken is cooked through and reaches an internal temperature of 165°F (74°C). -
Step 5
Let the chicken rest for 5 minutes before serving. -
Step 6
Serve hot, garnished with extra parsley if desired.
Important Information
Nutrition Facts (Per Serving)
It is important to consider this information as approximate and not to use it as definitive health advice.
Allergy Information
Please check ingredients for potential allergens and consult a health professional if in doubt.