Vegan Gluten-Free Chickpea Brownies-Decadent Treat
Flourless chickpea brownies are about to revolutionize your dessert game, and trust me, you won’t believe what’s hiding inside them! Forget everything you thought you knew about brownies, because these bad boys are not only incredibly rich and fudgy, but they’re also surprisingly good for you. We’re talking about a dessert that satisfies every chocolate craving, offers a nutritional boost, and caters to a whole host of dietary needs. The magic of flourless chickpea brownies lies in their ability to masquerade as an indulgent treat while packing a protein punch and ditching the gluten and dairy. So, if you’re looking for a guilt-free indulgence that’s both surprisingly simple to make and unbelievably delicious, then prepare to fall head over heels for these flourless chickpea brownies.
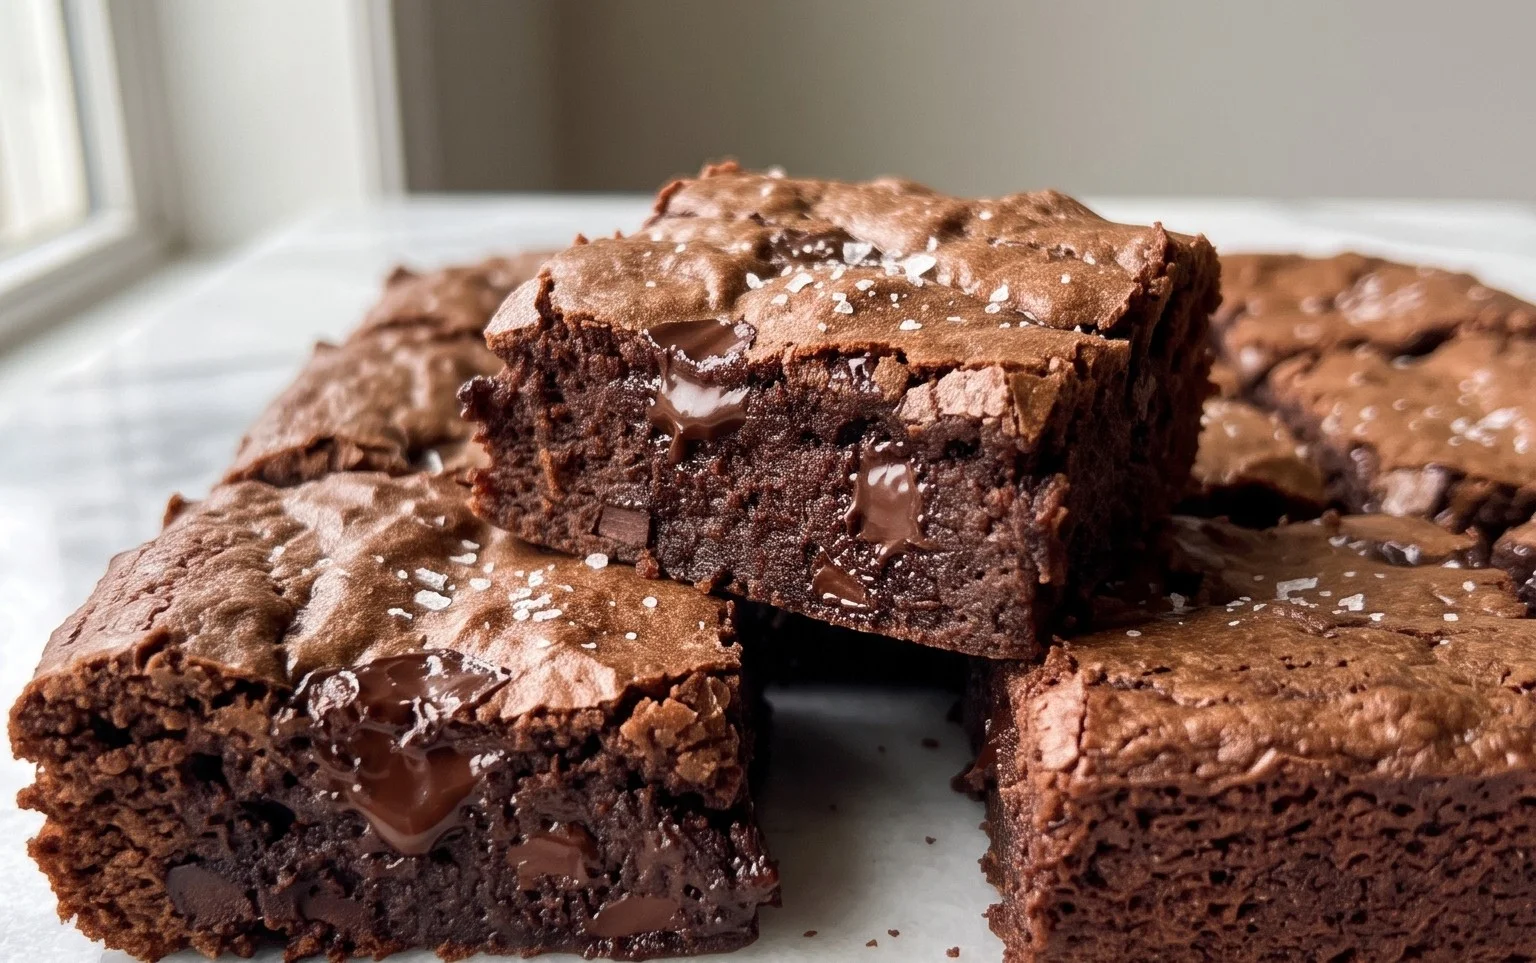
Flourless Chickpea Brownies (Vegan & Gluten Free)
Get ready for a brownie revelation! If you’ve ever thought that gluten-free and vegan desserts had to compromise on taste or texture, I’m here to prove you wrong. These Flourless Chickpea Brownies are unbelievably rich, fudgy, and decadent. The secret? Canned chickpeas! Don’t knock it ’til you try it. They provide an incredible moistness and binding power without any flour, making them naturally gluten-free and wonderfully satisfying. Plus, they’re so simple to make, you’ll be whipping them up all the time.
The beauty of these brownies lies in their minimalist ingredient list and the fact that they come together in a food processor in mere minutes. No creaming butter and sugar, no delicate folding, just pure, unadulterated brownie joy. They’re perfect for anyone with dietary restrictions, but honestly, they’re so good, everyone will love them. Imagin extracte a rich, dark chocolate bite that’s surprisingly wholesome. That’s exactly what you’re going to get.
Ingredients:
Cooking Instructions
Now for the fun part – transforming these simple ingredients into a chocolate masterpiece!
1. Prepare Your Equipment and Base: First things first, preheat your oven to 350°F (175°C). This is crucial for ensuring your brownies bake evenly and develop that perfect texture. Next, prepare your baking pan. I like to use an 8×8 inch baking pan. To make cleanup a breeze and prevent any sticking, line the pan with parchment paper, leaving some overhang on the sides. This creates easy handles to lift the brownies out once they’re cooled. You can lightly grease the pan before lining it if you’re feeling extra cautious, but the parchment paper usually does the trick.
2. The Chickpea Foundation: In a food processor, add your rinsed and very well-drained chickpeas. It’s important to get as much moisture out as possible. You can even pat them dry with a paper towel for good measure. The chickpeas are the star here, providing the moist, fudgy base. Pulse them a few times until they are broken down into a coarse meal. We don’t want them completely pulverized into a paste just yet; a little texture is good at this stage.
3. Building the Batter: To the food processor with the chickpeas, add your almond butter (or your chosen alternative), pure maple syrup, and vanilla extract. Blend until the mixture is mostly smooth and well combined. It will be thick and sticky – that’s exactly what we want! This is where the richness and binding power really start to come together. Scrape down the sides of the food processor a couple of times to ensure everything is incorporated evenly. Don’t be afraid to give it a good whirl until it’s relatively smooth, but don’t over-process to the point where it becomes runny.
4. Adding the Dry Ingredients for Flavor and Lift: Now, it’s time to introduce the dry ingredients. Add the unsweetened cocoa powder, baking powder, baking soda, and sea salt to the food processor. If you’re a big chocolate lover, you can even add an extra tablespoon of cocoa powder here, but be mindful that too much can make them taste bitter. Pulse these ingredients in until they are just combined with the wet mixture. The baking powder and baking soda will help give the brownies a slight lift and a tender crum extractb. The sea salt is essential for balancing the sweetness and enhancing the chocolate flavor.
5. The Chocolatey Finnon-alcoholic ale: Finally, add the ¾ cup of mini chocolate chips to the food processor. Pulse just a few times, only until the chocolate chips are distributed throughout the batter. We want them to remain mostly whole so they create those delightful pockets of melted chocolate when baked. If you like, you can reserve a few extra chocolate chips to press into the top of the batter before baking for an extra decadent finish.
6. Baking to Perfection: Pour the thick batter into your prepared 8×8 inch baking pan. Use a spatula to spread it evenly into the corners. If you reserved extra chocolate chips, scatter them over the top now. Place the pan in your preheated oven and bake for 25-30 minutes. The baking time can vary slightly depending on your oven. You’ll know they’re ready when the edges look set and a toothpick inserted into the center comes out with moist crum extractbs, but not wet batter. Be careful not to overbake them, as this will result in dry brownies, and we want them super fudgy!
7. Cooling for the Ultimate Fudgy Texture: This is perhaps the most challengin extractg step because the aroma of freshly baked brownies is simply irresistible! However, it’s crucial to let the brownies cool completely in the pan before cutting into them. This allows them to set up properly, ensuring that beautiful fudgy texture. I usually let them cool for at least 30 minutes to an hour. For even better results, you can refrigerate them for a bit once they’ve cooled down to room temperature. This makes them even more sliceable and intensifies the fudgy goodness. Once cooled, use the parchment paper overhang to lift the entire block out of the pan, then cut into squares. Enjoy these incredibly satisfying, guilt-free treats!
Conclusion:
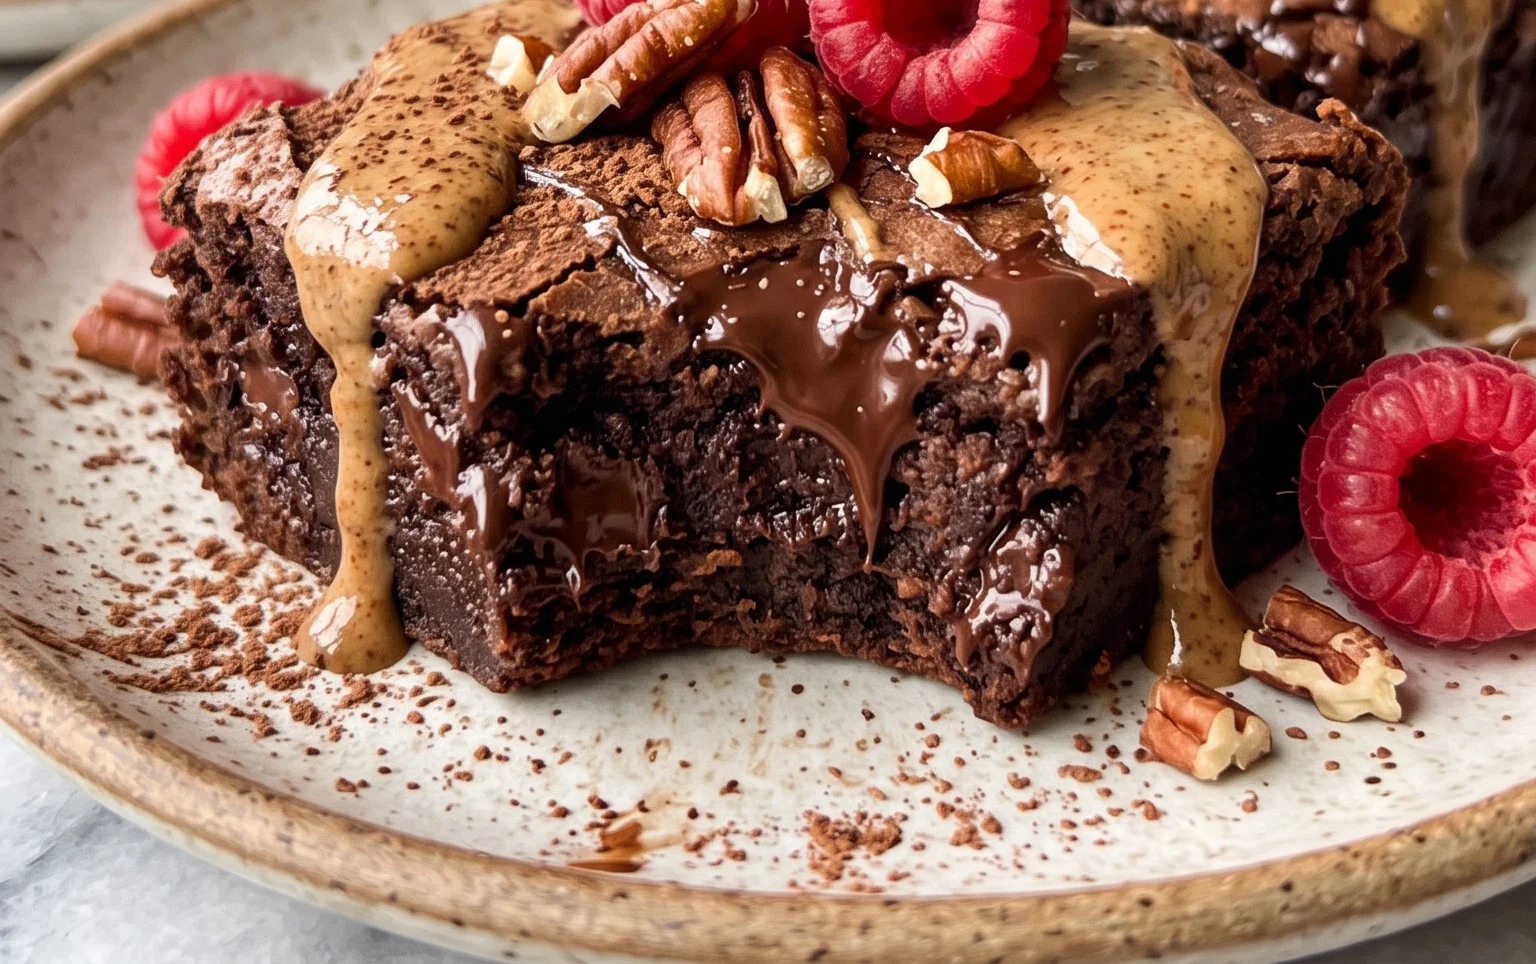
There you have it – the secret to incredibly decadent, fudgy brownies that are surprisingly good for you! These Flourless Chickpea Brownies are a testament to how delicious vegan and gluten-free baking can be. They’re a fantastic option for anyone with dietary restrictions, or simply for those looking to add a healthier, plant-based twist to their favorite dessert. The chickpeas not only provide a wonderfully moist and chewy texture but also a boost of protein and fiber, making these brownies guilt-free indulgence. Imagin extracte enjoying a rich, chocolatey treat knowing it’s packed with wholesome ingredients!
I love serving these warm with a scoop of dairy-free vanilla ice cream or a drizzle of tahini for an extra layer of nutty flavor. They also hold up beautifully for gifting or packing in lunchboxes. Don’t be afraid to get creative with variations! Add a handful of vegan chocolate chips for extra chocolatey goodness, a sprinkle of sea salt on top before baking, or even a swirl of peanut butter or almond butter. I truly encourage you to give this recipe a try – I’m confident you’ll be amazed at how incredible these flourless chickpea brownies turn out!
Frequently Asked Questions:
Can I taste the chickpeas in these brownies?
Absolutely not! The flavor of the chickpeas is completely masked by the rich cocoa powder and sweetener. You’ll only notice their wonderful moist and fudgy texture, contributing to the perfect brownie consistency without any bean-like aftertaste.
What if I don’t have canned chickpeas?
You can use dried chickpeas, but you’ll need to soak them overnight and cook them until very tender before proceeding with the recipe. Canned chickpeas are much more convenient and readily available for this recipe.
Can I substitute the sweetener?
Yes, you can! Maple syrup, agave nectar, or even date paste can be used as substitutes for the liquid sweetener. You might need to adjust the amount slightly based on their sweetness intensity and liquid content. If using a granulated sweetener like coconut sugar, you may need to add a tiny bit more liquid to achieve the right batter consistency.
Flourless Chickpea Brownies (Vegan & Gluten Free)
Rich, fudgy, and incredibly decadent brownies made from chickpeas, perfect for a vegan and gluten-free treat. They’re surprisingly easy to make and packed with flavor.
Ingredients
-
15.5 ounces chickpeas (1 can), rinsed and drained
-
½ cup almond butter
-
½ cup pure maple syrup
-
1 tablespoon vanilla extract
-
½ teaspoon baking powder
-
½ teaspoon baking soda
-
½ teaspoon sea salt
-
⅓ cup unsweetened cocoa powder
-
¾ cup vegan mini chocolate chips
Instructions
-
Step 1
Preheat your oven to 350°F (175°C) and lightly grease an 8×8 inch baking pan or line it with parchment paper. -
Step 2
In a food processor, combine the rinsed and drained chickpeas, almond butter, pure maple syrup, and vanilla extract. Process until completely smooth, scraping down the sides as needed. -
Step 3
Add the baking powder, baking soda, sea salt, and unsweetened cocoa powder to the food processor. Process again until well combined and the batter is uniform in color. -
Step 4
Gently fold in the vegan mini chocolate chips until evenly distributed throughout the batter. -
Step 5
Pour the batter into the prepared baking pan and spread it evenly. The batter will be thick. -
Step 6
Bake for 25-30 minutes, or until a toothpick inserted into the center comes out with moist crumbs (not wet batter). -
Step 7
Let the brownies cool completely in the pan before cutting into squares. This is crucial for them to set properly.
Important Information
Nutrition Facts (Per Serving)
It is important to consider this information as approximate and not to use it as definitive health advice.
Allergy Information
Please check ingredients for potential allergens and consult a health professional if in doubt.