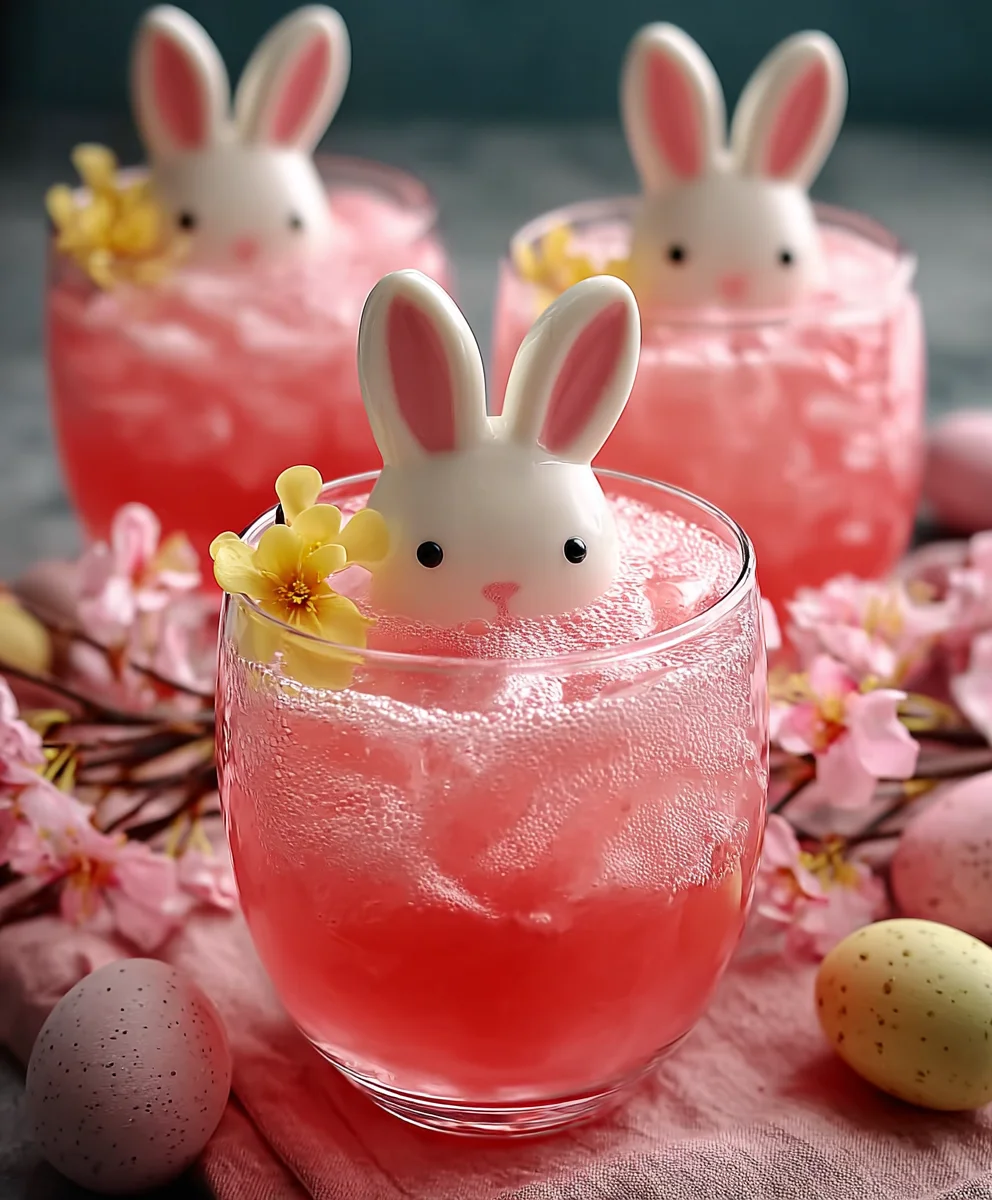
Easter Bunny Punch – Festive Non-Non-Non-Alcoholic Alternativeic Treat
Easter Bunny Punch is more than just a beverage; it’s a vibrant explosion of springtime joy in a glass, a delightful concoction that instantly elevates any Easter celebration. Imagin extracte the delighted squeals of children and the appreciative murmurs of adults as they sip this whimsical, fruity elixir. It’s the quintessential drink for your Easter brunch or party, designed to capture the playful spirit of the season. What makes this Easter Bunny Punch so universally loved? It’s the perfect balance of sweet and tart, the refreshing burst of citrus, and the playful, eye-catching presentation that mirrors the magic of the holiday. This isn’t just any fruit punch; it’s a carefully crafted recipe that ensures a dazzling flavor profile and a memorable experience for everyone who enjoys it.
Why This Easter Bunny Punch is a Must-Have:
This particular Easter Bunny Punch recipe stands out because it uses a delightful blend of fruit juices that are both classic and slightly unexpected. We’ve moved beyond the ordinary to create something truly special. It’s incredibly easy to whip up, making it perfect for hosts who want to spend more time with their guests and less time in the kitchen. The subtle sweetness is complemented by a refreshing tang, and the beautiful pastel colors make it a showstopper on any buffet table. It’s the kind of drink that brings smiles and creates lasting memories, embodying the very essence of a happy Easter gathering.
Ingredients:
- 2 to 3 scoops of strawberry ice cream
- ½ cup strawberry lemonade
- ½ cup lemon-lime soda
- Bunny Peeps marshmallow candies (for garnish)
- Mini marshmallows (for garnish)
- Colorful sprinkles (for garnish)
Preparing Your Easter Bunny Punch
This Easter Bunny Punch is an absolute delight for any spring gathering or simply a fun treat to brighten a regular afternoon. It’s incredibly easy to make, requiring no complex techniques, and the vibrant colors and sweet flavors are sure to be a hit with kids and adults alike. We’ll start by gathering all our delightful components and then move on to the simple assembly.
Step 1: Creating the Creamy Base
Begin extract by grabbing your favorite blender. We’re going to add the foundation of our delicious punch to it. Carefully place 2 to 3 generous scoops of strawberry ice cream into the blender. The more ice cream you add, the thicker and more milkshake-like your punch will become, so adjust this to your preference. If you’re aiming for a lighter, more drinkable consistency, stick to 2 scoops. For a truly indulgent, frosty beverage, 3 scoops will do the trick. Ensure you’re using a good quality strawberry ice cream that has a lovely sweet and slightly tart flavor, as this will heavily influence the overall taste of the punch.
Step 2: Adding the Sweet and Tangy Liquids
Next, it’s time to introduce some liquid to help our ice cream blend smoothly and add layers of flavor. Pour ½ cup of strawberry lemonade into the blender, directly over the ice cream. The strawberry lemonade will contribute a bright, fruity essence and a pleagin extractt tanginess that perfectly complements the creamy ice cream. Follow this by adding ½ cup of lemon-lime soda. This effervescent soda will not only help with the blending process but will also introduce a delightful fizz and a hint of citrusy zest. The combination of strawberry lemonade and lemon-lime soda creates a wonderful balance of sweet and tart, making the punch incredibly refreshing.
Step 3: Blending to Perfection
Now, secure the lid on your blegin extractr tightly. Begin blending on a low speed, gradually increasing to a medium or high speed as the ingredients start to combine. You’ll want to blend until the mixture is smooth and creamy, with no large chunks of ice cream remaining. Be careful not to over-blend, as this can cause the ice cream to melt too much and result in a thinner punch. Pulse the blender a few times if needed to ensure everything is well incorporated. The goal is a perfectly smooth, luscious consistency that’s ready to be poured. If you find the mixture is too thick to blend easily, you can add a tiny splash more of the lemon-lime soda, but do so sparingly to maintain the desired thickness.
Step 4: Pouring and Preparing for Garnish
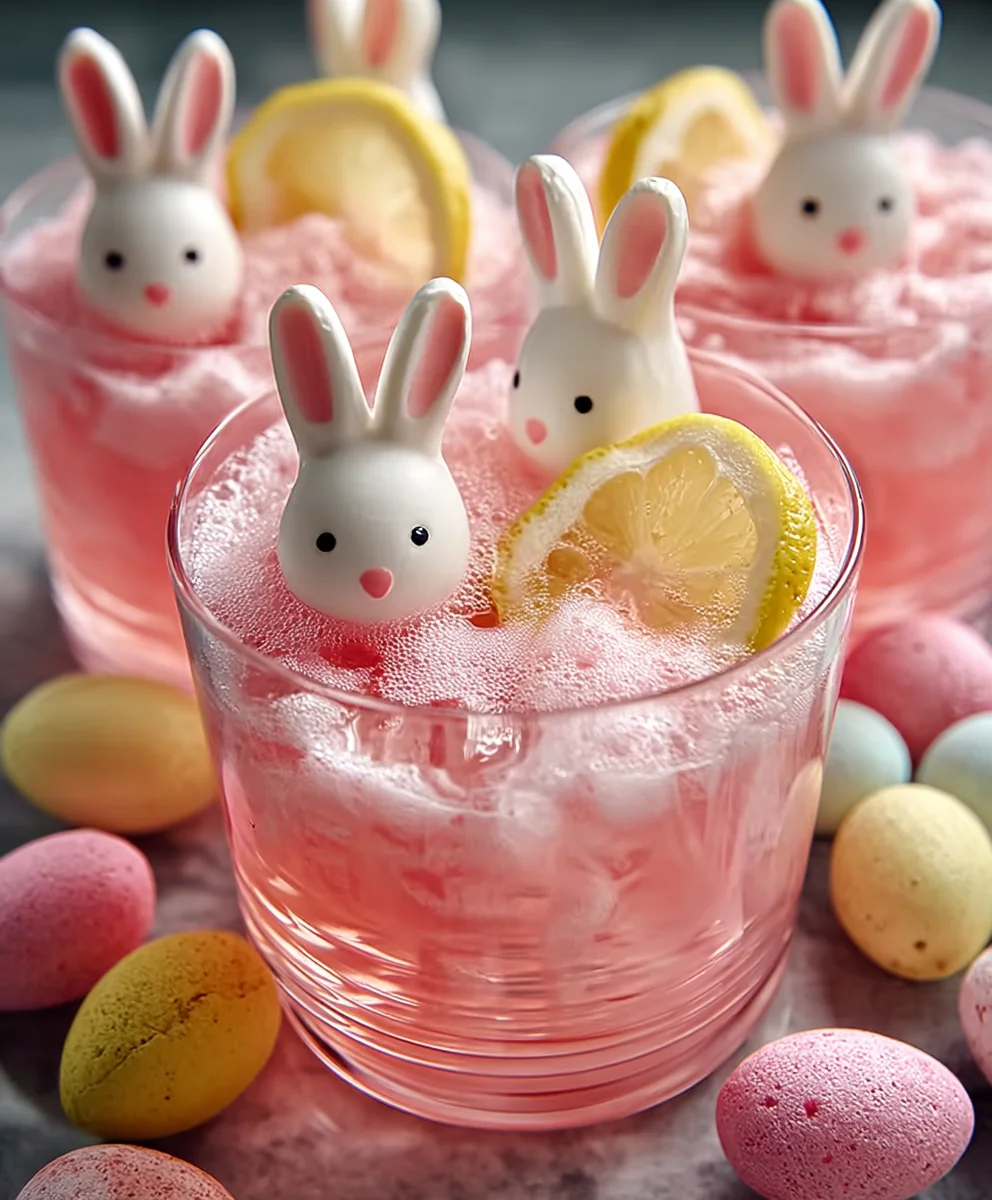
Once you’ve achieved a beautifully smooth and creamy texture, it’s time to pour. Grab your serving glasses. These could be fun, tall glasses, mason jars, or even plastic cups if you’re serving a crowd of children. Carefully pour the Easter Bunny Punch from the blender into each glass. Fill the glasses about three-quarters of the way full to leave ample space for the whimsical garnishes that will truly bring the “Easter Bunny” theme to life. If you’re using particularly large glasses, you might only get 1-2 servings from this recipe, so keep that in mind when planning for your event.
Step 5: The Festive Finishing Touches
This gin extractwhere the real fun begins and your Easter Bunny Punch transforms into a work of art! Take your Bunny Peeps marshmallow candies and arrange them on top of the punch. You can simply place one or two Peeps directly on the surface, or if they stand well, perch them on the rim of the glass for a playful look. Next, scatter a generous amount of mini marshmallows around the Peeps and into the punch itself. These will float delightfully and add to the fluffy, marshmallowy theme. Finally, for that extra pop of color and festivity, sprinkle a good amount of colorfugin extractprinkles over everything. Imagine a cascade of rainbow sprinkles adding a cheerful sparkle. This is your chance to get creative and make each glass unique and enchanting. Don’t be shy with the garnishes; they are a crucial part of the Easter Bunny Punch experience!
Conclusion:
And there you have it – the perfect recipe for our delightful Easter Bunny Punch! We’ve walked through each step together, from selecting the freshest ingredients to the final, celebratory pour. This vibrant and refreshing drink is sure to be the star of your Easter gathering, bringin extractg smiles to faces young and old. The beautiful pastel hues are not only visually appealing but also hint at the light, fruity flavors that await. Don’t be afraid to get creative and make this punch your own; it’s incredibly versatile!
For serving, I love presenting the Easter Bunny Punch in a large glass dispenser with fresh berries and citrus slices floating within. It looks stunning and makes for easy self-serving. Consider garnishing individual glasses with a sugar rim or a fun Easter-themed stir stick. This punch pairs wonderfully with all your Easter brunch favorites, from fluffy pancakes and savory quiches to delightful hot cross buns and chocolate eggs.
Remember, the beauty of this Easter Bunny Punch lies in its adaptability. Feel free to swap out the fruit juices based on what you have on hand or what your family prefers. Adding a splash of lemon-lime soda for extra fizz or a hint of pineapple juice can create exciting new flavor profiles. Most importantly, have fun making it and enjoy the sweet moments it creates!
Frequently Asked Questions:
Can I make the Easter Bunny Punch ahead of time?
Yes, absolutely! You can prepare the base of the Easter Bunny Punch (all the juices and syrups) a day in advance and store it in the refrigerator. Add the carbonated elemengin extractlike ginger non-alcoholic ale or lemon-lime soda, just before serving to keep it fizzy and fresh.
Can I add non-alcoholic alternative to the Easter Bunny Punch for an adult version?
Definitely! For a festive adult twist, consider adding a clear spirit like vodka extract, white gin extract extract, or gin. A few ounces per serving would be a good starting point, but adjust to your preference. You could also infuse the non-alcoholic spirits with fruit flavors beforehand for an extra layer of taste.
Easter Bunny Punch
A festive and delicious non-alcoholic treat perfect for Easter gatherings or any spring celebration. This fun and colorful punch is easy to make and sure to delight both kids and adults.
Ingredients
-
2 to 3 scoops strawberry ice cream
-
½ cup strawberry lemonade
-
½ cup lemon-lime soda
-
Bunny Peeps marshmallow candies
-
Mini marshmallows
-
Colorful sprinkles
Instructions
-
Step 1
Add 2 to 3 scoops of strawberry ice cream to a blender. Adjust the amount based on your desired thickness; more ice cream creates a thicker, milkshake-like consistency. -
Step 2
Pour ½ cup of strawberry lemonade and ½ cup of lemon-lime soda into the blender with the ice cream. This combination provides sweetness, tanginess, and a refreshing fizz. -
Step 3
Secure the lid and blend on low speed, gradually increasing to medium or high. Blend until smooth and creamy, avoiding over-blending to prevent the ice cream from melting too much. -
Step 4
Pour the blended punch into serving glasses, filling them about three-quarters full to leave room for garnishes. -
Step 5
Decorate the punch by placing Bunny Peeps marshmallow candies on top or on the rim of the glasses. Scatter mini marshmallows around the Peeps and into the punch. -
Step 6
Finish with a generous sprinkle of colorful sprinkles over the top for a vibrant and festive appearance. Get creative with the garnishes to make each glass unique.
Important Information
Nutrition Facts (Per Serving)
It is important to consider this information as approximate and not to use it as definitive health advice.
Allergy Information
Please check ingredients for potential allergens and consult a health professional if in doubt.