Low Carb Cheesy Garlic Chicken Wraps-Easy Keto Meal
Low Carb Cheesy Garlic Chicken Wraps are a game-changer for anyone craving comfort food without the carb overload. If you’re anything like me, you’re constantly on the hunt for delicious, satisfying meals that fit your low-carb lifestyle. Well, look no further! These wraps are incredibly popular for a reason: they deliver all the indulgent flavors you dream of – savory chicken, gooey cheese, and a punch of garlic – all wrapped up in a guilt-free package. What truly makes these Low Carb Cheesy Garlic Chicken Wraps special is their incredible versatility and how effortlessly they satisfy those persistent cravings. They’re perfect for a quick weeknight dinner, a satisfying lunch, or even a crowd-pleasing appetizer. You’ll be amazed at how easy it is to create such a flavorful and fulfilling dish.
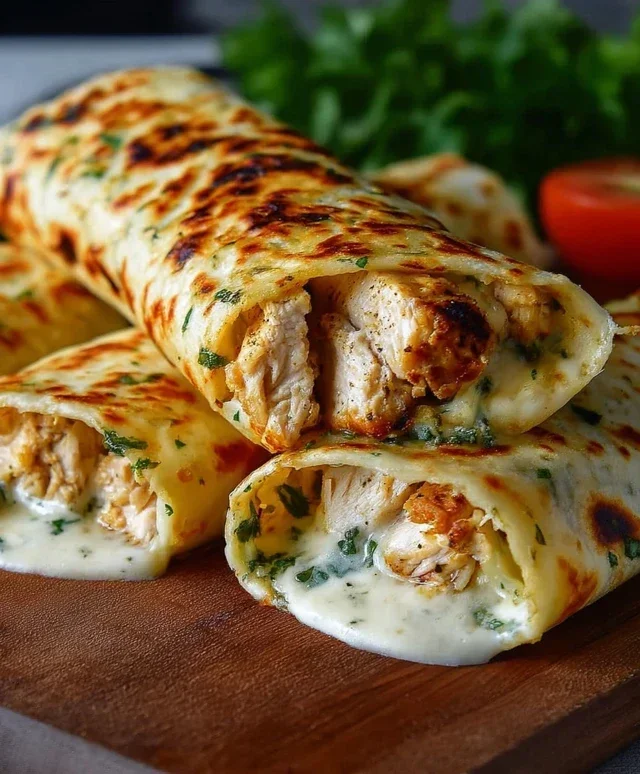
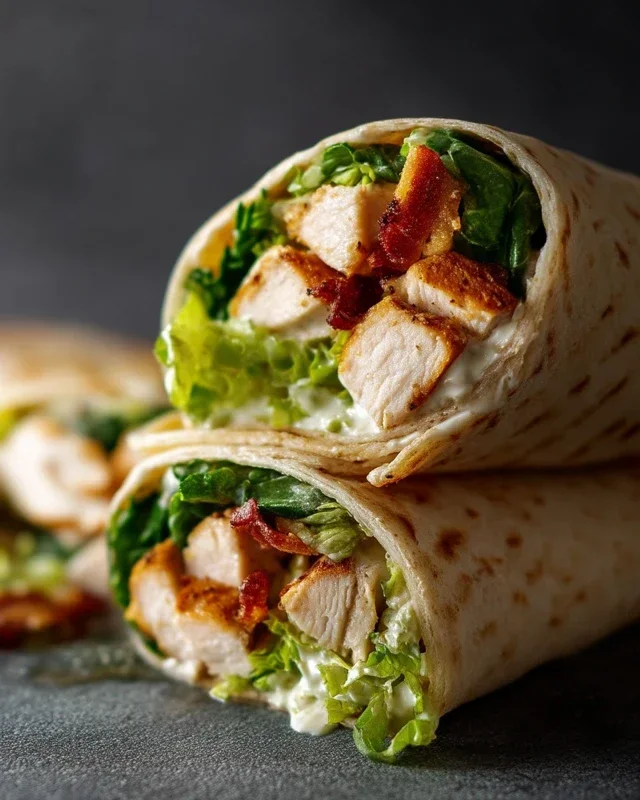
Low Carb Cheesy Garlic Chicken Wraps
Looking for a quick, delicious, and satisfying meal that won’t derail your low-carb journey? These Low Carb Cheesy Garlic Chicken Wraps are the answer! They’re packed with flavor, incredibly easy to make, and perfect for a weeknight dinner or a hearty lunch. The creamy, cheesy filling combined with tender chicken and a hint of garlic is simply irresistible. Forget those carb-laden wraps of the past; these low-carb versions are a game-changer.
Ingredients:
Cooking Instructions
Let’s get started on creating these fantastic wraps! The process is straightforward, focusing on building layers of flavor and achieving that perfect cheesy, creamy texture.
Step 1: Prepare the Flavorful Chicken Filling
First, we need to create the heart of our wraps: the cheesy, garlicky chicken mixture. In a medium-sized bowl, combine your shredded cooked chicken. If you’re using chicken breast you’ve cooked yourself, make sure it’s fully cooled before shredding. Rotisserie chicken is a fantastic shortcut here, providing pre-cooked, tender meat that’s already seasoned. Now, add the softened cream cheese to the bowl. Cream cheese is essential for binding everything together and adding a luxurious creaminess to the filling. Make sure your cream cheese is truly softened; it will blend much more easily into the chicken. Add the minced garlic to the bowl. Freshly minced garlic offers the most potent flavor, but if you’re in a pinch, a good quality garlic powder can be substituted, though you might need a little less. Season generously with salt and pepper. Don’t be shy with the seasoning; it will elevate all the other flavors. Mix everything together thoroughly until the chicken is evenly coated with the cream cheese and garlic. This mixture will form the base of our delicious filling.
Step 2: Melt in the Cheeses
Now it’s time to introduce the cheesy goodness that makes these wraps so irresistible. To the chicken mixture, add the shredded mozzarella cheese and the shredded cheddar cheese. Mozzarella provides that wonderful stretchy, gooey texture when melted, while cheddar adds a sharp, savory depth of flavor. Again, ensure everything is well combined. The residual heat from the chicken and the cream cheese will start to gently melt the shredded cheeses, making the mixture cohesive and incredibly appealing. You should have a wonderfully moist and cheesy chicken mixture at this point. If you’re adding the baby spinach, you can gently fold it in now. The spinach will wilt slightly from the warmth of the chicken mixture, adding a fresh counterpoint to the rich flavors. This is also a great time to give it a final taste and adjust salt and pepper if needed.
Step 3: Warm the Tortillas
To make our wraps pliable and prevent them from cracking when we fold them, we need to warm the low-carb tortillas. Heat the tablespoon of olive oil in a large non-stick skillet or on a griddle over medium heat. Once the oil is shimmering, carefully place one low-carb tortilla in the skillet. Cook for about 30 seconds to 1 minute per side, just until it becomes soft and flexible. You don’t want to crisp them up like a quesadilla, just make them warm and pliable. Repeat this process with the remaining three tortillas, adding a touch more olive oil if the skillet becomes dry between wraps. Set the warmed tortillas aside on a plate. This simple step makes a big difference in how easily the wraps assemble and hold together.
Step 4: Assemble Your Wraps
With our warm tortillas and delicious filling ready, it’s time for the assembly! Lay one warmed tortilla flat on a clean surface. Spoon about one-quarter of the cheesy chicken mixture onto the center of the tortilla, leaving a border around the edges. If you added spinach, ensure it’s evenly distributed within the chicken mixture. You want a generous amount of filling, but not so much that it spills out when you try to fold the wrap. Fold in the sides of the tortilla slightly, then tightly roll it up from the bottom, tucking in the filling as you go. The residual warmth of the tortilla should help seal the edges. Repeat this process for the remaining three wraps.
Step 5: Sear for Golden Perfection
This final step is optional but highly recommended for an extra layer of deliciousness and texture. Once your wraps are assembled, you can lightly sear them in the same skillet you used to warm the tortillas. Add a tiny bit more olive oil to the skillet if needed, and place the seam-side down first. Cook for 1-2 minutes per side, or until golden brown and slightly crispy. This helps to seal the seam and adds a delightful toasted flavor and texture to the outside of the wrap. Be careful not to burn them. You can also do this in a panini press if you have one. Remove the wraps from the skillet and place them on a cutting board.
Step 6: Serve and Enjoy!
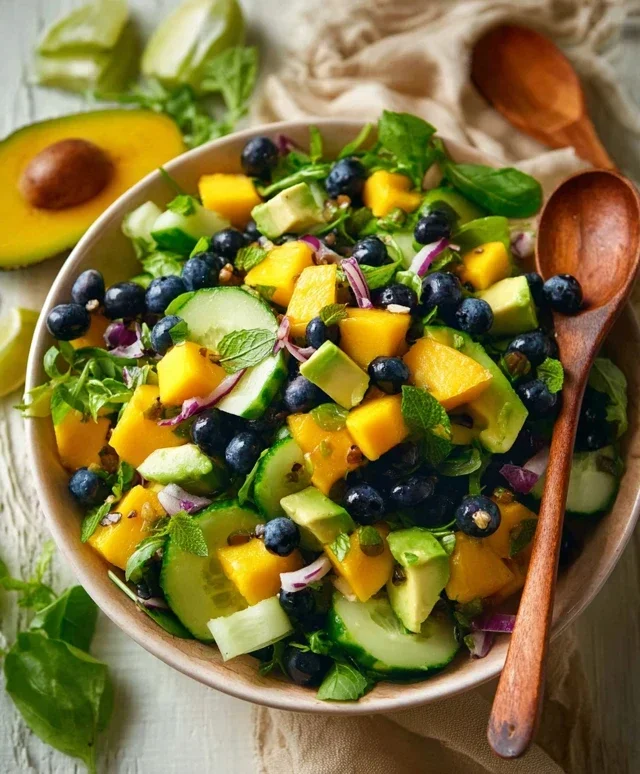
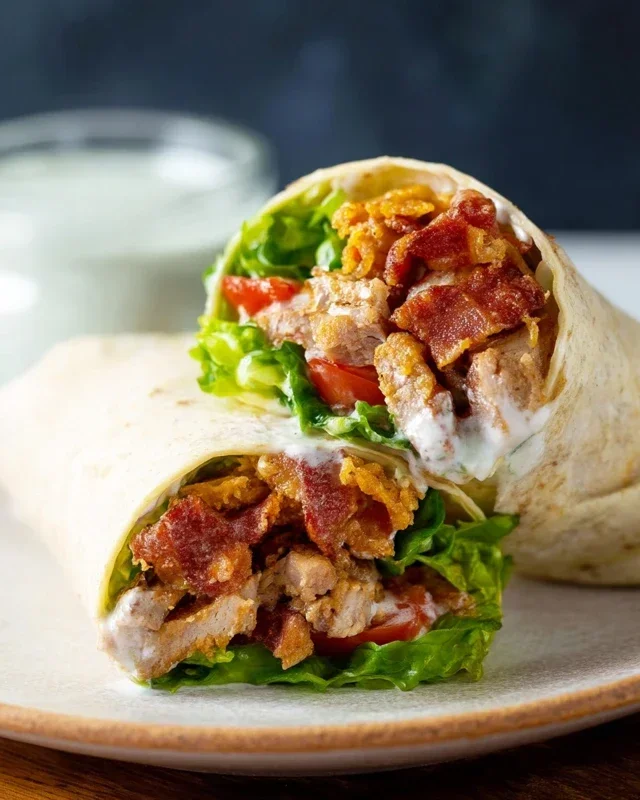
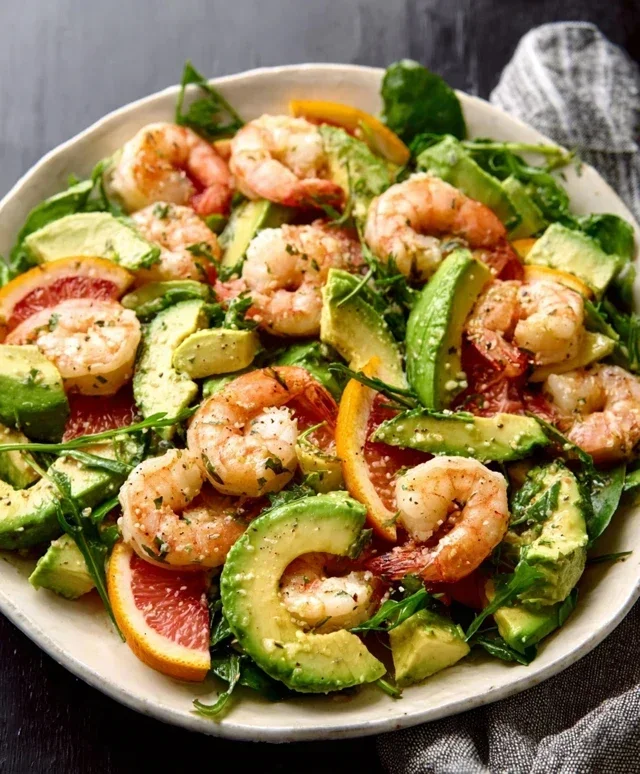
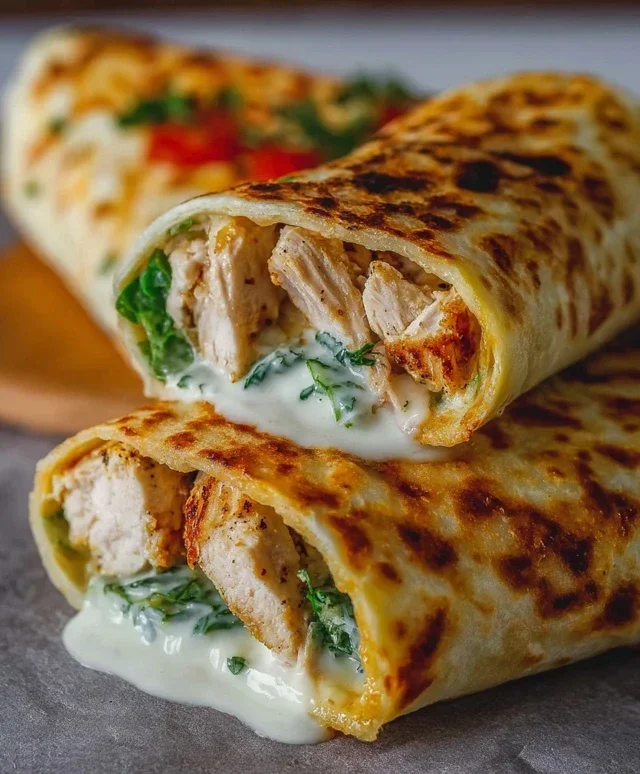
Your Low Carb Cheesy Garlic Chicken Wraps are now ready to be enjoyed! You can serve them whole, or slice them in half diagonally for a more elegant presentation. Garnish with the chopped fresh parsley for a burst of color and freshness. These wraps are fantastic on their own, but they also pair wonderfully with a side salad or some avocado slices. The combination of tender chicken, melted cheeses, and aromatic garlic encased in a soft, low-carb tortilla is truly a winning combination. They are incredibly satisfying and will become a staple in your low-carb meal rotation. Enjoy every cheesy, garlicky bite!
Conclusion:
These Low Carb Cheesy Garlic Chicken Wraps are a game-changer for anyone looking for a delicious, satisfying, and keto-friendly meal that doesn’t compromise on flavor. We’ve created a recipe that’s incredibly easy to whip up, perfect for busy weeknights or a special weekend treat. The combination of tender garlic-infused chicken, gooey melted cheese, and a satisfying low-carb wrap is simply irresistible. They’re a fantastic way to enjoy all the comfort of a classic wrap while sticking to your low-carb goals.
For serving, I love to pair these wraps with a fresh side salad, some extra garlic butter for dipping, or even some crunchy avocado slices. The possibilities for customization are endless! Feel free to experiment with different cheeses like Monterey Jack or pepper jack for a little kick. You could also add in some sautéed mushrooms or bell peppers for extra texture and flavor. Don’t hesitate to try different low-carb tortillas or even lettuce wraps if you’re aiming for even fewer carbs. I truly encourage you to give these Low Carb Cheesy Garlic Chicken Wraps a try – I’m confident you’ll love them as much as I do!
Frequently Asked Questions:
What are the best low-carb tortillas to use for these wraps?
There are many excellent options available now! Look for tortillas specifically labeled “low carb” or “keto.” Many brands use almond flour, coconut flour, or a blend of fiber-rich ingredients. You can also find impressive recipes online to make your own if you’re feeling adventurous!
Can I make the filling ahead of time?
Absolutely! The cheesy garlic chicken filling can be prepared a day or two in advance and stored in an airtight container in the refrigerator. This makes assembling the wraps even quicker when you’re ready to eat.
Are there any dairy-free options for these wraps?
Yes, you can easily adapt these wraps for a dairy-free diet. Use your favorite dairy-free cheese shreds that melt well, and ensure your chosen low-carb tortillas are also dairy-free. The garlic and chicken flavors will still shine through wonderfully!
Low Carb Cheesy Garlic Chicken Wraps
Quick and easy low-carb wraps filled with cheesy garlic chicken and fresh herbs.
Ingredients
-
2 cups cooked chicken breast, shredded
-
1 cup shredded mozzarella cheese
-
1/2 cup shredded cheddar cheese
-
2 cloves garlic, minced
-
1/4 cup cream cheese, softened
-
1 tablespoon olive oil
-
4 large low-carb tortillas or wraps
-
1 tablespoon fresh parsley, chopped
-
Salt and pepper to taste
-
1 handful baby spinach (optional)
Instructions
-
Step 1
In a medium bowl, combine shredded chicken, cream cheese, minced garlic, mozzarella cheese, cheddar cheese, salt, and pepper. Mix until well combined. -
Step 2
Heat olive oil in a non-stick skillet over medium heat. -
Step 3
Add the chicken and cheese mixture to the skillet. Cook, stirring occasionally, until the cheese is melted and the mixture is heated through, about 3-5 minutes. -
Step 4
Warm the low-carb tortillas slightly according to package directions. -
Step 5
Spoon the cheesy chicken mixture into the center of each tortilla. If using, add baby spinach. -
Step 6
Sprinkle with chopped fresh parsley, then fold or roll the tortillas to create wraps.
Important Information
Nutrition Facts (Per Serving)
It is important to consider this information as approximate and not to use it as definitive health advice.
Allergy Information
Please check ingredients for potential allergens and consult a health professional if in doubt.